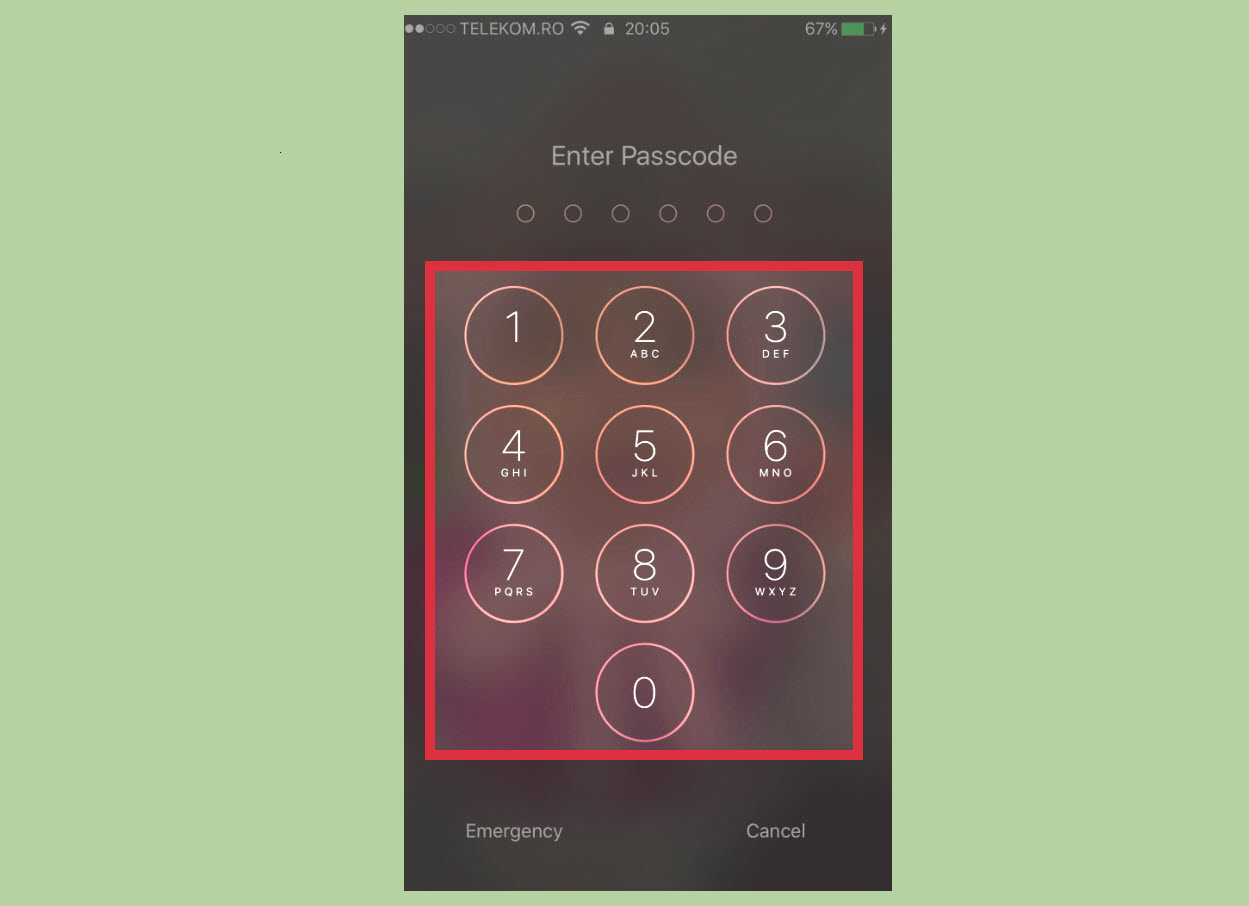
Few things feel more dramatic than your iPhone demanding a passcode two seconds after you just used it. You check a message, set the phone down, pick it up again, and there it is: the digital bouncer asking, “Name and six-digit proof, please.” If you are trying to learn how to delay your iPhone passcode, the good news is that iOS gives you a few settings that can make your phone feel less impatient. The slightly less glamorous news is that modern iPhone security is stricter than it used to be, especially if you use Face ID, Touch ID, or Apple Pay.
This guide explains what you can change, what you probably cannot change, and how to create a more convenient iPhone lock experience without turning your personal data into a free buffet. We will walk through six practical steps, including Auto-Lock settings, Require Passcode options, Face ID behavior, Stolen Device Protection, and smart safety habits. By the end, you will know how to keep your screen active longer, reduce unnecessary passcode prompts, and avoid the risky mistakes that can make convenience expensive.
What Does “Delay Your iPhone Passcode” Actually Mean?
Before we start tapping through Settings like a caffeine-fueled detective, it helps to define the goal. Many people use “delay iPhone passcode” to mean one of two things. First, they may want the iPhone screen to stay on longer before it locks. That is controlled by Auto-Lock. Second, they may want the phone to lock but not require a passcode immediately after the screen turns off. That is controlled by Require Passcode, when available.
These two settings sound similar, but they are not the same. Auto-Lock controls when your display sleeps. Require Passcode controls how soon authentication is needed after the device locks. On older iPhones or certain setups, you may see time options such as after one minute, five minutes, fifteen minutes, or longer. On newer iPhones, especially with Face ID, Touch ID, or Apple Pay enabled, iOS may only allow “Immediately.” That is not a glitch. It is Apple choosing security over the joy of not typing numbers while holding coffee.
Important Safety Note Before You Change Anything
Your iPhone is not just a phone. It is a wallet, photo album, email key, banking portal, password manager, travel document holder, and sometimes a tiny theater for watching videos you swear are “research.” Delaying the passcode can make daily use easier, but it also increases the window in which someone could access your device if they pick it up while it is unlocked or recently locked.
A passcode delay is safest when your phone stays with you, such as at home, at your desk, or in a controlled work environment. It is riskier in cafés, airports, gyms, rideshares, classrooms, bars, and any place where phones have a mysterious talent for disappearing. If you often use Apple Pay, store sensitive work files, or save passwords in iCloud Keychain, think carefully before weakening lock behavior. Convenience is wonderful. Identity theft is not a hobby anyone recommends.
How to Delay Your iPhone Passcode in 6 Easy Steps
Step 1: Check Whether Your iPhone Allows Passcode Delay
Start by finding out whether your iPhone actually offers a passcode delay option. Open Settings, then tap Face ID & Passcode or Touch ID & Passcode, depending on your model. Enter your current passcode. Scroll until you see Require Passcode.
If you can tap Require Passcode and choose a delay time, your iPhone allows this setting under your current security setup. Choose the shortest delay that solves your problem. For most users, one or five minutes is more reasonable than fifteen minutes or four hours. A short delay gives you breathing room when you put the phone down briefly, but it does not leave your digital life lounging around unlocked like it owns the place.
If Require Passcode only says Immediately and cannot be changed, your iPhone is likely enforcing stricter protection because of Face ID, Touch ID, Apple Pay, or security features connected to your Apple Account. In that case, do not panic. You still have useful options, especially through Auto-Lock and Face ID improvements.
Step 2: Adjust Auto-Lock to Keep the Screen On Longer
The easiest and safest way to “delay” passcode interruptions is to delay when the screen locks in the first place. Go to Settings > Display & Brightness > Auto-Lock. Choose a longer time, such as two, three, four, or five minutes. Some users may also see Never, though using Never regularly is not ideal unless you have a specific reason, such as following a recipe, reading sheet music, or using the iPhone as a display during a presentation.
Auto-Lock is especially helpful if your main annoyance is that the screen goes dark too quickly while you are reading, checking instructions, comparing notes, or watching something that does not keep the display awake. For example, if you are cooking and your hands are covered in flour, increasing Auto-Lock from thirty seconds to five minutes can prevent the “unlock, scroll, wash hands, repeat” circus.
There is a trade-off: longer Auto-Lock times use more battery. If your iPhone battery already performs like it has retired early, choose a moderate setting. Two or three minutes can feel much more comfortable than thirty seconds without draining power as aggressively as Never.
Step 3: Understand Why “Require Passcode Immediately” May Be Locked
Modern iPhones are designed around fast biometric unlocking. Apple assumes that if Face ID or Touch ID can unlock the phone quickly, there is less reason to keep the device accessible after locking. That is why many users see only the immediate passcode requirement. It may feel annoying, but it protects the most sensitive parts of your phone: payments, passwords, saved cards, messages, email, and account settings.
If Apple Pay is active, immediate passcode protection is especially important because your iPhone is connected to payment credentials. Face ID and Touch ID also rely on immediate lock behavior to keep authentication tight. In plain English: the phone does not want to remain casually open after it has gone to sleep.
You may find online suggestions telling you to disable Face ID, Touch ID, or Apple Pay to unlock more passcode delay options. Technically, that may work in some setups. Practically, it is often a poor trade. Disabling biometric unlock can make your phone less convenient, not more, because you will type your passcode more often. Disabling Apple Pay may also remove one of the iPhone’s most useful secure features. In most cases, adjusting Auto-Lock is the better move.
Step 4: Improve Face ID or Touch ID So Unlocking Feels Instant
If you cannot delay the passcode requirement, make unlocking faster. For Face ID, go to Settings > Face ID & Passcode. Make sure iPhone Unlock is enabled. If Face ID struggles, tap Reset Face ID and set it up again in good lighting. You can also set up an alternate appearance if your daily look changes often, such as glasses, hats, facial hair changes, or dramatic “I survived Monday” energy.
For Touch ID models, go to Settings > Touch ID & Passcode. Add more than one fingerprint, especially the thumbs or fingers you use most. Clean the Home button and your hands if Touch ID fails often. A slightly greasy sensor can turn a simple unlock into a tiny courtroom trial.
When biometric unlock works well, the immediate passcode requirement becomes less irritating because you rarely type the passcode. You wake the phone, glance at it, swipe up, and continue. That is Apple’s intended balance: strong lock security with fast access for the owner.
Step 5: Use Attention, Notifications, and Lock Screen Settings Wisely
Sometimes the problem is not the passcode itself. It is that you are waking the phone too often just to check small bits of information. You can reduce unlocks by customizing what appears on the Lock Screen. Go to Settings > Notifications and decide which apps can show previews. You might allow previews for weather, reminders, or calendar alerts, while keeping messages, banking apps, and email private.
You can also use widgets on the Lock Screen for quick information such as battery, calendar, weather, timers, and activity. This lets you glance at useful details without unlocking the phone. If you only need to check whether your next meeting is at 2:00 or 2:30, a Lock Screen widget can save you from unlocking your iPhone for the fiftieth time before lunch.
Be careful with notification previews. Showing too much information on the Lock Screen can expose private messages to anyone nearby. A good rule is simple: display convenience information, hide personal information. Weather is fine. Your bank verification code is not.
Step 6: Keep Stolen Device Protection Turned On
Stolen Device Protection is one of the most important iPhone security features introduced in recent iOS versions. When enabled, it adds stronger protection for sensitive actions, especially when your iPhone is away from familiar locations. Some actions may require biometric authentication and a security delay before changes can be completed.
To check it, go to Settings > Face ID & Passcode or Touch ID & Passcode, enter your passcode, then tap Stolen Device Protection. Turn it on if available. For stronger protection, you may see an option to require the security delay always, not just away from familiar locations.
This setting does not delay your everyday unlock passcode in the way many users mean. Instead, it delays dangerous account changes if someone steals your iPhone and knows your passcode. That distinction matters. You want daily access to feel smooth, but you do not want a thief changing your Apple Account password, disabling Find My, or locking you out while you are still saying, “Wait, where’s my phone?”
Best Settings for Convenience Without Weak Security
For most iPhone users, the best setup is not to force a long Require Passcode delay. A better balance looks like this: keep Face ID or Touch ID enabled, keep Apple Pay protected, turn on Stolen Device Protection, and set Auto-Lock to a comfortable but reasonable duration. Try two or three minutes first. If that still feels too short, move to five minutes.
Use Lock Screen widgets to reduce unnecessary unlocks. Keep sensitive notification previews hidden. Make sure Face ID or Touch ID works reliably. This combination gives you fewer interruptions without removing the protective layers that make the iPhone secure.
If you work in a private office or use your iPhone mostly at home, a slightly longer Auto-Lock setting may be fine. If you commute, travel, attend events, or frequently use your phone in public, choose shorter lock times. Your security settings should match your real life, not an imaginary version of life where phones never fall between train seats.
Common Problems and Quick Fixes
“Require Passcode” Is Missing or Gray
If you cannot change Require Passcode, check whether Face ID, Touch ID, or Apple Pay is enabled. Also consider whether your iPhone is managed by a workplace, school, or mobile device management profile. Managed devices may enforce strict passcode rules. In that case, you may not be able to change the setting yourself.
Auto-Lock Is Gray and Stuck at 30 Seconds
Low Power Mode can reduce Auto-Lock flexibility. Go to Settings > Battery and turn off Low Power Mode, then return to Display & Brightness and check Auto-Lock again. If your battery is low, iOS may be trying to conserve power like a tiny accountant with a flashlight.
Face ID Keeps Asking for the Passcode
Your iPhone may ask for the passcode after restart, after several failed Face ID attempts, after not being unlocked for a period of time, or when security rules require it. This is normal. If it happens constantly, clean the camera area, update iOS, reset Face ID, and make sure nothing is blocking your face. Sunglasses, masks, odd angles, and dim lighting can all interfere.
The iPhone Locks During Calls
If pressing the Side button ends calls and annoys you, check Settings > Accessibility > Touch and look for Prevent Lock to End Call. This does not delay the passcode, but it can make the lock button less frustrating during phone calls.
Security Tips If You Choose a Longer Delay
If your iPhone allows a passcode delay and you choose to use it, follow a few common-sense rules. First, do not use a simple passcode like 111111, 123456, or your birthday. A six-digit code is better than four digits, and a custom alphanumeric passcode is stronger still. Second, keep Find My iPhone enabled. Third, avoid handing your unlocked phone to people unless you trust them. Fourth, lock sensitive apps when possible, especially finance, email, notes, photos, and messaging apps.
In iOS 18 and later, many apps can be locked or hidden with Face ID, Touch ID, or a passcode. This is useful when you lend your phone to someone to make a call, view a photo, or choose music. The person can use the thing you allowed without wandering into private apps like a raccoon in a pantry.
Finally, remember that passcode delay is not a substitute for awareness. If you are in public, tap the Side button to lock your iPhone before putting it down or sliding it into a pocket. A longer delay is convenient only when the phone remains physically safe.
When You Should Not Delay Your iPhone Passcode
Do not delay your iPhone passcode if your phone contains sensitive work data, confidential client information, health records, financial apps, cryptocurrency wallets, private photos, or saved passwords that could cause serious harm if accessed. Also avoid delays if you often lose your phone, share your device with children, or use it in crowded places.
Parents should be especially careful. A longer unlocked window can let a child send messages, buy apps, delete photos, or call someone by accident. One minute you are making dinner; the next, your toddler has texted your boss a string of emojis that looks legally binding.
Business users should check company policy before changing passcode settings. Many employers require immediate lock, strong passcodes, and device encryption. If your iPhone is connected to work email or company apps, convenience may be limited by security requirements.
Real-Life Experiences: What It Feels Like to Delay Your iPhone Passcode
In everyday use, the best reason to delay iPhone passcode interruptions is not laziness. It is flow. Anyone who uses an iPhone for cooking, studying, repairing something, exercising, or working from notes knows the tiny frustration of repeated unlocking. You are reading a recipe with wet hands, the screen dims, and suddenly you are trying to unlock your phone with a knuckle like a cave painter discovering technology. Extending Auto-Lock to three or five minutes can make the whole experience smoother.
One common scenario is using the iPhone as a reference screen. Maybe you are assembling furniture, following a workout routine, checking guitar chords, or reading instructions while troubleshooting Wi-Fi. A short Auto-Lock setting interrupts the task again and again. A longer setting lets the phone stay awake long enough to be useful. In this situation, delaying the lock is less about avoiding security and more about making the device behave like a practical tool.
Another experience comes from office work. Many people use their iPhone for two-factor authentication codes, calendar checks, Slack messages, or quick reminders. When the phone locks instantly, those small tasks become repetitive. Increasing Auto-Lock can help during focused work sessions, especially if the phone sits on a desk in a private space. Still, it is wise to manually lock the phone when leaving the desk. The best habit is simple: longer Auto-Lock while present, Side button lock when walking away.
Travel teaches a different lesson. At home, a five-minute Auto-Lock may feel harmless. In an airport, it can feel risky. Phones are exposed in security lines, cafés, taxis, hotel lobbies, and crowded public spaces. A traveler may unlock the phone for a boarding pass, get distracted, place it on a counter, and accidentally leave it accessible. In that environment, immediate security matters more. The smart move is to shorten Auto-Lock before traveling or rely on Face ID for quick access.
Parents also have memorable experiences with passcode delays. A phone left unlocked for “just a minute” can become a launchpad for accidental selfies, app rearrangement, strange purchases, and messages sent to relatives who did not request thirty-seven dinosaur stickers. If children use your phone, avoid long delays and consider locking sensitive apps. Guided Access can also help when you want a child to use only one app.
For older adults or users with accessibility needs, longer Auto-Lock settings can be genuinely helpful. Some people need more time to read, tap accurately, or move between apps. In that case, a longer screen timeout can reduce stress. The goal is not to weaken security carelessly, but to make the phone usable. Pairing a reasonable Auto-Lock duration with Face ID, Touch ID, and strong passcode habits can create a comfortable balance.
The biggest lesson from real-world use is that there is no perfect setting for everyone. A student in a dorm, a nurse on shift, a parent with toddlers, a remote worker at home, and a frequent traveler all face different risks. The best iPhone passcode delay strategy is flexible. Use longer Auto-Lock when the environment is controlled. Use shorter Auto-Lock in public. Keep biometric unlock enabled. Keep Stolen Device Protection on. And remember that the Side button is your friend; it locks your phone instantly when convenience needs to step aside for security.
Final Thoughts
Learning how to delay your iPhone passcode in 6 easy steps really means learning how iPhone locking works. You may be able to adjust Require Passcode on some setups, but many modern iPhones require immediate authentication when Face ID, Touch ID, or Apple Pay is active. Instead of fighting that security model, the smarter solution is to adjust Auto-Lock, improve biometric unlock, customize Lock Screen information, and keep strong theft protection enabled.
A comfortable iPhone setup should save time without inviting trouble. Set Auto-Lock long enough for your normal tasks, but not so long that your phone becomes an open door. Keep Face ID or Touch ID working smoothly. Use app locks for private information. And when you are in public, lock the phone manually. Your future self, your bank account, and your camera roll will all quietly applaud.