You know the scene: your nails look glossy, smooth, and suspiciously professional for a manicure done on the corner of your desk. Then your phone rings, your sleeve attacks, or you suddenly remember you need to zip a bag. One tiny movement later, your perfect polish has a dent the size of your disappointment.
Learning how to dry nail polish quickly is not just about impatience. It is about protecting the manicure you just spent time creating. Regular nail polish dries in stages: the surface may feel dry first, but the deeper layers can remain soft for much longer. That is why nails can seem “done” after a few minutes and still end up with sheet marks, fingerprints, or mysterious dents that look like modern art.
The good news: you do not need a salon-grade setup to speed things up. With smart application, the right products, cool air, thin coats, and a few practical tricks, you can help polish dry faster and reduce smudges. Below are 10 reliable methods to speed up nail polish drying time without ruining your fresh manicure.
Why Nail Polish Takes So Long to Dry
Nail polish dries as solvents evaporate from the formula. The thicker the coat, the longer that evaporation takes. Multiple heavy layers trap wet polish underneath, which is why a manicure can look dry on top but still slide, wrinkle, or dent when touched.
Drying time also depends on the polish formula, the number of coats, humidity, room temperature, and whether you use a base coat or top coat. A standard manicure with base coat, two color coats, and top coat can take much longer to fully harden than it takes to become lightly touch-dry. That means you may be able to text carefully after a short wait, but digging through a purse is still a high-risk sport.
How to Dry Nail Polish Quickly: 10 Tricks to Speed Things Up
1. Apply Thin, Even Coats
The fastest way to dry nail polish is to avoid creating a thick, gooey polish sandwich in the first place. Thin coats dry more evenly because there is less product for the air to set. Instead of trying to get full color in one heroic swipe, apply two or three thin layers.
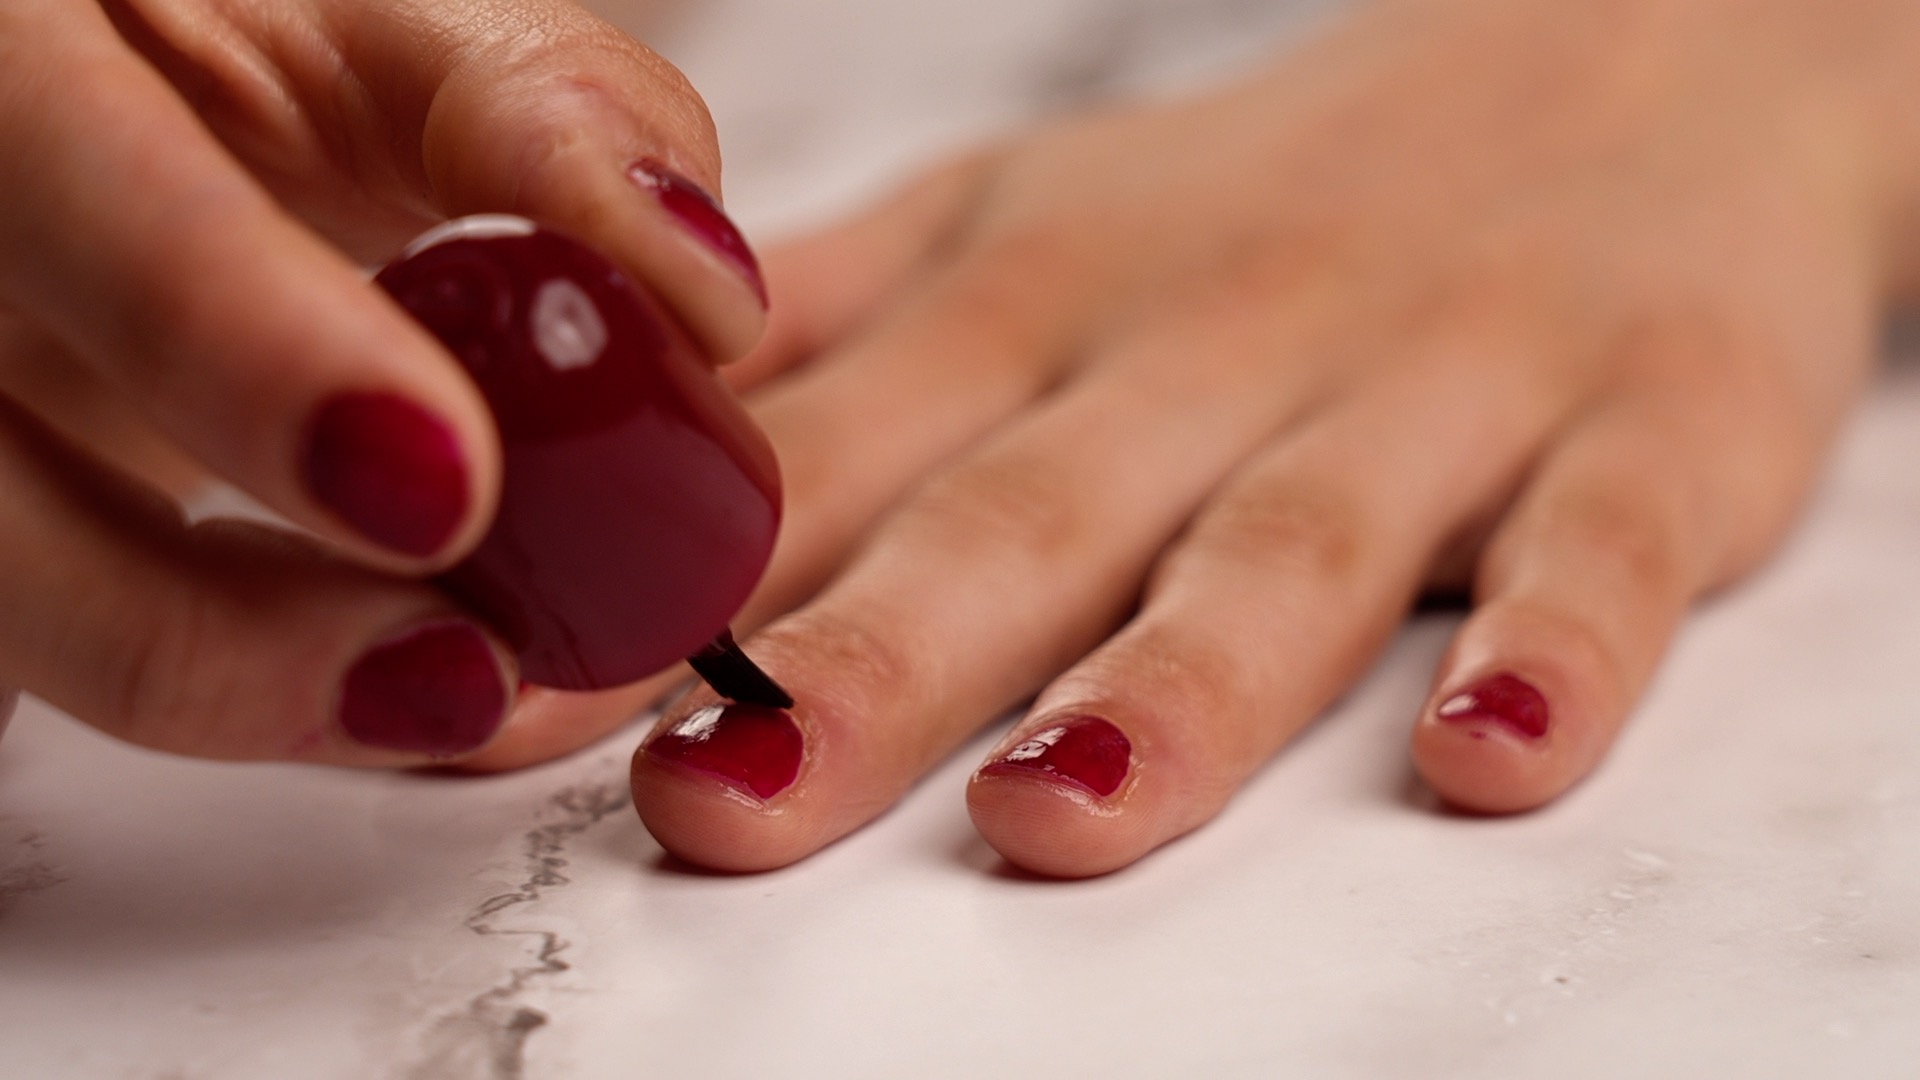
Load the brush lightly, wipe one side against the bottle neck, and use three simple strokes: one down the center, one on each side. Let each coat settle briefly before adding the next. This technique helps prevent bubbling, streaking, and smudging. Your polish will look smoother, and your future self will not have to perform emergency nail surgery with a cotton swab.
2. Wait Between Coats
Patience between coats is one of the most underrated quick-dry nail polish tricks. Adding a fresh layer on top of wet polish slows the whole process because the lower coat cannot release solvents properly. A short pause between coats gives each layer a head start.
For best results, wait at least one to two minutes between thin coats. If you are using a very opaque or creamy formula, give it a little longer. This does not mean you have to sit in silence staring at your hands like they owe you money. Use the waiting time to choose a show, line up your top coat, or practice not touching anything, which is somehow the hardest part of painting nails.
3. Use a Quick-Dry Top Coat
A quick-dry top coat is one of the most effective ways to make nail polish dry faster. These formulas are designed to help set the surface of the polish while adding shine and protection. They can also reduce the chance of lint, fingerprints, and accidental smears.
Apply your quick-dry top coat after your final color coat has had a moment to settle. Use a thin layer and cover the entire nail, including the tip. Sealing the free edge helps protect against chips and gives the manicure a cleaner finish. Do not use a heavy blob of top coat, though. Too much product can create the same drying problem you were trying to escape.
4. Try Quick-Dry Drops
Quick-dry drops are small but mighty. Usually applied one drop at a time after polish and top coat, they help the surface dry faster and often add a slick layer that protects nails from light bumps. Some formulas also contain oils that condition the cuticle area.
To use them, wait about a minute after your top coat, then place one or two drops on each nail. Let the product spread naturally. Avoid rubbing it in because your polish is still delicate. Quick-dry drops are especially helpful when you are doing your nails before bed, before leaving the house, or before doing anything that requires handswhich, annoyingly, is most things.
5. Use Cool Air, Not Heat
A fan or blow-dryer on a cool setting can help speed up drying by moving air across the nail surface. Cool airflow encourages evaporation without softening the polish. Heat, on the other hand, can make polish stay tacky longer and may create bubbles or uneven texture.
Hold your hands several inches away from the fan or dryer and keep the airflow gentle. Blasting your nails at full power can push wet polish around, especially near the cuticles. The goal is a soft breeze, not a wind tunnel. Think “spa day,” not “weather emergency.”
6. Dip Nails in Ice Water
The ice water method is a classic trick for drying nail polish quickly. Cold water helps firm the polish surface, making it feel dry to the touch faster. It works best after the polish has already had a minute or two to set slightly.
Fill a small bowl with cold water and a few ice cubes. After applying your final coat and waiting briefly, dip your nails into the water for about two to three minutes. Remove your hands carefully and let them air-dry. Do not rub them with a towel, because towel texture and damp polish are not friends.
Important note: ice water helps harden the surface, but it does not magically cure every layer underneath. Treat your nails gently afterward, especially if you used several coats.
7. Choose Fast-Drying Nail Polish
Some nail polish formulas are made to dry faster than traditional lacquer. If you often do your nails in a hurry, a quick-dry polish can save you time before you even reach for top coat. Many fast-drying formulas are designed for busy routines, last-minute events, and people who remember they have plans exactly seven minutes before leaving.
Fast-dry polish works best when you still apply it in thin layers. Even the speediest formula can become slow and smudge-prone if you pile it on too thickly. For extra efficiency, pair a quick-dry polish with a compatible quick-dry top coat.
8. Pick Sheer or Metallic Shades When You Are Rushing
Color choice matters more than many people realize. Sheer shades, light neutrals, shimmer finishes, and metallic polishes often dry faster because they can look good with fewer coats. Dark creams, pastels, and opaque white shades may need more careful layering, which adds drying time.
If you need your nails done quickly before school, work, dinner, or a photo where your hands will be mysteriously visible, choose a forgiving shade. A sheer pink, soft nude, champagne shimmer, or metallic bronze can look polished with minimal effort. Bonus: tiny smudges are less obvious than they are on a dramatic black cherry manicure.
9. Avoid Hot Water After Painting
Hot water is the enemy of a fresh manicure. Even if your nails feel dry on the surface, warm water can soften polish and make it more likely to dent, peel, or lose shine. That means washing dishes, taking a hot shower, soaking in a bath, or aggressively cleaning the kitchen right after painting your nails is basically inviting chaos.
Give your manicure time to harden before exposing it to heat and water. If you must do chores, wear gloves and keep your movements gentle. Better yet, paint your nails after chores are finished. Your nails get to dry in peace, and you get a convenient excuse not to wash one more mug.
10. Use Cuticle Oil After the Polish Sets
Cuticle oil does not fully dry nail polish from the inside out, but it can help protect the surface once the polish has started to set. A small amount of oil creates slip, so if something lightly brushes the nail, it may glide over instead of leaving a mark.
Wait until your top coat has had a few minutes to settle, then apply a tiny amount of cuticle oil around each nail. Avoid flooding the nail plate too early. Used correctly, oil can make your manicure look cleaner, keep the skin around your nails healthier, and reduce that dry, tight feeling after polish remover.
Common Mistakes That Slow Down Nail Polish Drying
Using Thick Coats
Thick coats are the number one reason nail polish refuses to dry. A heavy layer may look shiny and satisfying at first, but it stays soft underneath and smudges easily. Thin coats always win.
Skipping Nail Prep
Polish sticks better to clean, dry nails. Before painting, remove old polish completely and wash away lotion, oil, or dust. If your nails are oily, polish may slide around or take longer to set.
Painting in a Humid Room
Humidity can make polish feel tacky for longer. If possible, paint your nails in a cool, dry, well-ventilated space. Avoid steamy bathrooms unless your manicure goal is “almost dry forever.”
Touching Too Soon
The surface may feel dry before the polish is fully hardened. Be careful with buttons, zippers, blankets, keyboards, and snack bags. Fresh nail polish has a talent for finding texture.
How Long Should You Really Wait?
With thin coats and quick-dry products, nails may feel dry to the touch within several minutes. However, full hardening takes longer. For light activities, give your nails at least 15 to 20 minutes. For bedtime, showers, tight shoes, heavy cleaning, or digging through a bag, waiting closer to an hour is safer.
If you are painting toenails, be even more careful. Socks, shoes, and blankets can press directly into polish and create dents. Open-toe sandals are your best friend after a pedicure. Fuzzy socks are adorable, but they are also tiny manicure villains.
Best Routine for a Faster At-Home Manicure
Here is a simple routine that combines the best quick-dry nail polish tips:
- Remove old polish and wash your hands.
- Make sure nails are clean and completely dry.
- Apply a thin base coat.
- Apply the first thin color coat.
- Wait one to two minutes.
- Apply the second thin color coat.
- Seal with a quick-dry top coat.
- Use quick-dry drops after a short wait.
- Sit near cool airflow for several minutes.
- Avoid hot water, pressure, and fabric contact while the polish hardens.
This routine gives you speed without sacrificing the finished look. It also helps your manicure last longer because polish applied in thin, even layers is less likely to peel or wrinkle.
Extra Experience: Real-Life Lessons for Drying Nail Polish Faster
After many at-home manicures, one thing becomes very clear: drying nail polish quickly is less about one magical hack and more about stacking several smart habits together. The best results usually come from thin coats, cool air, quick-dry top coat, and realistic waiting time. When those steps work together, your manicure has a much better chance of surviving real life.
For example, the ice water trick works better when the polish is already slightly set. If you dip freshly painted nails into cold water immediately, the polish can ripple or look uneven. But if you wait a minute or two, then dip carefully, the surface feels firmer faster. It is not a miracle cure, but it is useful when you need to reduce smudging before heading out.
Quick-dry top coat is another game changer. Many people blame their polish for drying slowly, but the real issue is often the finishing layer. A regular glossy top coat can look beautiful but may take longer to set. A true quick-dry top coat gives the manicure a smoother, harder-looking finish in less time. It is especially helpful with darker colors, which tend to show every tiny dent.
One practical lesson: do not paint your nails right before bed unless you have a drying plan. Bedsheet marks are sneaky. Your nails may feel dry when you climb into bed, then somehow wake up with fabric texture pressed into them like your manicure spent the night wearing corduroy. If bedtime polish is unavoidable, use thin coats, quick-dry drops, cuticle oil, and give yourself as much drying time as possible before touching blankets.
Another useful habit is setting up your environment before painting. Open your drink, use the bathroom, silence your phone, choose your show, and place everything you need within reach. Once polish is wet, suddenly every object in the room becomes a challenge. A little preparation prevents those awkward claw-hand moments where you try to do normal tasks without using your fingertips.
It also helps to be honest about color. If you only have 10 minutes, a sheer nude or shimmer is safer than a deep red cream. Dark polish is gorgeous, but it exposes mistakes like a tiny beauty detective. Lighter, sheerer colors dry faster, need fewer coats, and hide minor imperfections better. Save the dramatic shades for days when you have more time.
Finally, remember that “dry to the touch” and “fully dry” are not the same thing. Your nails can feel ready while the lower layers are still soft. That is why gentle behavior matters after drying tricks. Avoid hot water, tight gloves, heavy bags, and anything that presses into the nail. A little caution during the first hour can protect the entire manicure.
The biggest experience-based takeaway is simple: speed starts with application. No fan, ice bowl, spray, or drop can fully rescue polish that was applied too thickly. If you want nails to dry quickly, treat each coat like a whisper, not a frosting layer. Your manicure will dry faster, look cleaner, and last longer.
Conclusion
Drying nail polish quickly is completely possible when you use the right combination of technique and tools. Start with clean nails, apply thin coats, wait briefly between layers, and finish with a quick-dry top coat or drying drops. Cool air, ice water, smart color choices, and cuticle oil can all help reduce smudges and protect your fresh manicure.
The real secret is not rushing the process so much that you sabotage it. Give each layer a fair chance to set, avoid hot water, and treat your nails gently while they harden. Your manicure does not need hours of babysitting, but it does need a few smart minutes. Think of it as a tiny beauty investment with a glossy return.
Note: This article is written for general beauty and nail-care education. Product performance may vary depending on polish formula, coat thickness, room temperature, and individual nail condition.