Some home projects require power tools, a heroic amount of patience, and at least one mysterious screw left over at the end. A simple and stunning macrame plant hanger is not one of them. This charming DIY project turns basic cotton cord, a few knots, and your favorite houseplant into a hanging piece of decor that looks like it came from a boutique where every candle costs $38.
Macrame plant hangers are popular for a reason: they save space, add texture, soften modern interiors, and give trailing plants the dramatic stage they clearly believe they deserve. Whether you live in a tiny apartment, a cozy house, a dorm-style room, or a plant-filled jungle where the pothos may soon ask for voting rights, a handmade macrame hanger can instantly make your space feel warmer and more intentional.
The best part? You do not need to be a fiber artist, a knot wizard, or someone who owns seventeen types of scissors. With a few beginner-friendly macrame knots, the right cord, and a simple plan, you can create a beautiful hanging planter in an afternoon. This guide walks you through materials, measurements, knots, styling ideas, safety tips, plant choices, and real-world experience so your first hanger looks polishednot like your cat tried to help.
What Is a Macrame Plant Hanger?
A macrame plant hanger is a decorative holder made by knotting cord into a structure that supports a plant pot. Unlike knitting or weaving, macrame is created by tying repeated knots. The result can be minimal and modern, rustic and bohemian, or elaborate enough to make guests say, “Wait, you made that?” which is secretly the whole point of DIY.
Most plant hangers include four basic sections: a hanging loop or ring at the top, decorative knotted cords, a basket-like cradle for the pot, and a gathering knot or fringe at the bottom. The structure may look fancy, but it is usually built from simple knot patterns such as the lark’s head knot, square knot, half-square spiral knot, and gathering knot.
Why Macrame Plant Hangers Work So Well in Home Decor
A DIY macrame plant hanger does more than hold a plant. It creates height, texture, and movement in a room. That matters because many rooms are decorated mainly at eye level: sofas, tables, shelves, lamps, and wall art. Hanging a plant pulls the eye upward and makes the space feel more layered.
Macrame also brings softness to hard surfaces. If your room has white walls, metal shelving, glass tables, or clean-lined furniture, cotton cord adds warmth without making the space look cluttered. It is a small detail with big visual payoff, like adding a scarf to an outfitexcept the scarf is holding a fern.
Best Places to Hang a Macrame Plant Hanger
A macrame hanger can work in almost any room, but location matters. Try one near a bright window, in a bathroom with filtered light, in a kitchen corner, above a plant stand, beside a bookshelf, or on a covered patio. The goal is to choose a spot with enough light for the plant, enough clearance for the hanger, and enough visibility for you to admire your handiwork every time you walk by.
Avoid hanging plants where people may bump into them, where a door will swing into them, or where water could drip onto electronics, books, or furniture. Nothing ruins a peaceful plant moment faster than discovering your hanging pot has been quietly watering your laptop.
Materials You Need for a Simple Macrame Plant Hanger
One reason this project is beginner-friendly is that the supply list is short. You can make a beautiful hanger with just a few items, and many are easy to find at craft stores, home improvement stores, or online craft shops.
Basic Supply List
- Macrame cord: Cotton cord is soft, flexible, and easy for beginners to knot.
- Wooden or metal ring: This creates a strong hanging point at the top.
- Plant pot: A lightweight pot with drainage is usually best.
- Plant: Choose a plant suited to the available light.
- Scissors: Sharp scissors create cleaner cord ends.
- Measuring tape: Accurate measuring keeps the hanger balanced.
- Hook or tension rod: Useful for working on the hanger while knotting.
- Optional beads: Wooden beads can add a decorative touch.
Choosing the Right Macrame Cord
For a simple plant hanger, 3 mm to 5 mm cotton cord is a reliable choice. Thinner cord creates a delicate look but takes more knots to fill space. Thicker cord creates a chunkier, more dramatic design and works especially well with larger pots. A 4 mm cotton rope is a great middle ground for beginners because it is easy to handle, strong enough for most small to medium pots, and visually balanced.
You will often see three common cord styles: single-strand, twisted, and braided. Single-strand cord creates soft fringe and a relaxed boho look. Twisted rope feels classic and sturdy. Braided cord is durable and less likely to unravel, making it useful for clean modern designs. For your first hanger, cotton twisted rope is a forgiving and attractive option.
Best Plants for a Macrame Plant Hanger
The right plant can make your macrame hanger look even better. Trailing plants are especially popular because their vines spill over the pot and create a lush, cascading effect. Think of them as the theater kids of the houseplant world: they love a spotlight and know how to make an entrance.
Great Indoor Plant Choices
- Pothos: Easygoing, fast-growing, and beautiful in hanging planters.
- Heartleaf philodendron: A classic trailing plant with soft, heart-shaped leaves.
- String of hearts: Delicate vines that look lovely in small hangers.
- Spider plant: Beginner-friendly and playful, with arching leaves and baby plantlets.
- Boston fern: Full and dramatic, ideal for humid rooms with indirect light.
- Trailing succulents: Great for bright spots and lighter watering routines.
When choosing a plant, consider light, watering needs, pot weight, and growth habit. A heavy ceramic pot filled with wet soil may be too much for a lightweight hanger or weak ceiling hook. For most beginners, a plastic nursery pot placed inside a decorative cover pot is practical because it keeps weight down and makes watering easier.
How to Make a Simple and Stunning Macrame Plant Hanger
This beginner-friendly design uses a top ring, four sets of cords, square knots, simple basket knots, and a gathering knot at the bottom. It is elegant enough for a living room but simple enough for a first-time macrame project.
Step 1: Cut Your Cord
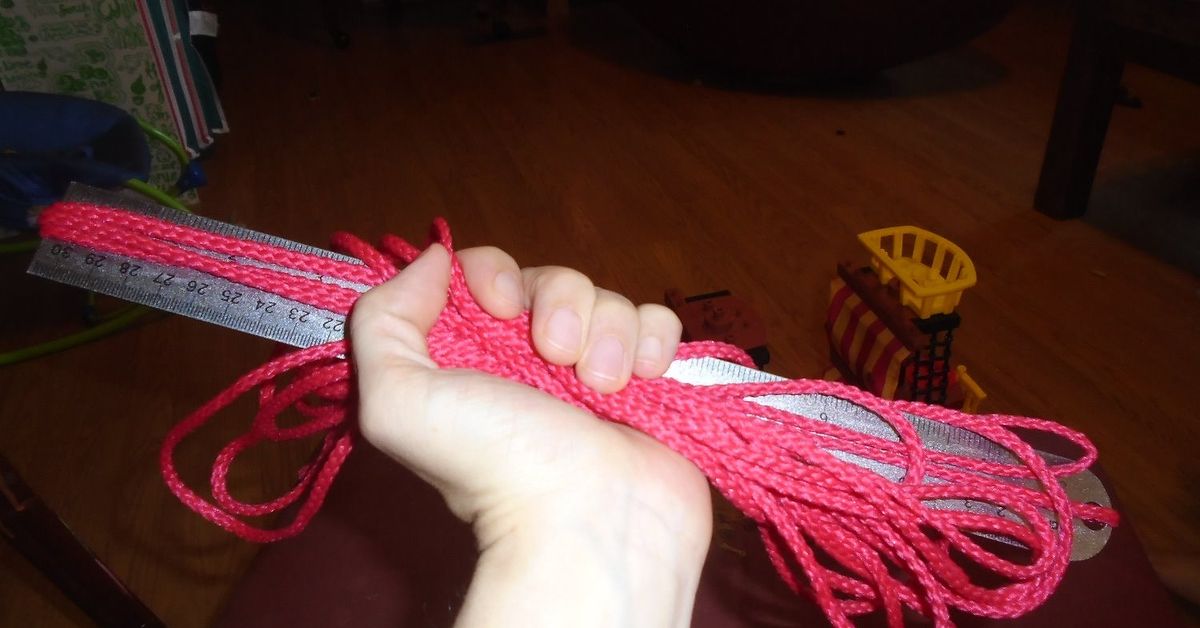
Cut eight pieces of macrame cord, each about 10 feet long. Cut one extra piece about 2 feet long for the gathering knot at the bottom. If you want a longer hanger, add extra length before cutting. It is always better to trim excess cord later than to discover your hanger is too short and now looks like it was made for a dollhouse fern.
Step 2: Attach the Cords to the Ring
Fold each of the eight long cords in half. Place the folded midpoint through the ring, then pull the cord ends through the loop to create a lark’s head knot. Repeat with all eight cords. You should now have sixteen cord strands hanging from the ring.
Gently pull the knots snug and arrange them evenly around the ring. This top section sets the foundation for the whole hanger, so take a moment to make it neat. Macrame rewards patience, but thankfully not the kind of patience required to assemble flat-pack furniture.
Step 3: Divide the Cords into Four Groups
Separate the sixteen strands into four groups of four. Each group will become one vertical support section of the hanger. Clip or loosely tie the groups apart if needed so they do not mingle like guests at a party who forgot where they parked.
Step 4: Tie Square Knots
In each group of four cords, tie a square knot. The two center cords stay straight, while the outer cords knot around them. To make a square knot, cross the left outer cord over the two center cords and under the right outer cord. Then pass the right outer cord under the center cords and through the loop on the left. Pull gently. Repeat the same movement from the opposite side to complete the square knot.
Make three to five square knots in each group, depending on how decorative you want the upper section to be. Keep the knots at the same height across all four groups so the hanger hangs evenly.
Step 5: Add a Spiral Knot Section
For a simple twist effect, create half-square knots instead of full square knots. Use the same first half of the square knot repeatedly, always starting from the same side. The cord will naturally twist into a spiral. Make about 4 to 6 inches of spiral knots in each group.
This is one of the easiest ways to make a beginner macrame plant hanger look more impressive. It creates movement without requiring advanced techniques. Basically, it is the DIY version of wearing sunglasses indoors: a little dramatic, but it works.
Step 6: Build the Pot Cradle
Lay the hanger flat or keep it hanging at eye level. Measure about 6 to 8 inches below the decorative knot section. Take two cords from one group and two cords from the neighboring group, then tie them together with a square knot or simple overhand knot. Repeat around the hanger until all groups are connected.
This creates the first row of the basket. Measure another 3 to 4 inches down and repeat the process, again connecting cords from neighboring sections. These alternating knots form the net that supports the pot.
Step 7: Test the Fit
Before tying the final bottom knot, place your empty pot inside the cradle. Adjust the spacing so the pot sits level and secure. The basket should hold the pot around its widest area or slightly below it. If the cradle sits too low, the pot may wobble. If it sits too high, the pot may look squeezed, and nobody wants their plant to look like it is wearing pants that shrank in the dryer.
Step 8: Tie the Gathering Knot
Once the pot cradle fits well, gather all cords below the pot. Use the extra 2-foot cord to tie a gathering knot. Make a small loop with the short cord against the bundle, wrap the long end around all the cords several times, then thread the end through the loop. Pull the top tail to tuck the loop under the wraps. Trim the ends neatly.
Step 9: Trim the Fringe
Trim the bottom cords to your preferred length. You can leave them straight for a clean modern look, unravel them for soft fringe, or cut them into a V shape for a decorative finish. Comb out single-strand cotton cord if you want a fluffy boho effect.
Safety Tips Before Hanging Your Plant
A macrame plant hanger may look light and airy, but once you add a pot, soil, water, and a growing plant, it can become surprisingly heavy. Always use a secure ceiling hook, wall bracket, or plant stand rated for the weight you plan to hang. If you are installing into a ceiling, anchor the hook properly into a joist or use the right hardware for your ceiling type.
Watering also matters. Pots with drainage holes are healthier for most houseplants because excess water can escape instead of sitting around the roots. However, drainage means water needs somewhere to go. Remove the pot for watering, water it in a sink, let it drain fully, and then return it to the hanger. Your floors will thank you, and so will your plant.
Styling Ideas for a Stunning Macrame Plant Hanger
A simple macrame hanger is versatile. You can style it to match modern, farmhouse, coastal, bohemian, minimalist, vintage, or eclectic decor. The trick is to pair the cord, pot, and plant with the mood of your room.
Modern Minimalist Style
Choose natural white cotton cord, a matte white or black pot, and a clean trailing plant such as pothos or philodendron. Keep the knots simple and the fringe short. This look works well in apartments, offices, and bright kitchens.
Boho Warmth
Use single-strand cotton cord, wooden beads, long fringe, and a terracotta or woven-style pot. Pair it with a trailing plant for a relaxed, layered look. This style is perfect for bedrooms, reading corners, and spaces with rattan, linen, jute, or warm wood tones.
Colorful and Playful
Macrame does not have to be beige, though beige has certainly built an impressive personal brand. Try sage green, mustard, rust, blush, navy, or charcoal cord. Match the color to pillows, artwork, rugs, or other accents in the room for a pulled-together design.
Common Mistakes to Avoid
Even beginner projects can go sideways if you rush the basics. One common mistake is cutting cords too short. Macrame uses more cord than many people expect because knots consume length quickly. When in doubt, cut longer cords and trim later.
Another mistake is knotting too tightly. Firm knots are good, but overly tight knots can make the hanger stiff and uneven. Keep steady tension instead of yanking the cords. Also, check the hanger frequently as you work. If one section is longer than the others, fix it early before the whole project develops a lean and starts looking suspicious.
Finally, do not ignore plant care. A stunning hanger cannot rescue a plant that is drowning, burning in direct sun, or sitting in the wrong pot. Choose the plant first, understand its light and water needs, then style the hanger around it.
How to Care for Your Macrame Plant Hanger
Macrame hangers are low-maintenance, but they do collect dust over time. Shake the hanger gently outdoors or use a lint roller on the cords. For small spots, dab with a damp cloth and mild soap. Avoid soaking the entire hanger unless the cord type allows it, because wet cotton can stretch and take time to dry.
If the hanger is used outdoors, keep it in a covered area when possible. Sun, rain, and humidity can fade or weaken natural fibers over time. For outdoor use, consider weather-resistant rope and check knots regularly. Indoors, inspect the cord every few months, especially if the plant is heavy or watered often.
Creative Variations to Try
Once you master the basic hanger, you can customize it endlessly. Add wooden beads between knot sections. Use two cord colors for contrast. Make a double plant hanger with one pot above another. Add a longer fringe for drama. Try a wall-mounted version with a dowel instead of a ceiling ring. Create mini hangers for small succulents or herbs in the kitchen.
You can also make seasonal versions. A natural cotton hanger feels fresh in spring and summer. A rust or olive cord looks cozy in fall. A white hanger with a red pot can become holiday decor without requiring you to store another plastic decoration in a mystery bin labeled “misc.”
Experience Notes: What Making a Simple and Stunning Macrame Plant Hanger Teaches You
The first thing you learn when making a simple and stunning macrame plant hanger is that measuring matters more than confidence. Confidence is lovely, but it will not magically make eight uneven cords the same length. Before cutting, stretch the cord out, measure carefully, and give yourself extra length. Beginners often underestimate how much cord knots consume. The project feels much more relaxing when you know you have enough material to finish without whispering negotiations at the last six inches.
The second lesson is that macrame has a rhythm. At first, the square knot may feel awkward. Left over center, right under, pull through, then reverse. Your hands may behave like they have never met each other before. But after a few repeats, the movement becomes natural. That is when the project gets fun. You stop thinking about every motion and start noticing the pattern forming. It is calming in the same way that watering plants is calming, except with fewer chances of spilling water on your socks.
Another useful experience is learning how cord tension changes the finished look. Loose knots create a soft, relaxed style, while firm knots create a crisp, structured design. Neither is wrong, but mixing both in the same hanger can make the piece look uneven. A good habit is to complete one knot, check its size, then match the next knots to it. Macrame is forgiving, but it is not completely asleep. It notices when you rush.
Testing the pot fit before tying the final gathering knot is also a major sanity-saver. Many beginners finish the entire hanger, proudly place the pot inside, and discover the basket sits too low, too high, or slightly sideways. The better approach is to test with the empty pot several times during the cradle stage. Adjust the knot spacing while the cords are still easy to move. This one step can be the difference between “handmade and gorgeous” and “technically holding a plant, but emotionally unstable.”
Plant choice teaches its own lessons. A lightweight pot is easier to hang safely. A pot with drainage keeps the plant healthier, but you need a plan for watering. Many people prefer to remove the plant from the hanger, water it in the sink, let it drain, and then return it. This avoids drips, stains, and the classic indoor gardening surprise known as “Why is there a puddle under the bookshelf?”
Finally, making a macrame plant hanger reminds you that home decor does not have to be expensive or complicated to feel personal. The finished piece carries small evidence of your choices: the cord color, the knot pattern, the plant, the pot, the length of the fringe. It becomes more than a holder. It becomes a handmade accent that adds life to a room, both through the plant and through the quiet satisfaction of saying, “Yes, I made that.” And honestly, that sentence never gets old.
Conclusion
A simple and stunning macrame plant hanger is one of the most rewarding DIY home decor projects for beginners. It requires only a few materials, teaches basic macrame knots, and creates a finished piece that is practical, stylish, and easy to customize. With the right cord, secure hanging hardware, a lightweight pot, and a healthy trailing plant, you can turn an empty corner or sunny window into a beautiful green focal point.
Start with a basic design, keep your knots even, test the pot fit as you go, and do not be afraid to add your own style. Whether you prefer clean modern lines or full boho fringe, a handmade macrame hanger brings warmth, texture, and personality into your space. It is simple, stunning, and just fancy enough to make your plants look like they hired an interior designer.