Creating an MLA title page seems like it should take about thirty seconds. Type a title, add your name, and move on with your life, right? Then the questions begin. Should the title be bold? Does the page need a number? Where does the instructor’s name go? Is a title page even required?
The most important fact is also the one that saves the most work: a standard MLA paper usually does not need a separate title page. In most cases, your identifying information and paper title appear on the first page, directly above the opening paragraph. A separate MLA cover page is generally used only when an instructor specifically requests one or when the assignment is a group project.
This guide explains how to do a title page in MLA format in six practical steps. It covers the standard MLA first-page layout, the optional separate cover page, formatting rules, examples, common mistakes, and experience-based lessons that can prevent a last-minute formatting scramble.
Do You Actually Need an MLA Title Page?
Before adjusting margins or wrestling with a stubborn page-number tool, check the assignment instructions. MLA style normally places the student’s information and title on the first page of the essay rather than on a separate sheet.
A separate title page may be appropriate in the following situations:
- Your instructor explicitly asks for a title page or cover page.
- The assignment is a collaborative or group research project.
- Your school provides a required MLA template with a separate cover.
- The paper is part of a longer project that needs additional identifying information.
When the directions say only “Use MLA format,” the safest default is usually the traditional MLA first page: a running header in the upper-right corner, four lines of identifying information in the upper-left corner, a centered title, and the essay beginning immediately below it.
Instructor directions take priority over general style guidance. Academic formatting is not a courtroom drama. You do not win by shouting, “But the handbook says!” while submitting something different from the assignment requirements.
MLA Title Page vs. MLA First Page
Students often use the phrase MLA title page to describe two different layouts. Understanding the difference can prevent you from adding an unnecessary blank page.
The Standard MLA First Page
The standard first page contains everything needed to identify the paper:
- Your last name and page number in the upper-right header
- Your full name
- Your instructor’s name
- The course name or course number
- The submission or due date
- The centered title of the paper
- The opening paragraph immediately below the title
A Separate MLA Cover Page
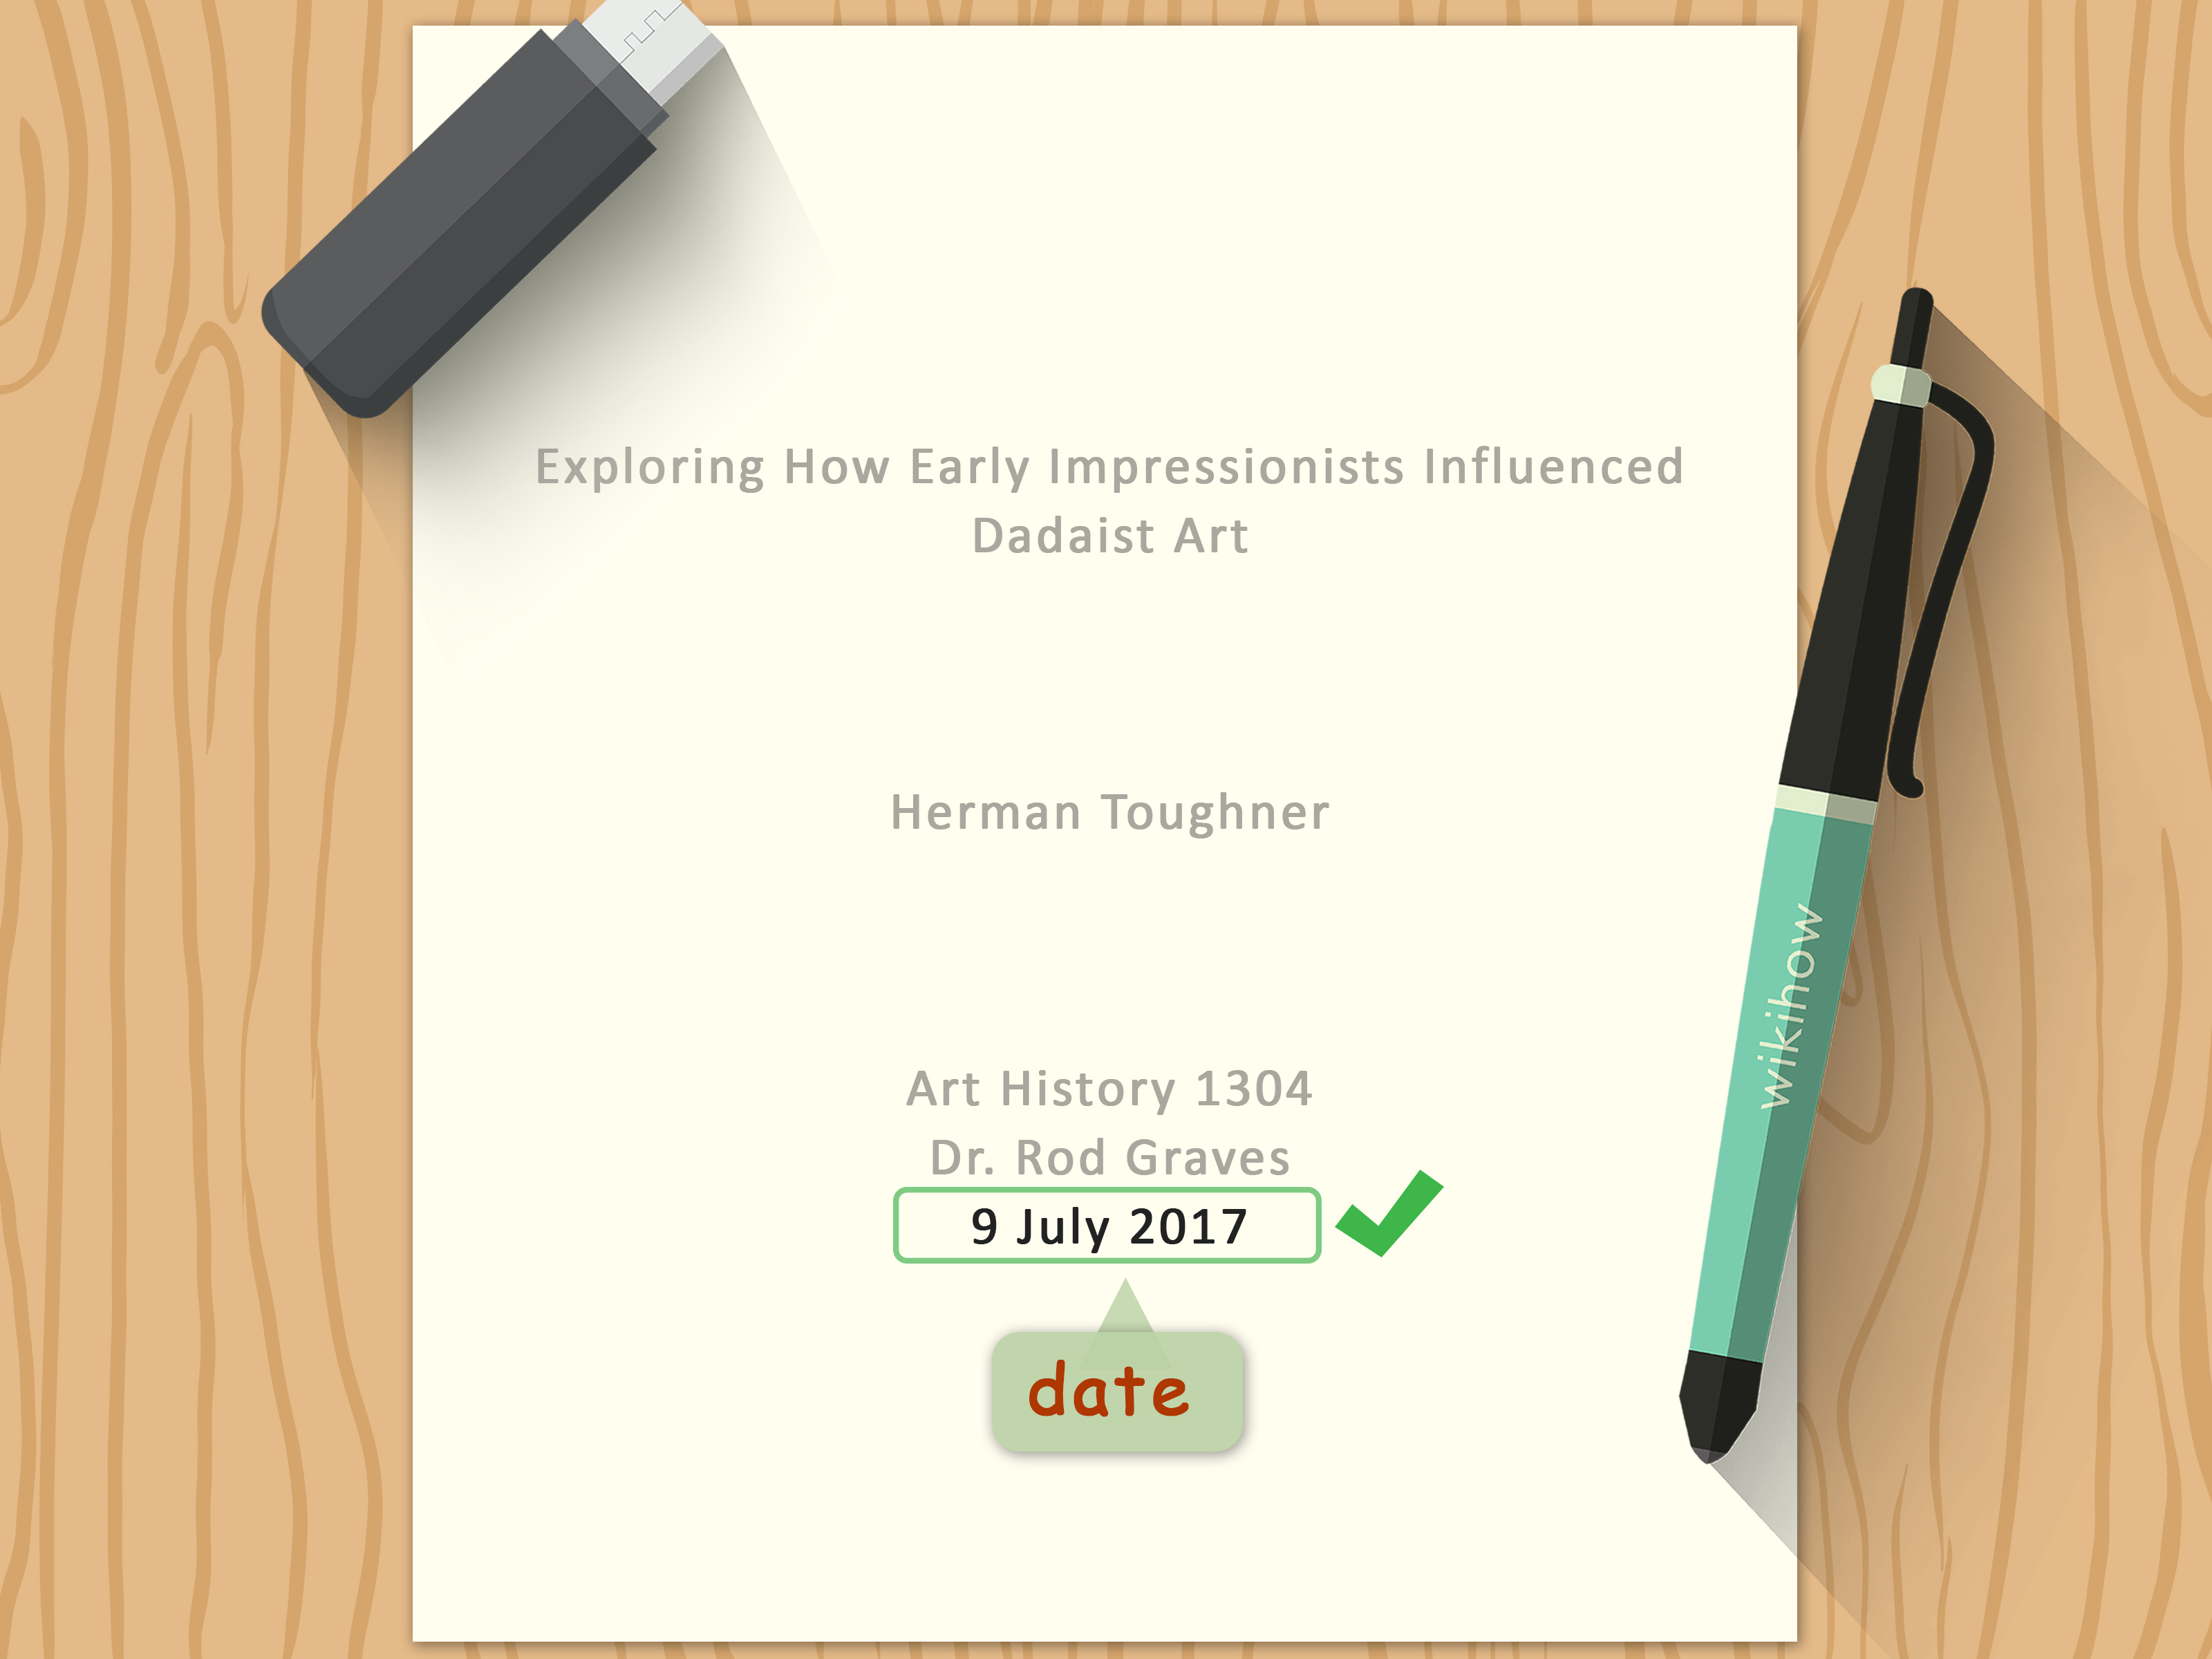
A separate cover page contains identifying information but no essay text. Because MLA does not prescribe one universal layout for every optional cover page, instructors and institutions may provide slightly different templates. A commonly accepted version includes the school name, paper title, student name, instructor, course, and date.
Whenever a separate page is required, follow the instructor’s sample before following a generic online template. Small details such as page numbering, the location of the school name, and the order of course information may vary.
How to Do a Title Page in MLA Format in 6 Steps
Step 1: Check the Assignment Requirements
Begin with the prompt, syllabus, grading rubric, or course template. Look for phrases such as “MLA first-page format,” “include a cover page,” “use the attached template,” or “list all group members on the title page.”
If the instructor has not requested a separate page, use the standard MLA first-page arrangement. Creating an extra cover page may appear harmless, but it can make the document look as though you followed a different style guide.
For a group assignment, list every contributor clearly. Each name should generally appear on its own line unless the instructor supplies another format. Confirm the order of the names with the group before submission. Alphabetical order is often the least dramatic solution and may prevent a miniature diplomatic crisis.
Step 2: Set Up the MLA Paper Format
Configure the document before typing the title-page information. Fixing the settings afterward can shift text, create mysterious blank pages, or send your carefully centered title on an unexpected journey.
Use the following general MLA page settings:
- Set the paper size to 8.5 by 11 inches.
- Use one-inch margins on all sides.
- Double-space the entire document.
- Turn off extra spacing before and after paragraphs.
- Select a readable font with clearly distinguishable regular and italic styles.
- Use a consistent font and size throughout the paper.
Many instructors prefer 12-point Times New Roman because it is familiar and easy to read, but MLA does not limit every paper to that single typeface. Arial, Calibri, Georgia, and other readable fonts may be acceptable when the instructor has not specified one. When in doubt, 12-point Times New Roman remains the academic equivalent of wearing a plain navy suit: not exciting, but rarely questioned.
Do not add decorative borders, background colors, oversized lettering, clip art, or dramatic typography. An MLA paper is a research assignment, not a movie premiere poster.
Step 3: Create the Running Header
For a standard MLA paper, insert a running header in the upper-right corner. It should contain your last name, one space, and the automatic page number.
For example:
The header should sit approximately one-half inch from the top of the page and align with the right margin. Use your word processor’s automatic page-number function instead of typing the number manually. Otherwise, every page may proudly announce itself as page 1.
Keep the header in the same font and size as the rest of the paper. Make sure the last name and page number are separated by a normal space rather than a comma, dash, slash, or tiny decorative lightning bolt.
If you are preparing a separate cover page, check the instructor’s directions for pagination. Some course templates include the running header on the cover, while others begin numbering with the first page of the essay. When local instructions differ, follow the local instructions.
Step 4: Type the Four-Line MLA Heading
On the first page, place the MLA heading one inch from the top and flush with the left margin. Type each item on its own line:
- Your full name
- Your instructor’s name
- The course name and number
- The date
A correctly arranged MLA heading might look like this:
The heading remains double-spaced. Do not center it, bold it, place labels before each line, or format it as a bulleted list. You do not need to write “Student,” “Professor,” “Class,” and “Date.” The position of each line already explains what it is.
The day-month-year format is commonly used in MLA documents, as in “14 October 2026.” Avoid inserting a comma between the month and year. Follow the instructor’s preference when the assignment requires a different date format.
Use the instructor’s preferred title, such as Professor, Dr., or another form given in the syllabus. Guessing incorrectly is unnecessary when the answer is usually sitting near the top of the course homepage.
Step 5: Center and Format the Paper Title
After the four-line heading, press Enter once and center the title. Because the entire paper is double-spaced, you do not need to insert additional blank lines before or after it.
Use title case, capitalizing the first and last words and the major words in between. Short articles, coordinating conjunctions, and many short prepositions remain lowercase unless they begin or end the title.
A straightforward title might appear as follows:
Do not automatically bold, underline, italicize, enlarge, or place quotation marks around your paper title. It should generally use the same font and size as the body text.
There is one important exception: when your title contains the name of another work, format that work according to normal title rules. Italicize the titles of independent works such as books, films, and plays. Place quotation marks around titles of shorter works such as poems, articles, and short stories.
Examples include:
A good academic title should tell the reader what the paper examines. “Essay Number Two” is technically a title, but it has roughly the same personality as an empty filing cabinet. A focused title can identify the main text, topic, argument, or analytical lens.
Step 6: Begin the Essay or Complete the Separate Cover Page
For the standard MLA first page, return to left alignment after the title. Press Enter once, indent the first line by one-half inch, and begin the opening paragraph. Do not insert a large empty space between the title and the essay.
The completed first-page layout should resemble this simplified example:
If your instructor requires a separate MLA cover page, use the requested template. In the absence of a detailed template, a common layout may include the following information:
Center the material consistently and keep the document double-spaced unless the assignment says otherwise. Use a page break after the cover page rather than pressing Enter repeatedly. A page break keeps the essay in place even when you revise the title or add another author.
Common MLA Title Page Mistakes
Adding a Cover Page Automatically
Students familiar with APA style sometimes assume that every formal paper needs a separate title page. MLA normally combines the identifying information, title, and beginning of the essay on page 1. Check before adding an extra page.
Using Extra Blank Lines
MLA documents should remain consistently double-spaced. Adding several empty lines above the title does not make the paper more elegant; it mainly makes the introduction harder to find.
Making the Title Too Decorative
A paper title does not need boldface, 18-point lettering, underlining, or a different font. Save the dramatic reveal for the argument in your introduction.
Typing Page Numbers Manually
Manual page numbers can repeat, disappear, or move when the document changes. Insert an automatic page-number field and confirm that the header appears on the correct pages.
Forgetting to Remove Paragraph Spacing
Word processors sometimes add space after each paragraph by default. That setting can make a double-spaced heading look uneven. Set paragraph spacing before and after to zero while keeping line spacing at double.
Copying an Outdated Template Without Checking It
Old handouts may reflect previous editions, institutional preferences, or another citation style entirely. Use current MLA guidance and the requirements provided for the specific course.
How to Format an MLA Title Page in Microsoft Word
- Open the Layout tab and set every margin to one inch.
- Select a readable font and appropriate size.
- Open the Paragraph settings and choose double line spacing.
- Set spacing before and after paragraphs to zero.
- Insert a page number at the top-right of the header.
- Type your last name before the automatic page number.
- Close the header and type the four-line heading at the left margin.
- Center the paper title, then return to left alignment for the essay.
Use the formatting symbols button when the layout behaves strangely. Hidden paragraph marks, manual page breaks, and extra spaces are much easier to fix when they are visible.
How to Format an MLA Title Page in Google Docs
- Choose File, then Page setup, and confirm one-inch margins.
- Select the entire document and apply double spacing.
- Open the header and insert the page number at the top right.
- Type your last name and a space before the page number.
- Enter your name, instructor, course, and date on separate lines.
- Center the title on the next double-spaced line.
- Return to left alignment and indent the opening paragraph.
Before submitting, download or preview the document as a PDF. A paper that looks perfect in the editor can occasionally shift when exported, especially if unusual fonts, manual spacing, or copied formatting are involved.
Experience-Based Lessons from Formatting MLA Papers
The most useful lessons about MLA title pages usually come from small mistakes rather than complicated citation problems. A student may understand an entire novel, develop a thoughtful argument, and still lose easy presentation points because the title is bold, the heading is single-spaced, or the page number has wandered to the left side of the document.
One common experience begins with a student searching for an “MLA cover page template” and choosing the first attractive example. The template may look polished, but it might actually follow APA rules, an older institutional standard, or a teacher’s custom requirements. The result is beautifully formatted and completely unnecessary. Checking the assignment first avoids doing extra work in the wrong direction.
Another frequent problem involves automatic paragraph spacing. The student selects double spacing and assumes the job is finished. However, the word processor also inserts eight or ten points after every paragraph. The heading suddenly has large gaps, and the title appears to float several inches above the introduction. The student responds by deleting lines, changing spacing manually, and creating an impressive ecosystem of inconsistent settings. The better solution is to set line spacing to double and paragraph spacing before and after to zero.
Page numbers create their own adventures. Typing “Smith 1” directly at the top of the page works until the paper reaches page 2, which also says “Smith 1.” Copying and changing the number on every page seems possible in a three-page essay, but revisions can reorder the pages and break the sequence. Automatic numbering takes less time and continues working when paragraphs are added or removed.
Titles are another source of uncertainty. Some students believe a serious paper needs a serious-looking title, so they use boldface, underlining, all capital letters, and a font large enough to be read from the parking lot. In MLA format, restraint usually looks more professional. A descriptive title in the same font and size as the paper is enough. The quality of the wording matters more than the amount of visual decoration.
Group projects add a practical lesson: agree on the author list early. Do not wait until five minutes before submission to debate whose name appears first or whether a team member’s middle initial belongs on the page. Choose an order, spell every name correctly, and give each contributor a separate line when using a title page. The formatting should identify the group, not document its internal politics.
Students also learn that templates are helpful only when the formatting is understood. A template may contain the right margins, header, and spacing, but pasted text can carry foreign formatting into the document. After pasting material, check the font, indentation, line spacing, and paragraph spacing. Using “paste without formatting” can prevent a quotation from arriving in a completely different typeface.
The final and perhaps most valuable experience is learning to inspect the submitted version rather than trusting the editable file. Open the PDF or uploaded document and review the first two pages. Confirm that the title is centered, the heading is aligned correctly, the running header is visible, and the essay starts in the right place. This two-minute review catches many problems that remain invisible while drafting.
MLA formatting becomes easier once the document is treated as a repeatable setup rather than a collection of mysterious rules. Configure the page, insert the automatic header, type the four-line heading, center the title, and begin the essay. After doing it correctly a few times, the process becomes routineand far less exciting than the night-before-submission panic it replaces.
Final MLA Title Page Checklist
- Confirm whether a separate title page is actually required.
- Use one-inch margins and consistent double spacing.
- Select a readable, consistent font.
- Remove extra paragraph spacing.
- Insert an automatic running header when required.
- Place identifying information in the correct order.
- Center the title without unnecessary decoration.
- Use title case and correctly format names of other works.
- Begin the essay on the next double-spaced line.
- Preview the final file before submitting it.
Conclusion
Learning how to do a title page in MLA format starts with determining whether you need a separate page at all. Most individual MLA papers use a formatted first page containing the running header, student information, centered title, and opening paragraph. Separate cover pages are generally reserved for assignments that specifically request them and for certain group projects.
Once the correct layout is clear, the process is simple: set one-inch margins, use double spacing, create the header, enter the identifying information, format the title, and review the final document. Keep the design clean, follow instructor-specific directions, and let the paper’s argumentnot an enormous bold titledo the impressive work.
Note: Instructor and institution requirements override general MLA conventions, especially when a separate cover page or a custom pagination system is requested.