Onions are one of those kitchen MVPs that somehow manage to show up in nearly everything without demanding top billing. Soup? They’re there. Chili? Absolutely. Weeknight pasta? Of course. And when your garden, farmers market haul, or “I regret buying the family-size bag” moment leaves you with more onions than you can reasonably sauté in one lifetime, drying them is a smart move.
This guide walks through three practical ways to dry onions: air-curing whole onions for storage, drying onion slices in a food dehydrator, and drying them in the oven. Each method has a different purpose, and choosing the right one depends on whether you want shelf-stable whole bulbs, homemade dried onion flakes, minced onion, or onion powder.
The good news is that onions are one of the easier vegetables to preserve. Unlike many vegetables, sliced onions typically do not require blanching before dehydration. The only bad news? Your kitchen may smell like it is preparing for a French onion soup festival. Consider that part of the charm.
Why Dry Onions in the First Place?
Drying onions is all about extending their usefulness while cutting down on waste. Properly dried onions take up less space, last longer, and make everyday cooking much easier. Instead of chopping a fresh onion every time you make soup, meatloaf, dip, roasted potatoes, or a spice blend, you can grab a jar of dried onion and move on with your life like the organized person you keep promising to become.
There are also flavor perks. Dried onions have a concentrated taste that works especially well in seasoning mixes, rubs, casseroles, and slow-cooked dishes. If you grind them, you get homemade onion powder with a fresher aroma than many store-bought versions. If you leave them as flakes, they rehydrate nicely in broths, sauces, and skillet meals.
Before You Start: Choose the Right Onions
If you are air-curing whole bulbs, start with mature storage onions, not tender green onions. Good candidates are firm, dry-skinned onions with no soft spots, bruising, mold, or signs of sprouting. Storage varieties generally hold up better than sweet onions, which tend to have more moisture and a shorter shelf life.
If you are dehydrating or oven-drying sliced onions, almost any bulb onion can work: yellow, white, or red. Yellow onions are the most versatile and usually produce the classic dried onion flavor people expect. Sweet onions can be dried too, but because they contain more moisture, they may take longer and may not store as long at peak quality.
Whichever type you use, start with sound produce. Drying does not improve old onions; it simply preserves what is already there. In other words, this is preservation, not onion rehab.
Method 1: Air-Cure Whole Onions for Storage
Best for
Use this method if you want to store whole dry-bulb onions for weeks or months, not make onion flakes or powder. This is the classic approach for homegrown onions after harvest.
How it works
Air-curing dries the outer layers and neck of the onion so the bulb stores better. It is less about making a brittle, fully dehydrated product and more about preparing fresh onions for longer storage.
How to do it
Harvest onions when the tops have started to fall over and the bulbs look mature. Brush off loose dirt gently, but do not wash them for curing. Spread them in a single layer in a shaded, warm, well-ventilated place, or hang them in small bunches. Good airflow matters more than fancy equipment.
Let the onions cure until the necks are tight and dry and the outer skins feel papery. This usually takes around two to three weeks, depending on humidity, temperature, and the size of the bulbs. A warm room, shed, garage, or covered porch can work if it stays dry and has solid ventilation.
Once cured, trim the roots and cut the tops to about 1 to 3 inches, unless you want to braid them. Store the onions in mesh bags, shallow boxes, or another breathable container in a cool, dry, dark, well-ventilated place. Do not seal whole cured onions in plastic bags, because trapped moisture is the enemy here.
When it is done
A properly cured onion has a dry neck, papery outer skin, and a firm bulb. If the neck still feels thick and moist, it needs more time. If the bulb feels soft, that onion should be used soon rather than stored long-term.
Pros and cons
Pros: Great for garden onions, no special equipment, preserves whole bulbs, and keeps the onions versatile for everyday cooking.
Cons: Not ideal for chopped convenience use, depends on good airflow, and works best with mature storage onions rather than every onion you bring home.
Method 2: Dry Sliced Onions in a Food Dehydrator
Best for
This is the best method for making dried onion flakes, minced dried onion, or homemade onion powder. If you want the most reliable results, start here.
Why a dehydrator wins
A food dehydrator gives you controlled heat and airflow, which means more even drying and less babysitting. It is generally more efficient than an oven, and it is easier to keep the temperature in the ideal range for drying instead of accidentally roasting your onions into a strange, crispy side dish.
Step-by-step instructions
First, wash the onions, remove the outer papery skin, trim the ends, and slice them evenly. Aim for slices about 1/8 to 1/4 inch thick. Uniform thickness matters because one tray should not contain both “barely dry” and “could be used as confetti.”
Spread the onion slices on dehydrator trays in a single layer. Do not pile them up. Air needs room to circulate around the pieces, and crowding slows everything down.
Dry the onions at about 135°F to 140°F, or follow your machine’s vegetable-drying directions if they are close to that range. Depending on slice thickness, onion variety, tray load, and humidity, drying often takes about 3 to 9 hours. Rotate trays if your model dries unevenly.
When the onions are done, they should be crisp to brittle, not soft, sticky, or leathery. Let them cool completely before storing them. Warm onions packed into a jar can create condensation, which is a fast track back to square one.
How to turn them into minced onion or onion powder
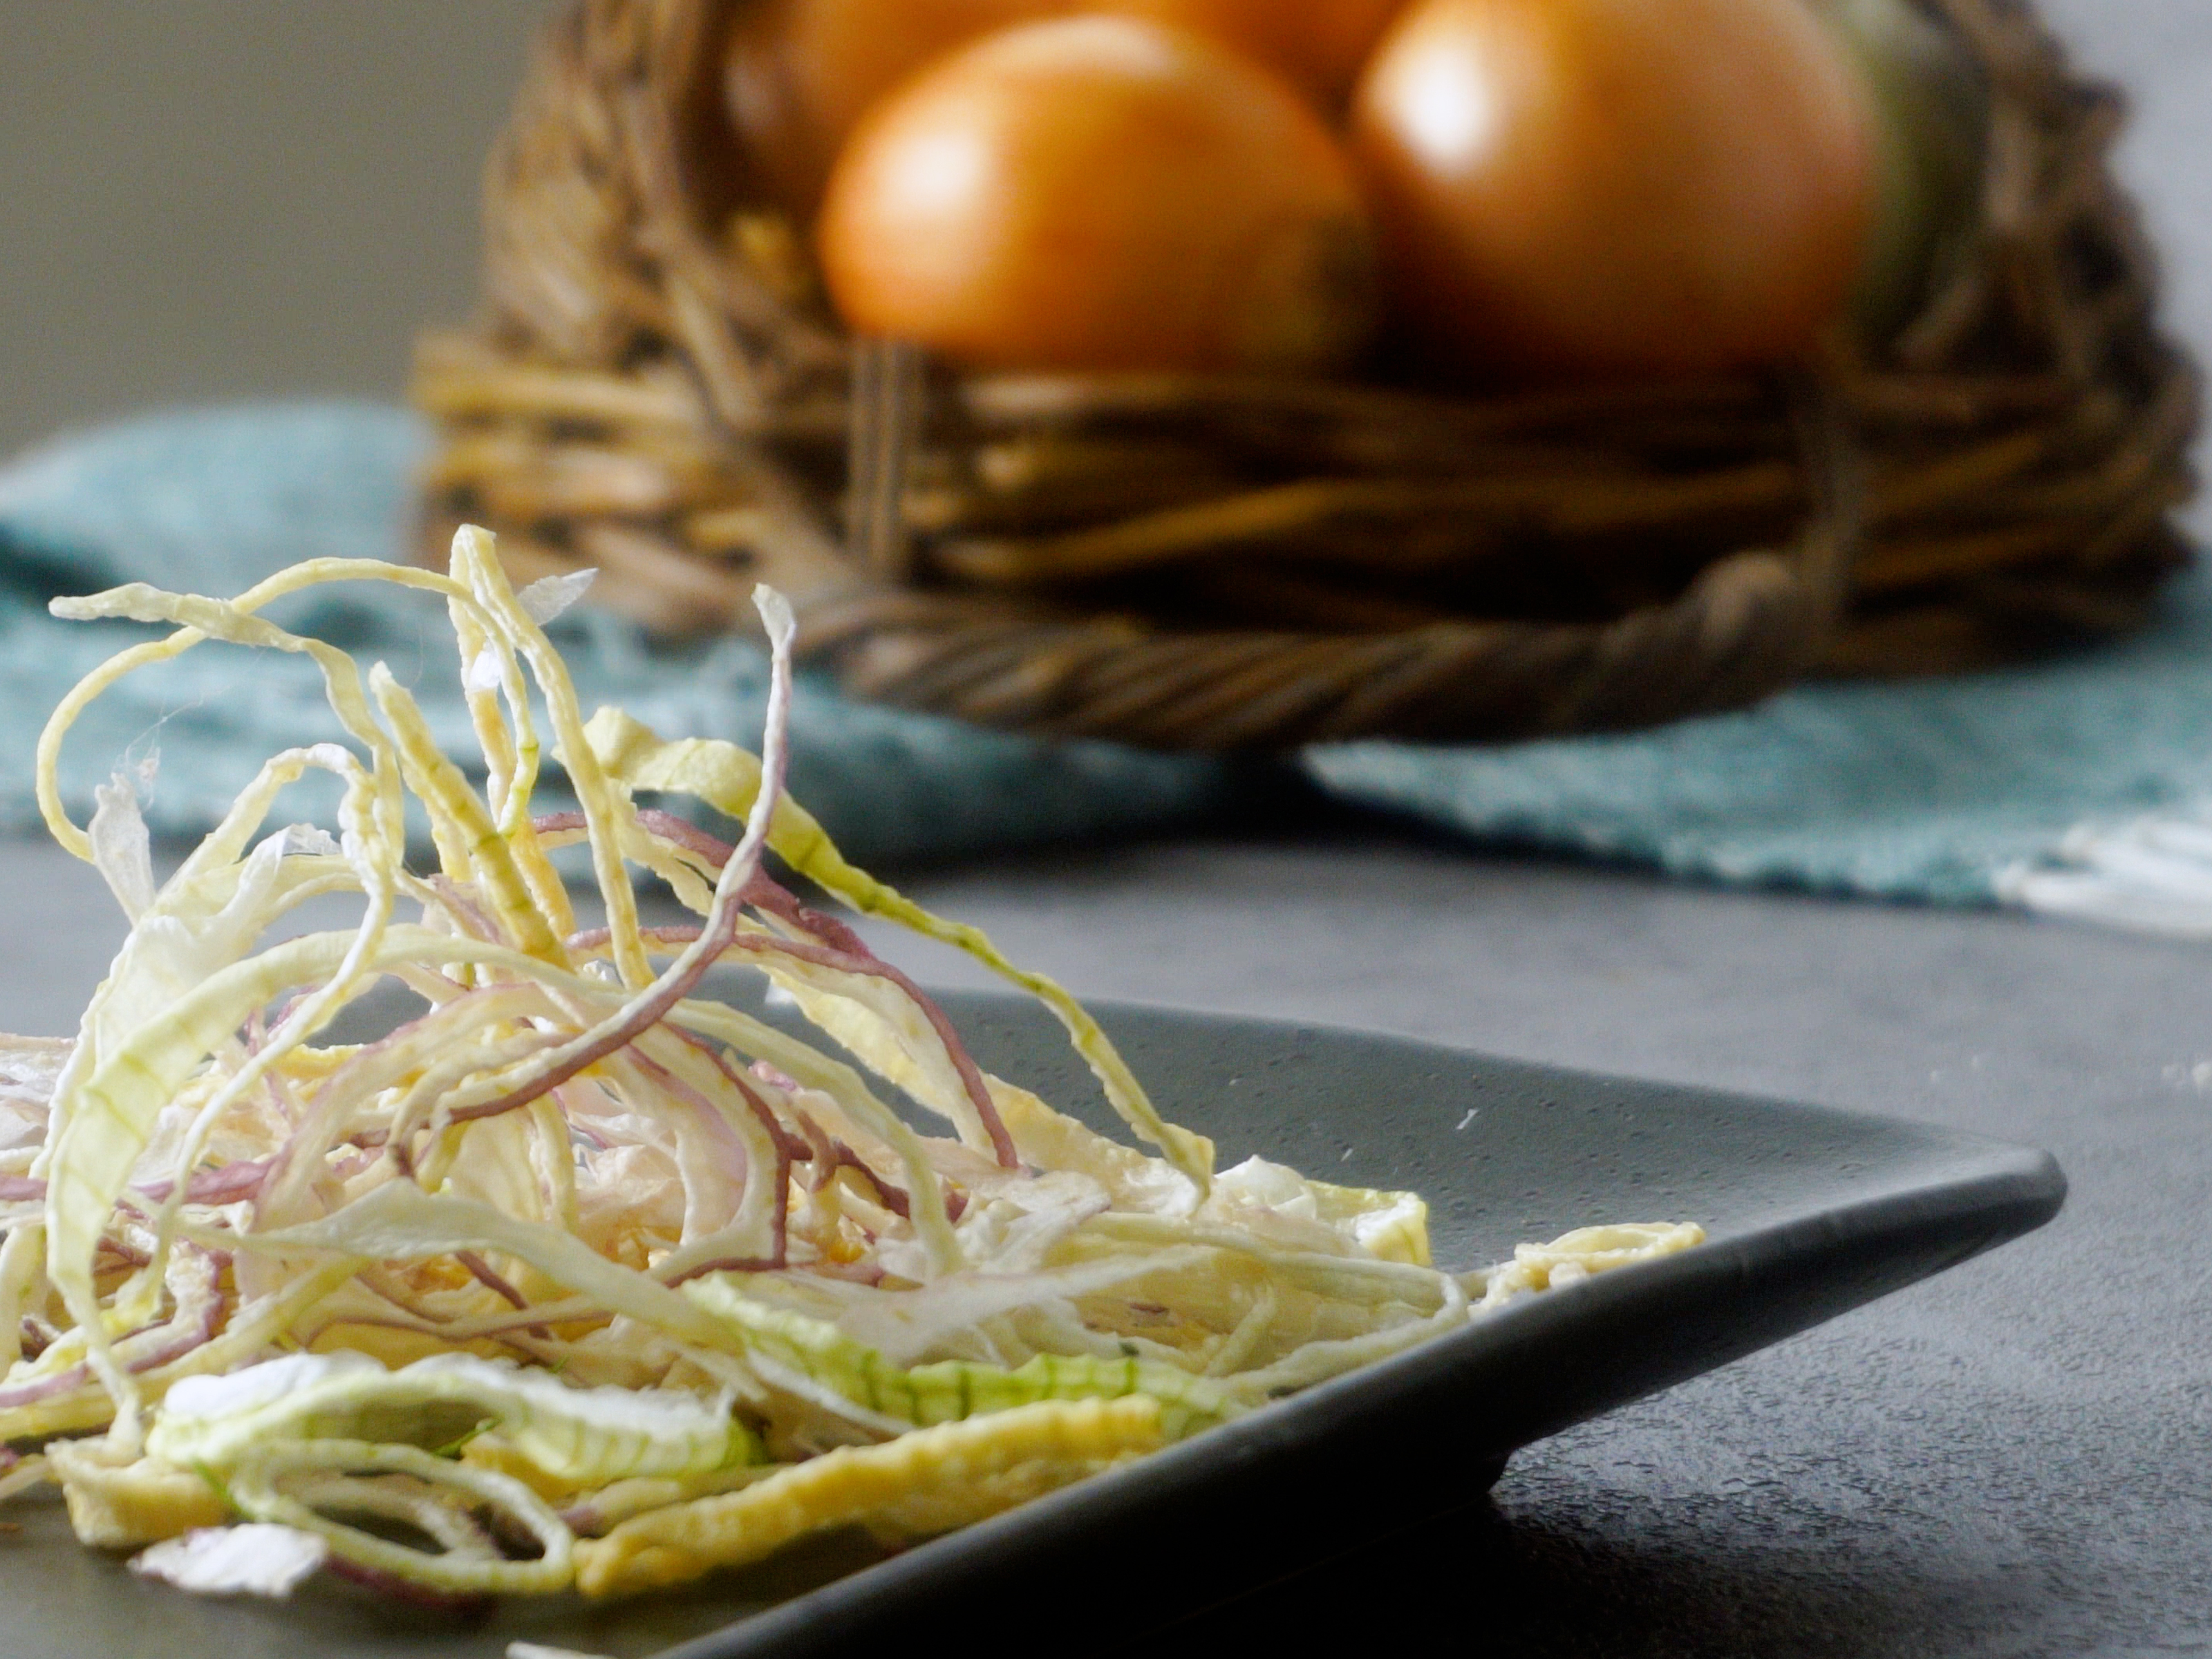
For dried onion flakes, leave the slices as they are. For minced onion, pulse the dried pieces briefly in a food processor or blender. For onion powder, grind until fine. Just make sure the onions are truly dry first. Powder made from partly dried onions can clump, cake, and spoil faster.
Pros and cons
Pros: Most dependable method, best quality, efficient drying, excellent for flakes and powder, and easier long-term storage.
Cons: Requires a dehydrator, creates a strong aroma, and may take several hours.
Method 3: Dry Onions in the Oven
Best for
Use the oven when you want dried onions but do not own a dehydrator, or when you are drying a small batch and do not want another appliance on the counter staring at you.
How to do it
Prepare the onions the same way as for dehydrator drying: wash, peel, trim, and slice them evenly. Spread them in a single layer on baking sheets or oven-safe racks lined for easy cleanup.
Set the oven as low as it will safely hold, ideally around 140°F. If your oven cannot stay that low, it is not a great candidate for drying onions because they may cook instead of dry. For many ovens, you will need to prop the door open slightly to help moisture escape. An oven thermometer is extremely helpful here, because “low” on one oven can mean “gentle drying” and on another it can mean “surprise onion chips.”
Turn or stir the onions occasionally and rotate the pans for more even drying. Oven drying usually takes two to three times longer than a dehydrator, so expect anywhere from 6 to 18 hours depending on your oven and the thickness of the onion slices.
As with dehydrator-dried onions, the finished texture should be crisp or brittle. If the centers still feel soft, keep drying. Near the end, watch closely because onions can move from “almost there” to “toasty disappointment” pretty quickly.
Pros and cons
Pros: No special appliance required, works for small batches, and is convenient if you already know your oven runs low and steady.
Cons: Less energy-efficient, slower, trickier to control, and more likely to dry unevenly or scorch.
Why This Guide Does Not Recommend Sun-Drying Onion Slices
Some older charts and general drying guides mention outdoor or solar drying times for onions. But modern home food preservation guidance is more cautious: most vegetables are not recommended for open-air outdoor drying because temperature, humidity, and airflow are harder to control. That raises the risk of spoilage before the food dries sufficiently.
If your goal is safe, repeatable results, stick with one of the three methods above. Save the sunshine for your tomatoes in the garden and your own emotional recovery after slicing six onions in a row.
How to Store Dried Onions
After drying, let the onions cool completely. Then package them in clean, dry, airtight containers such as glass jars with tight-fitting lids or moisture-resistant food-storage containers. Store them in a cool, dark, dry place.
If you suspect the pieces did not dry perfectly evenly, pack them loosely at first and check the container daily for several days. If you see condensation, dry them again before long-term storage. Properly dried vegetables generally keep best quality for several months, and many hold well for up to a year when stored cool and dry. Heat, light, and humidity shorten that window.
Also, do not dry onions alongside fruit or mild foods unless you want everything to smell faintly like an onion had a strong opinion nearby. Onion aroma travels.
How to Use Dried Onions
Dried onions are one of the handiest pantry ingredients you can make at home. Here are a few easy uses:
Onion flakes: Add to soups, stews, sauces, stuffing, skillet dinners, or rice dishes.
Minced onion: Stir into burger mixes, meatloaf, dry rubs, savory breads, and casseroles.
Onion powder: Use in spice blends, dips, salad dressings, roasted vegetable seasoning, marinades, and popcorn seasoning.
To rehydrate dried onion pieces, soak them briefly in warm water or simply add them directly to dishes with enough liquid, such as soup, chili, gravy, or braised meats. Onion powder, of course, skips the waiting and dives right in.
Real-Life Lessons and Experiences From Drying Onions at Home
Anyone who dries onions more than once usually comes away with a few memorable lessons. The first is that onions do not respect your schedule. A recipe may say one thing, a chart may say another, but the actual drying time depends on your onion variety, how thick you sliced it, the humidity in your kitchen, and whether your dehydrator or oven runs hot or cool. The practical takeaway is simple: trust texture more than the clock. When onions are truly dry, they feel crisp and almost papery. When they are not, they bend, feel soft in the center, or seem a little tacky.
The second lesson is that slice size changes everything. Thick slices look hearty and rustic, but they take longer and often dry less evenly. Thin, uniform slices are the real heroes. They dry faster, store better, and are easier to turn into flakes or powder. Many home cooks also discover that separating the rings before drying helps air move around the pieces more efficiently. It is a tiny step that pays off.
Another common experience is underestimating the smell. Drying onions can make your house smell like a diner grill had a long emotional monologue. Some people find that cozy. Others suddenly become very interested in opening windows. If you use a dehydrator, placing it in a garage, laundry room, or covered porch can make the process more pleasant, as long as the area stays dry and protected.
Storage teaches its own lessons. A jar of beautifully dried onions can seem perfect on day one and slightly soft by day three if a bit of moisture remained. That is why experienced preservers check their jars after packing. If the onions clump or the glass fogs, back to the dehydrator they go. It feels annoying in the moment, but it is far less annoying than tossing a whole batch later.
People also learn quickly that dried onions are not just a backup ingredient. They are their own ingredient. Onion flakes bring a mellow, concentrated flavor to meatballs and soups. Onion powder blends smoothly into ranch-style dips, dry seasoning mixes, and burger patties without adding chunks or extra moisture. In some dishes, dried onion actually works better than fresh because it distributes more evenly and keeps textures consistent.
And then there is the satisfaction factor. Taking a big bag of onions that might have softened in the pantry and turning it into neat jars of flakes or powder feels wonderfully practical. It saves money, reduces waste, and makes future cooking easier. There is something deeply rewarding about opening the cabinet, seeing those jars lined up, and knowing that past-you did present-you a favor.
So if your first batch is a little uneven, your kitchen smells boldly onion-forward, or your slices take longer than expected, welcome to the club. Drying onions is not difficult, but it does get better with practice. After a batch or two, you will know how thin to slice, how dry is truly dry, and which method fits your kitchen best. That is when onion drying stops feeling like a project and starts feeling like a very useful kitchen habit.
Conclusion
If you want the easiest overview, here it is: air-cure whole onions when you want to store fresh bulbs longer, use a dehydrator when you want the best dried onion flakes or powder, and use the oven when you need a solid backup method. Each option works; the best choice depends on whether you want whole onions, convenience ingredients, or a way to preserve extra onions before they go downhill.
Once you know which result you want, drying onions becomes much less mysterious. And frankly, that is good news, because onions are too useful to waste and too expensive to let turn squishy in the back of the pantry.