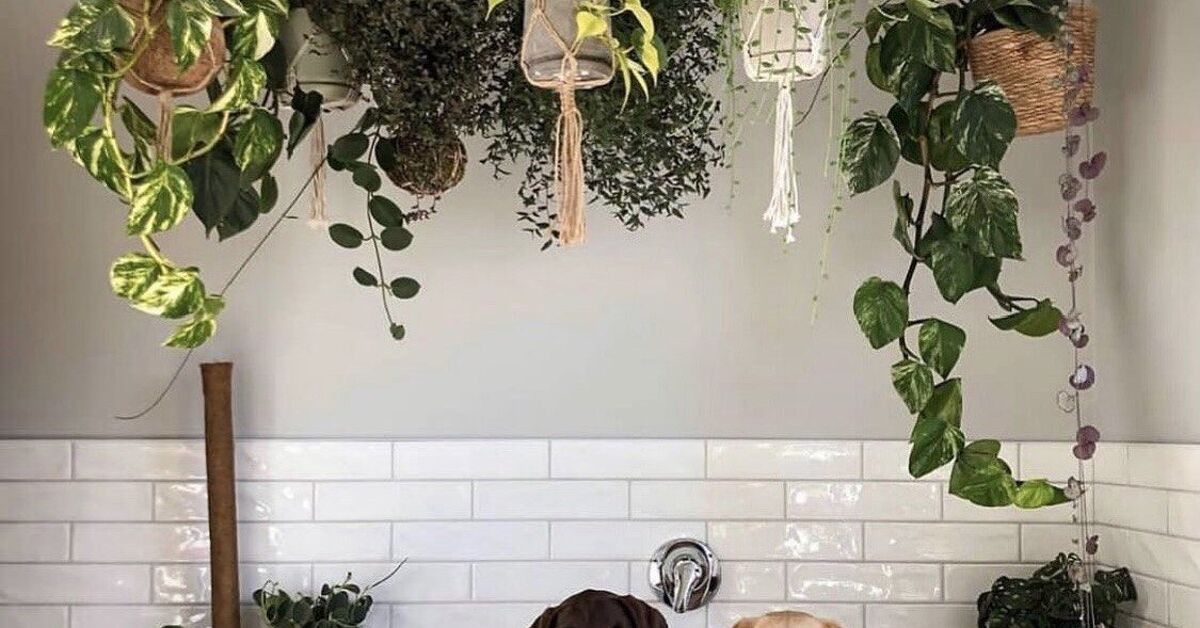
A hanging plant ladder is what happens when a practical woodworking project meets a houseplant collection that has officially run out of windowsill real estate. Instead of spreading pots across tables, counters, and every suspiciously flat surface in the house, this vertical plant display lets you arrange several hanging planters in one compact area.
The version in this guide uses two wooden side rails, five horizontal rungs, sturdy hooks, and an anti-tip anchor. It is designed to lean against a wall rather than support a person, so there are no complicated hinges, folding mechanisms, or advanced joints. Basic straight cuts and careful screw placement do most of the work.
When finished, the ladder can hold small trailing plants, herbs, air plants, or lightweight flowerpots. It also creates height and visual depth, turning an empty wall into a miniature indoor garden without consuming much floor space. Tiered and vertical plant stands are especially useful in compact rooms because they organize pots at different heights while preserving usable space.
Why Build a Hanging Plant Ladder?
You can certainly buy a plant stand, but building one gives you control over its width, height, finish, rung spacing, and weight capacity. You can make it narrow enough for an apartment corner, wide enough for a sunroom, or short enough to sit beneath a window.
A homemade hanging plant ladder also offers several practical advantages:
- It uses vertical space instead of covering tables and floors.
- It keeps trailing vines visible rather than allowing them to disappear behind furniture.
- It can be painted or stained to match existing décor.
- Individual pots can be moved as their lighting needs change.
- The open design allows air to circulate around leaves and containers.
- It makes watering and inspecting multiple plants more convenient.
Perhaps most importantly, it creates one organized plant zone. This is helpful when your houseplant hobby has quietly evolved from “a little greenery” into “the living room appears to have its own climate.”
Project Overview
- Skill level: Beginner
- Working time: Approximately three to five hours
- Total time: One day, plus finish-drying time
- Finished size: About 66 inches tall and 22 inches wide
- Recommended location: Indoors or on a covered porch
- Primary tools: Saw, drill, tape measure, square, and sander
The measurements below produce a tall, narrow ladder with five rungs. You can shorten the rails or reduce the number of rungs when building for a small room.
Materials and Tools
Lumber and Hardware
- Two 1-by-3 boards, each at least 6 feet long
- Five 1-by-2 boards for the rungs
- Twenty 1 1/4-inch wood screws
- Exterior-rated or all-purpose wood glue
- Two non-slip rubber feet or furniture pads
- Two felt wall-protection pads
- One furniture anti-tip strap or small metal wall bracket
- S-hooks or plant hooks with clearly stated working-load ratings
- Lightweight hanging planters
- Plant saucers or drip trays
Tools
- Tape measure
- Pencil
- Carpenter’s square or speed square
- Circular saw, miter saw, or handsaw
- Drill and driver bits
- Countersink bit
- Clamps
- Orbital sander or sanding block
- 120- and 180-grit sandpaper
- Stud finder
- Level
- Paintbrush or clean finishing cloth
- Safety glasses and hearing protection
Choose the Right Wood
Common pine is affordable, widely available, and perfectly reasonable for an indoor hanging plant ladder. Select straight boards with minimal twisting, deep cracks, or loose knots. Even an accurate cut cannot persuade a severely warped board to behave.
For a covered patio or humid sunroom, cedar, redwood, or cypress may be worth the additional cost. These species are commonly used for exterior projects because they offer better natural weather resistance than many untreated indoor woods. Whatever species you choose, avoid boards that feel damp or visibly distorted.
This project should not be built from weak decorative molding. Although the planters may look small, moist potting mix, ceramic containers, water, and mature foliage can create a substantial combined load.
Plan the Ladder Before Cutting
Measure the Available Space
Choose the intended location before buying plants or cutting lumber. Measure the wall width, ceiling height, nearby furniture, and distance from the closest window. Leave room for vines to trail without brushing against heaters, air-conditioning vents, doors, or frequently used walkways.
A finished height of 60 to 66 inches works well in many rooms. A width of 20 to 24 inches provides enough space for several compact planters while keeping the ladder easy to move.
Account for Light
Do not assume that the brightest-looking wall is automatically the best plant location. Light intensity changes dramatically with window direction, season, curtains, exterior shade, and distance from the glass.
South-facing windows generally provide the strongest natural indoor light, while east-facing locations often offer gentler morning sun. Plants positioned farther from a window may require supplemental lighting. Lower-light plants also tend to dry more slowly, making overwatering easier.
Estimate the Loaded Weight
Weigh or estimate each planter after watering, not while it is empty. Then check the published working-load rating for every S-hook, hanger, wall anchor, strap, and bracket used in the installation.
Keep the total load conservative and distribute it across several rungs. Place the heaviest pots near the bottom, where they create less leverage and reduce the consequences of an accidental fall.
How to Make a Hanging Plant Ladder
Step 1: Cut the Side Rails and Rungs
Cut two 1-by-3 boards to 66 inches long. These pieces will become the ladder’s side rails.
Next, cut five 1-by-2 boards to 22 inches long. These are the rungs. The rungs will extend slightly beyond the rails on both sides, creating a finished, balanced appearance and providing extra room for hooks.
Use a square to mark each cut line. Label the boards as you work so that the two long rails are not accidentally transformed into twelve very attractive pieces of firewood.
After cutting, place matching pieces together and confirm that their lengths are equal. Small differences can make the finished ladder sit unevenly.
Step 2: Mark the Rung Positions
Lay the two side rails parallel on a flat work surface. Position them so the outer edges are 20 inches apart. This creates enough overlap for each 22-inch rung to extend approximately 1 inch beyond each rail.
Measure 8 inches from the bottom of both rails and draw a square line across each board. This marks the center position of the lowest rung.
Mark the remaining rung centers approximately 11 inches apart. A practical layout is:
- First rung: 8 inches from the bottom
- Second rung: 19 inches from the bottom
- Third rung: 30 inches from the bottom
- Fourth rung: 41 inches from the bottom
- Fifth rung: 52 inches from the bottom
Check that corresponding marks on the two rails align. Uneven rungs may not be disastrous, but they can make the ladder look as though it was assembled during a minor earthquake.
Step 3: Sand Every Piece
Sand the faces, edges, and cut ends with 120-grit sandpaper. Follow with 180-grit paper for a smoother finish. Slightly round sharp edges, especially where ropes, cords, or plant hangers will touch the wood.
Remove all dust with a vacuum and a clean cloth. Sanding before assembly is easier because every surface remains accessible. It also reduces the chance that a rough edge will damage a plant hanger or leave a splinter in your hand.
Step 4: Attach the Rungs
Place the first rung across the two rails, centered on the lowest layout marks. Confirm that the overhang is equal on both sides. Clamp the rung in position.
Drill two pilot holes through the rung and into each rail. Two screws per connection help prevent the rung from twisting under an uneven load. Countersink the holes slightly so the screw heads sit flush with the wood.
Apply a thin layer of wood glue between the rung and each rail. Drive the screws without overtightening them. Excessive force can strip the holes or split the relatively narrow rung.
Repeat this process for the remaining four rungs. Before tightening everything completely, measure diagonally from corner to corner. Equal diagonal measurements indicate that the assembly is square.
Basic plant-stand projects commonly rely on careful measuring, square cuts, pilot holes, clamps, glue, and mechanical fasteners rather than elaborate joinery, making this type of build approachable for beginners.
Step 5: Test the Ladder’s Position
Stand the assembled ladder in its intended location and lean it gently against the wall. Move the bottom outward until the ladder looks stable without occupying too much floor space. In many rooms, placing the feet approximately 12 to 16 inches from the wall creates a comfortable angle.
Use a level to confirm that the rungs are horizontal. If the floor is uneven, add a thin furniture shim or adjustable protective pad beneath one rail.
Attach non-slip pads to the bottom ends. Add felt pads to the upper rear surfaces where the rails contact the wall. The rubber helps resist sliding, while the felt reduces scuffs and paint damage.
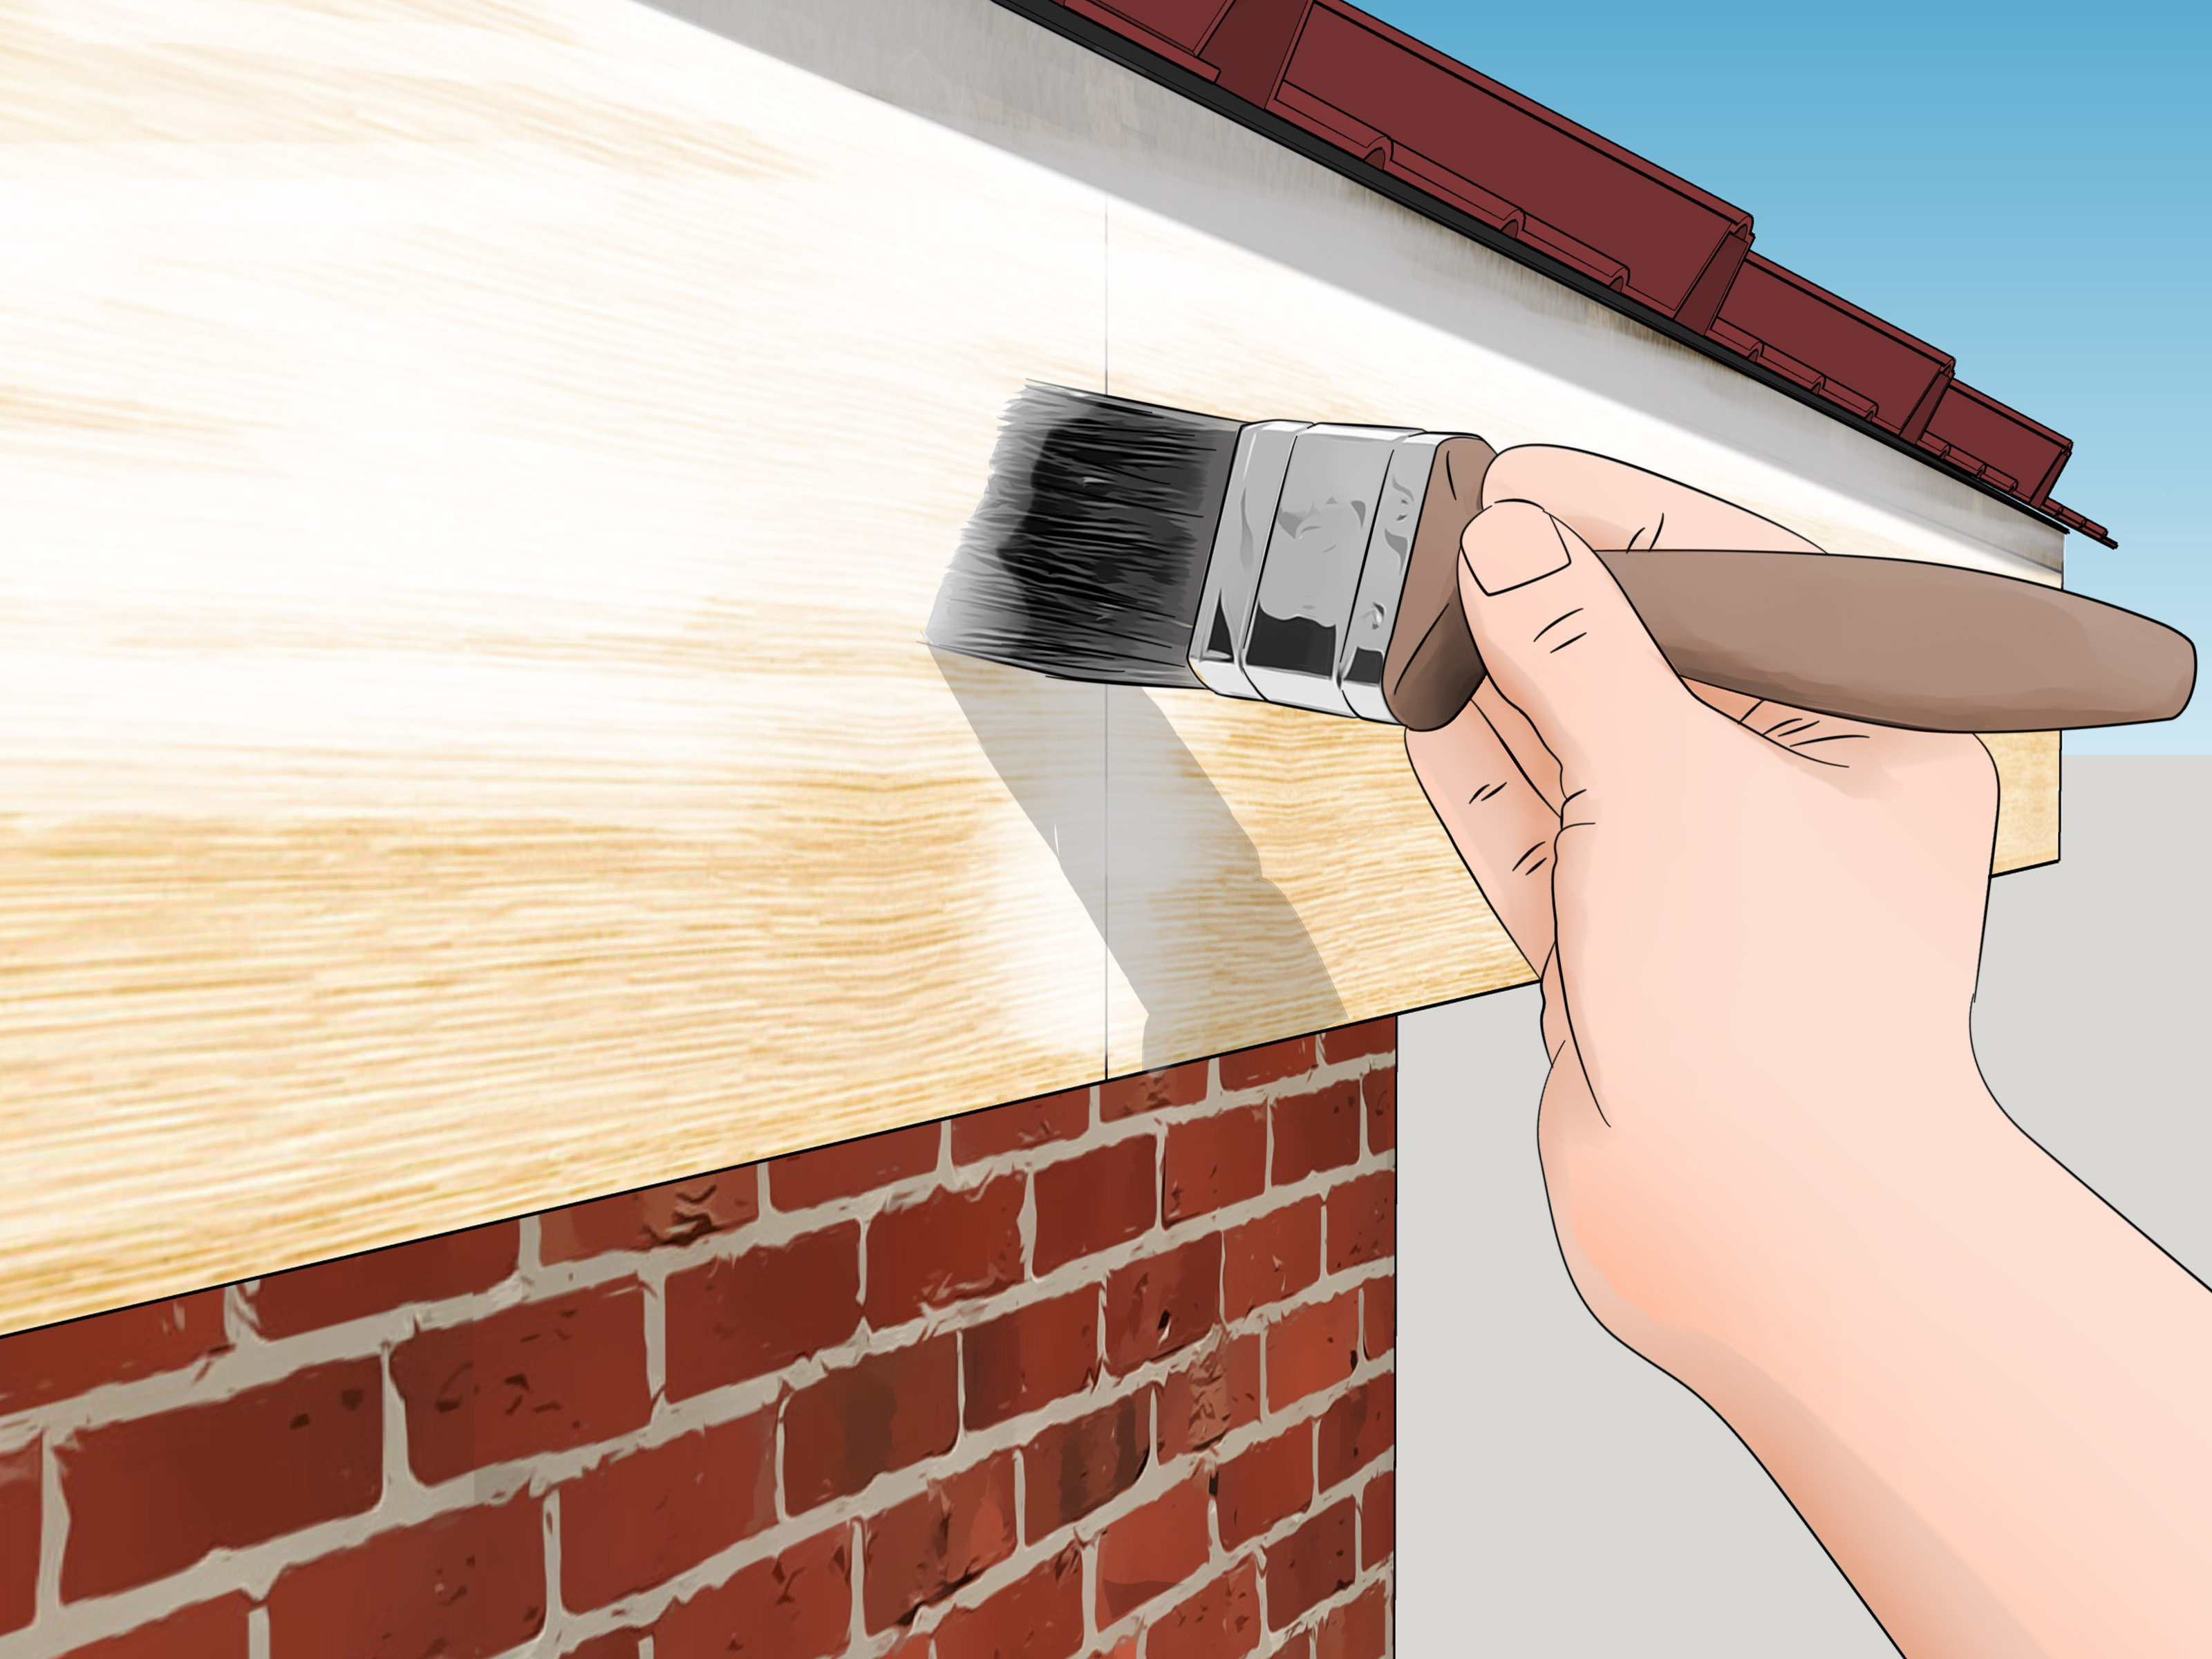
Step 6: Paint, Stain, or Seal the Wood
Move the ladder to a well-ventilated work area. Apply the chosen finish according to the manufacturer’s directions.
For an indoor ladder, suitable options include:
- Clear water-based polyurethane
- Interior wood stain followed by a compatible clear coat
- Furniture paint
- Chalk-style paint with a protective topcoat
For a ladder used on a covered porch, choose an exterior-rated coating. Common outdoor finishing systems include exterior paint, penetrating oil, exterior varnish, and other products specifically formulated to resist moisture and ultraviolet exposure. End grain absorbs moisture readily, so coat the cut ends thoroughly.
Apply thin, even coats and allow the finish to dry fully between applications. Do not hang plants until the coating has cured as directed. A surface that feels dry may still be soft enough to stick to cords, pads, or painted walls.
Step 7: Secure the Ladder
A leaning plant ladder should not rely on gravity and positive thinking alone. Attach the upper portion to the wall with a furniture anti-tip strap, small bracket, or another suitable restraint.
Whenever possible, fasten the wall side of the restraint into a wood stud or solid structural member. Follow the hardware manufacturer’s instructions and verify that the fastener is appropriate for the wall material.
When hanging substantial weight directly from a ceiling or wall, reputable installation guidance generally recommends using a joist, beam, stud, solid masonry, or properly rated anchor. The same principle applies to the anti-tip hardware protecting a loaded plant ladder.
Step 8: Add Hooks and Planters
Install smooth, load-rated S-hooks over the rungs. Hooks with rounded ends are preferable because they are less likely to damage plant-hanger cords.
Add one empty planter at a time. Check that the ladder remains stable and that each hook sits securely. Then add the plants gradually, beginning with the lowest rung.
A balanced arrangement might include:
- A compact spider plant or peperomia on the lowest rung
- A heartleaf philodendron on the second rung
- A small herb pot or hoya near the middle
- A pothos on the fourth rung
- A lightweight string-of-hearts or air plant display at the top
Avoid crowding every inch. Plants need room to grow, and empty space makes the display look intentional rather than like a botanical coat rack during rush hour.
How to Arrange Plants on the Ladder
Place Heavy Plants Low
Reserve the lower rungs for the heaviest containers. Ceramic pots, large root systems, and freshly watered soil belong close to the floor. Use lightweight plastic, resin, coir, or thin metal planters higher on the ladder.
Give Each Plant Appropriate Light
Place sun-tolerant plants closest to the strongest light. Use lower rungs or positions farther from the window for plants that prefer bright but filtered conditions. Rotate containers periodically if growth begins leaning strongly toward the glass.
Leave Space for Trailing Growth
Imagine each plant six months from now rather than arranging only for its present size. Long vines can cover plants below, tangle around hooks, and alter the weight distribution. Leave vertical space for growth and prune or redirect vines when needed.
Use a Consistent Visual Theme
The pots do not need to match perfectly. A display often looks more natural when containers share one repeating feature, such as color, material, shape, or hanger style.
For example, combine white ceramic-look planters with natural rope hangers, or use assorted terracotta-colored pots with black metal hooks. Repetition creates harmony even when the plants themselves vary dramatically.
Watering Without Creating an Indoor Swamp
Whenever practical, remove each planter from the ladder and water it over a sink, tub, or outdoor surface. Allow excess water to drain completely before returning the pot to its hook.
Containers should have drainage holes, and roots should not remain in standing water. Constantly saturated potting mix can reduce oxygen around the roots and contribute to root problems. University extension guidance consistently emphasizes free drainage and avoiding pots that sit in excess water.
If a planter must be watered in place, use a narrow-spout watering can and a secure drip tray. Add water slowly, stopping before the saucer overflows. Check the ladder and wall afterward for moisture.
Do not follow one rigid watering schedule for every plant. Check the potting mix, container weight, plant species, light level, and season. A small pot near a sunny window may dry rapidly, while a larger pot in lower light may remain moist for much longer.
Common Mistakes to Avoid
Using Unrated Hooks
A decorative hook may look sturdy while having no verified working-load rating. Use hardware intended for hanging planters or comparable loads, and stay comfortably below its stated limit.
Ignoring Water Weight
Always evaluate a planter when saturated. Water can turn a modest-looking container into the heavyweight champion of the pothos division.
Skipping Pilot Holes
Driving screws directly near the edge of a narrow board can split the wood. Pilot holes also make it easier to keep screws straight and rung spacing accurate.
Leaving the Ladder Unanchored
Children, pets, vacuum cleaners, swinging vines, and accidental bumps can shift a leaning ladder. An anti-tip restraint is an essential part of the design, not an optional decorative flourish.
Using Indoor Finish Outdoors
An interior clear coat is not designed for repeated moisture, sunlight, and temperature changes. Use an exterior-rated system when the ladder will live outside, even on a sheltered porch.
Moving Indoor Plants Straight Into Strong Sun
Houseplants taken outdoors should be introduced gradually to brighter conditions. Sudden exposure to direct sun can damage foliage, including leaves on plants commonly considered sun-loving. Begin in shade or indirect light and increase exposure over time.
Ways to Customize Your Hanging Plant Ladder
- Add a narrow shelf: Install a small shelf across the bottom rung for a watering can or extra pots.
- Use removable labels: Hang small plant-name tags from the rungs.
- Install a grow light: Mount a lightweight LED grow bar nearby without attaching it to an overloaded rung.
- Create an herb ladder: Use small pots of thyme, oregano, mint, parsley, and trailing rosemary near a bright kitchen window.
- Try a two-tone finish: Stain the rails and paint the rungs for contrast.
- Add seasonal plants: Rotate flowering plants or holiday greenery into the display without rebuilding the structure.
- Build a shorter version: A four-rung ladder can fit beneath a window or on a covered balcony.
Practical Experiences and Lessons From Hanging Plant Ladder Projects
The most useful lessons often appear after a plant ladder has been assembled, loaded, watered, and lived with for several weeks. On paper, the project is simply two rails and a group of rungs. In daily use, small design decisions determine whether it becomes a convenient indoor garden or an elaborate device for dripping water onto the floor.
One common lesson is that rung spacing should be based on mature plants rather than newly purchased ones. A small pothos may initially occupy only a few inches, but its vines can soon hang across two or three lower planters. Builders frequently discover that generous empty space is more useful than squeezing in an additional rung. Wider spacing also makes it easier to lift pots off their hooks without wrestling through a jungle of stems.
Another lesson concerns planter weight. Empty nursery pots can make a ladder feel impressively solid during the first test. Once those pots contain damp soil, decorative covers, saucers, and mature plants, the load changes considerably. A better testing method is to fill temporary containers with water or another controlled weight and add them gradually. Any movement, twisting, or unusual sound should be investigated before real plants are installed.
Watering habits often influence the final arrangement. Plants that need frequent attention are easier to manage on middle or lower rungs. Drought-tolerant plants can occupy higher positions, where removing them is slightly less convenient. Many plant owners also find that taking containers to the sink is faster than cautiously watering them in place. The extra minute spent removing a pot is usually preferable to wiping dirty water from five leaves, two rungs, one wall, and an innocent nearby chair.
The wall surface deserves attention as well. Even a secured ladder can move slightly when pots are removed. Felt pads behind the upper rails help prevent marks, but they should be checked occasionally for trapped moisture or grit. A washable wall finish or a narrow protective panel behind the ladder can be useful in high-maintenance plant collections.
Plant growth may gradually change the ladder’s balance. Vines can be surprisingly effective at pulling toward a curtain rod, shelf, or neighboring plant. Large leaves may also catch air from a fan or open window. Regular pruning, rotation, and inspection keep the display attractive while preventing cords from twisting around the rungs.
Finish choice becomes more important than expected once watering begins. Bare wood develops stains quickly, while a fully cured protective coating is easier to wipe clean. Coating the underside, back, screw holes, and cut endsnot just the visible frontproduces a more durable result. Outdoor ladders need periodic inspection because sunlight and moisture eventually challenge every finish.
Finally, experienced builders tend to treat the first arrangement as a draft. Plants respond differently to the available light, and the most attractive layout may not be the healthiest one. Moving a fern down one rung or shifting a succulent closer to the window is not a design failure. The best hanging plant ladder is flexible enough to evolve with the plants, the seasons, and the owner’s steadily expanding collection.
Final Thoughts
A hanging plant ladder offers a simple way to combine woodworking, vertical storage, and indoor gardening. With straight boards, basic tools, careful measuring, secure fasteners, and properly rated hanging hardware, a beginner can create an attractive display in a single weekend.
The structure itself is uncomplicated, but the details matter. Smooth every edge, anchor the ladder, place heavy containers low, protect the wood from moisture, and give each plant the light and drainage it needs. Do those things well, and the finished ladder will look less like an improvised storage solution and more like a living piece of wall décor.