Attaching a USB drive to your computer sounds like the kind of task that should take roughly three seconds and zero brain cells. And sometimes it does. You plug it in, it pops up, angels sing, and your files are right there. But other times? Nothing happens. Or the drive appears but refuses to open. Or your Mac stares at your Windows-formatted drive like it has trust issues. Or Windows sees the device but forgets to assign it a drive letter, which is the digital equivalent of misplacing your keys while you’re holding them.
That is exactly why this guide exists. Whether you are using a Windows PC or a Mac, this article walks you through how to attach a USB drive properly, how to find it, how to use it, what to do if it does not show up, and how to eject it without turning your files into a cautionary tale. We will also cover the port types, the best file systems for compatibility, and a few real-world lessons that can save you time, stress, and dramatic sighing.
What You Need Before You Plug In a USB Drive
Before attaching a USB drive, take a quick look at both the drive and your computer. Not every USB connector is the same, and that tiny detail causes a surprising amount of chaos.
Know Your Port Type
Most USB drives connect through one of these common port types:
- USB-A: The classic rectangular connector. If you have owned a computer at any point in the last two decades, you have probably met this one.
- USB-C: The smaller oval connector that can be plugged in either way. Modern Macs and many newer Windows laptops use this.
- Micro-USB or USB-C cable on external drives: Some portable hard drives and SSDs do not plug in directly. Instead, they connect with a cable.
If your computer has only USB-C ports and your drive uses USB-A, you may need a USB-C adapter, hub, or dock. One important detail: use a data-capable adapter or cable, not a charge-only cable. That innocent-looking cable in your drawer may power a device but fail to move data, which is a rude little trick.
Check Whether the Drive Needs Extra Power
Most USB flash drives draw enough power from the computer’s port and work immediately. Larger external hard drives, however, may need more power. Desktop external drives often use a separate power adapter. Even some portable drives behave better when connected directly to the computer instead of through a low-power hub. If a drive seems dead, the issue may be power rather than the drive itself.
How to Attach a USB Drive on Windows
Using a USB drive on Windows is usually simple, but it helps to know the correct order and where to look if things do not go smoothly.
Step 1: Plug the Drive Into a USB Port
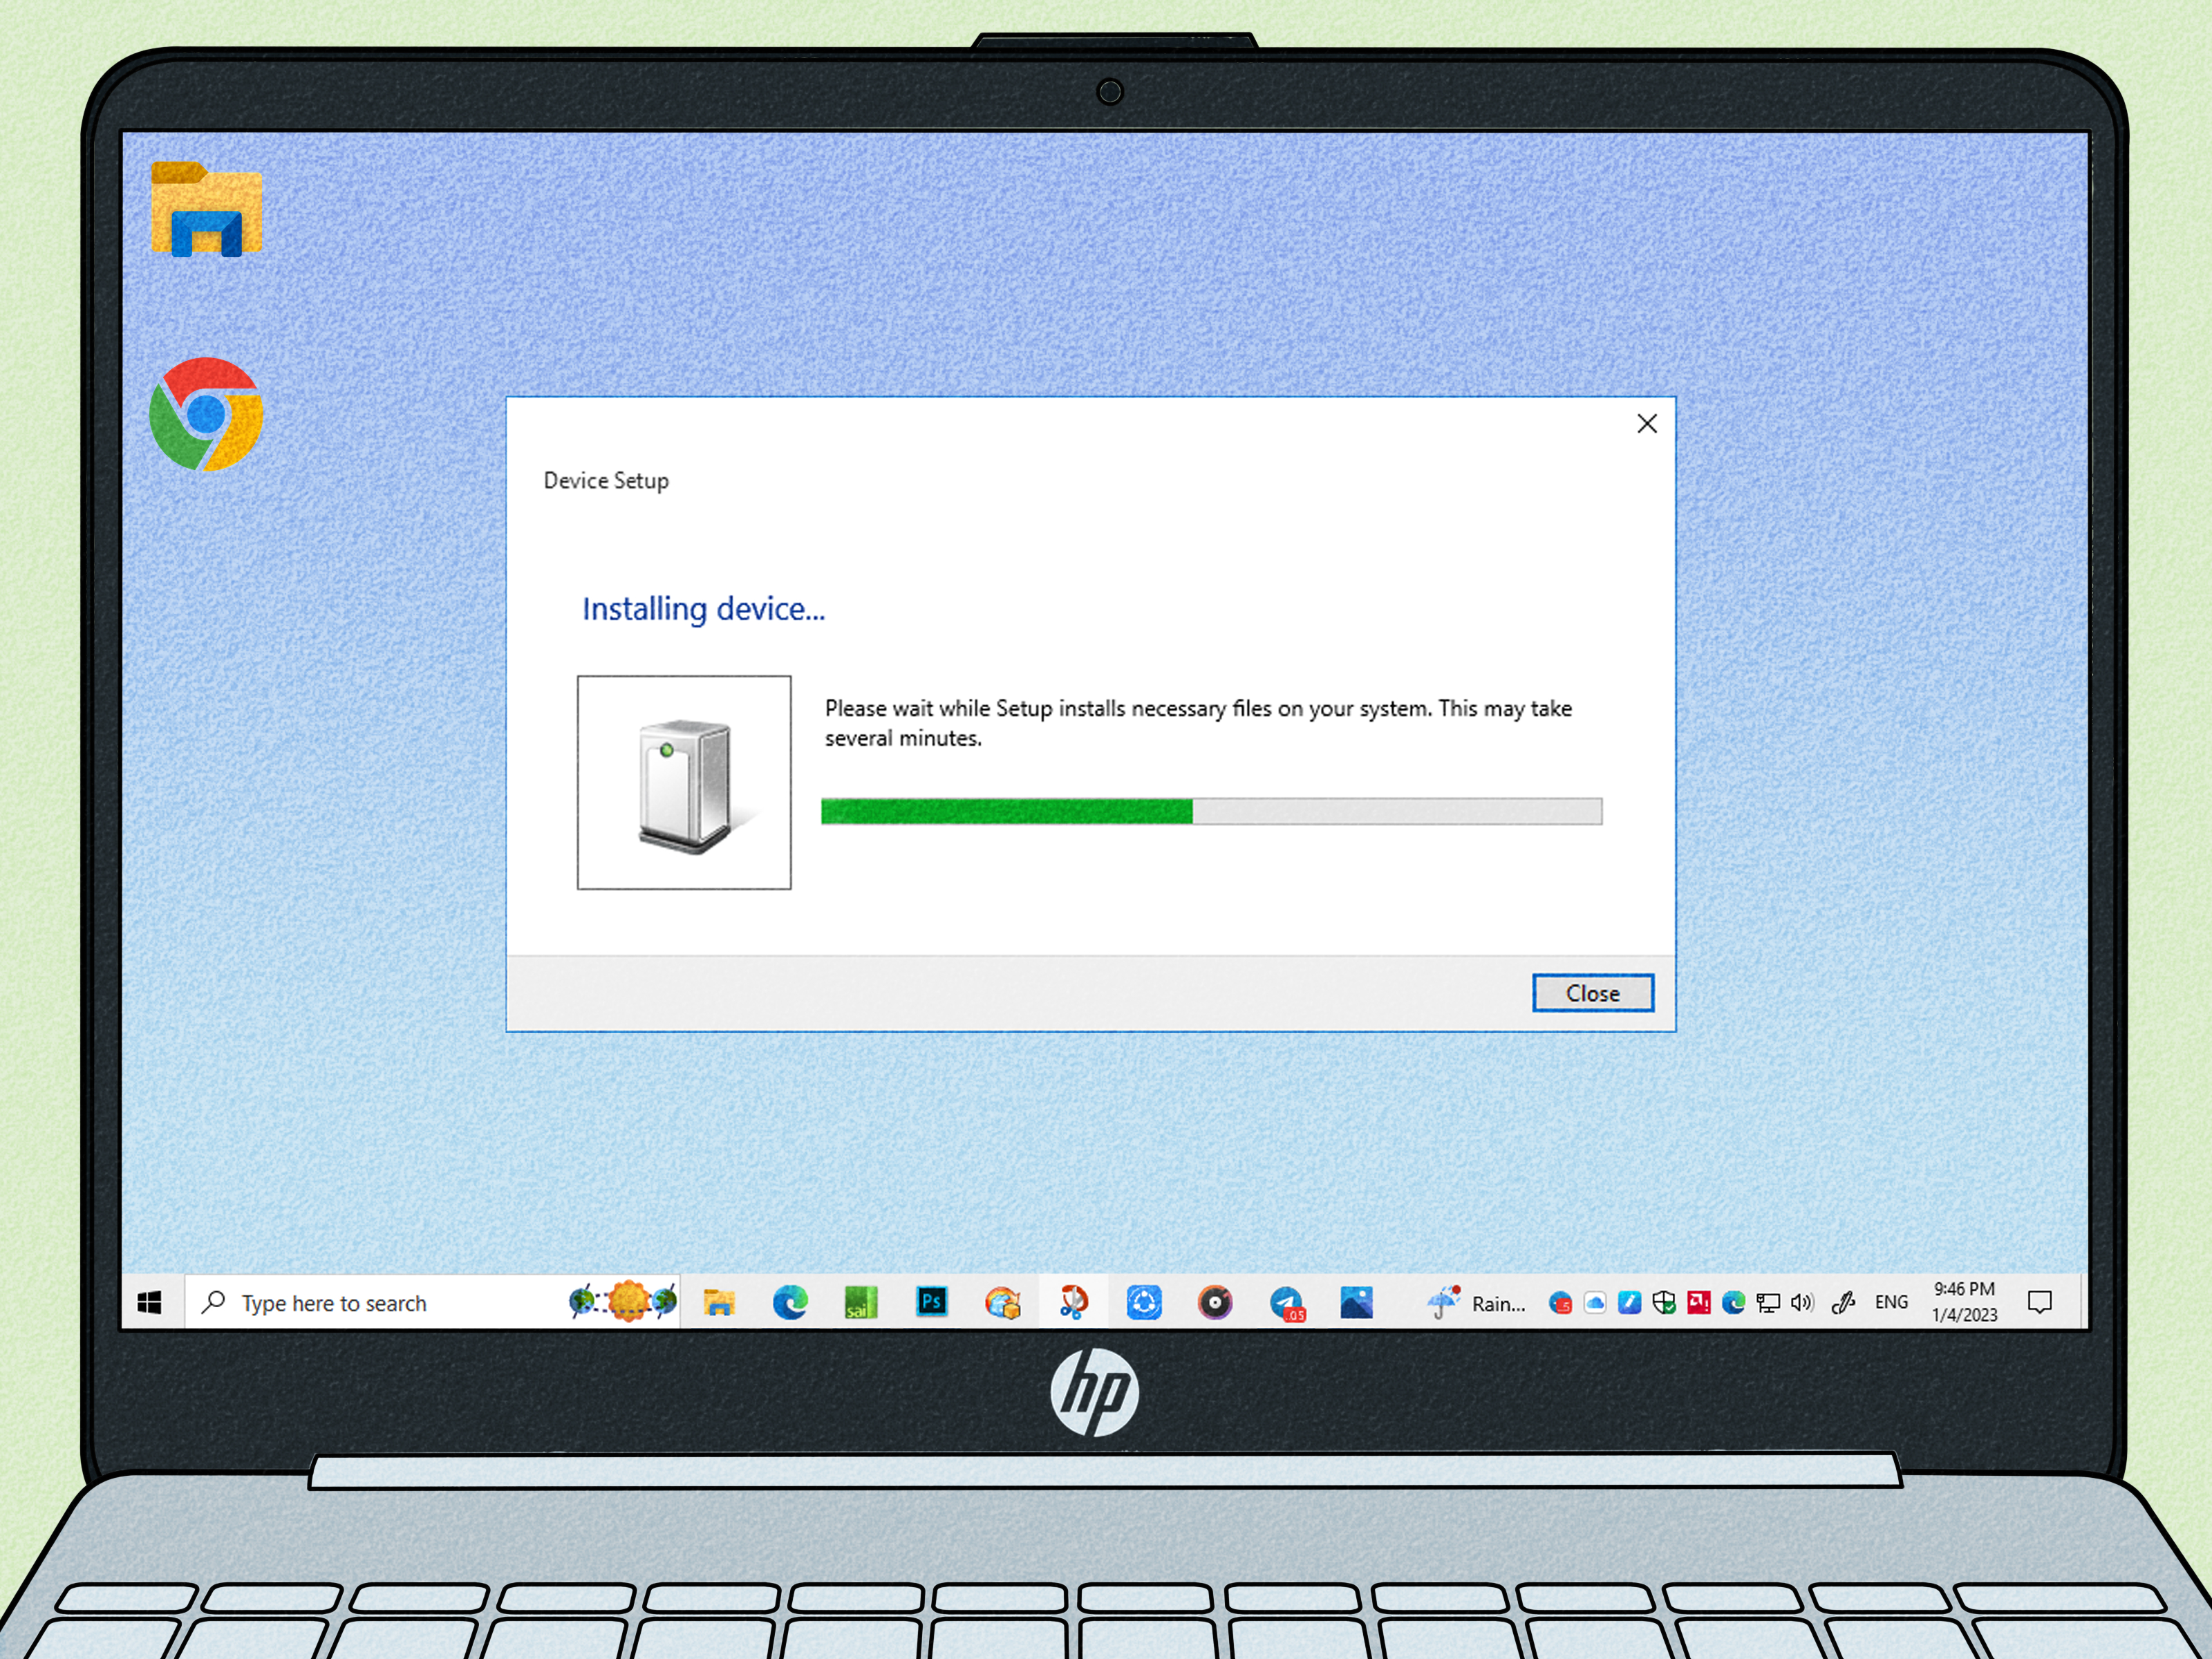
Insert the USB drive into an available port on your Windows computer. If it is a flash drive, plug it in directly. If it is an external SSD or hard drive, connect the cable to both the drive and the computer. If the drive has a separate power supply, plug that in too.
Give Windows a few seconds. Many computers make a sound or show a notification when a device is detected. If you are using the drive for the first time, Windows may quietly install the driver in the background.
Step 2: Open the Drive in File Explorer
Once connected, open File Explorer and select This PC. Under devices and drives, you should see your USB drive listed with a drive letter such as D:, E:, or something equally glamorous.
Click the drive to open it. From there, you can drag and drop files, copy folders, rename items, or create new folders just like you would on your internal drive.
Step 3: If It Does Not Appear, Check Disk Management
If the drive is not visible in File Explorer, do not panic and do not immediately assume it has entered the afterlife. Open Disk Management. On Windows, this is where you can see whether the system recognizes the drive behind the scenes.
In Disk Management, you may find that:
- The drive is detected but has no drive letter
- The drive is offline
- The drive is unallocated and needs to be initialized or formatted
- The file system is unreadable or unsupported
If the drive shows up but has no letter, assign one. If it is a brand-new drive, Windows may need you to initialize and format it before it becomes usable. This is common with some external drives and brand-new storage devices.
Step 4: Start Using the Drive
Once the drive appears properly, you can copy files to it, move photos off your computer, back up documents, or use it for transfer between machines. For everyday tasks, that is all you need. Plug in, open, move files, done. A tiny digital lunchbox.
How to Attach a USB Drive on macOS
On a Mac, the process is also straightforward, although where the drive appears may differ slightly depending on your Finder settings and the drive’s format.
Step 1: Connect the USB Drive
Plug the drive into your Mac. If your Mac has only USB-C or Thunderbolt ports and the drive uses USB-A, connect it through a compatible adapter or hub. For portable external drives, make sure the cable is seated firmly on both ends. If the drive requires its own power, connect that as well.
Step 2: Look for the Drive in Finder
Open Finder and look in the sidebar under Locations. If your USB drive is mounted correctly, it should appear there. Depending on your settings, it may also show up on the desktop.
Click the drive name to open it. From there, you can copy files, create folders, rename items, or drag files in and out. The experience is simple once the drive mounts. Macs are very much into the whole “I will look elegant while doing basic storage tasks” aesthetic.
Step 3: If It Does Not Show Up, Open Disk Utility
If the drive does not appear in Finder, open Disk Utility. This tool can tell you whether the Mac sees the hardware but has not mounted the volume properly.
If the drive appears in Disk Utility, try mounting it. If it is brand new or uses a format that your Mac cannot fully use, you may need to erase and reformat it. If the drive is visible but acting strangely, running a repair utility such as First Aid may help identify file system issues.
Best File System for USB Drive Compatibility
Here is where many cross-platform problems begin. A USB drive can physically connect just fine and still refuse to behave because of the file system it uses.
ExFAT: Best for Windows and macOS Together
If you plan to use the same USB drive on both Windows and Mac, exFAT is usually the best choice. It supports large files and works well across both operating systems. For most people moving documents, videos, photos, or project files between systems, exFAT is the practical winner.
FAT32: Compatible but Limited
FAT32 is also widely compatible, but it has one huge limitation: individual files cannot be larger than 4GB. That means it is fine for smaller files but frustrating for high-resolution video, large archives, or backups. It is the file system version of saying, “I support everyone, but only in small doses.”
NTFS: Best for Windows-Centered Use
NTFS is the standard Windows file system and works well for drives used mainly with Windows PCs. Macs can usually read NTFS drives, but native writing support is limited. So if you want full read-and-write convenience on both systems, NTFS is not the best shared option.
APFS or Mac OS Extended: Best for Mac-Centered Use
If the drive is meant primarily for Mac use, APFS or Mac OS Extended can make sense. These formats are designed for macOS, but Windows does not natively support them. So if your drive needs to travel between a Mac and a PC, this choice can create unnecessary drama.
How to Safely Remove a USB Drive
This step is boring right up until the moment it saves your files. Never yank out a USB drive while files are still being copied or while the system may still be writing data in the background.
Safely Remove a USB Drive on Windows
Close any files or folders open from the drive. Then select the Safely Remove Hardware or Eject option from the taskbar. When Windows tells you it is safe, unplug the device.
This matters because removing the drive too early can corrupt files or damage the file system. The old “just pull it out fast and hope for the best” strategy is not a feature. It is a gamble.
Eject a USB Drive on macOS
On a Mac, select the drive in Finder and click the Eject button next to its name. You can also drag the drive to the Trash, which changes into an eject symbol for mounted storage devices. Once the drive disappears from Finder, disconnect it.
If your Mac says the disk is in use, close open files and apps first. If that does not work, log out and back in, or shut down the Mac before disconnecting the drive.
What to Do If the USB Drive Is Not Recognized
If your USB drive refuses to show up, try these troubleshooting steps before declaring war on your computer.
1. Try Another USB Port
Ports fail. Dust happens. Life is messy. Plug the drive into another port on the same computer. If possible, try both USB-A and USB-C options or avoid the hub and connect directly.
2. Try Another Cable
This is especially important for external SSDs and hard drives. A damaged or charge-only cable can prevent data transfer even if the device powers on.
3. Test the Drive on Another Computer
If the drive works elsewhere, the problem is probably your computer’s port, settings, or software. If it fails on multiple computers, the drive or cable is more likely the issue.
4. Check Disk Management or Disk Utility
On Windows, open Disk Management. On Mac, open Disk Utility. These tools can reveal whether the drive is detected but not mounted, not assigned properly, or in need of formatting.
5. Check the File System
If the drive uses a file system your operating system does not support well, it may appear but not behave normally. For mixed Mac and Windows use, exFAT is usually the simplest fix.
6. Avoid Weak Hubs and Adapters
Some hubs are great. Others are tiny plastic chaos goblins. If a drive is not recognized, disconnect it from the hub or dock and plug it directly into the computer. Drives that need more power often behave better that way.
Common Situations and the Best Fix
The Drive Shows Up on Windows but Not on Mac
The drive may be using NTFS. Your Mac may read it but may not support full write access without extra software. Reformating to exFAT may be the better long-term answer if you need both systems.
The Drive Shows Up on Mac but Not in File Explorer on Windows
Check Disk Management. The drive may need a letter assignment, may be offline, or may use a Mac-only file system such as APFS.
A New Drive Is Connected but Looks Empty or Unusable
Brand-new drives often need to be initialized and formatted before first use. That is normal. Annoying, but normal.
The Drive Connects, Then Randomly Disconnects
That points to power, cable, or port issues. Test a direct connection, another cable, and another system before blaming the drive itself.
Real-World Experiences: What People Learn the Hard Way
If you use USB drives often, you eventually collect a small museum of cautionary tales. Someone plugs a flash drive into a front USB port on an aging desktop, starts copying vacation videos, and then wonders why the transfer dies halfway through. Another person buys a sleek new MacBook, grabs a random adapter from a drawer, and discovers the adapter charges devices beautifully but refuses to transfer a single byte of data. Then there is the classic cross-platform headache: a student formats a drive on a Mac, brings it to a Windows lab, and suddenly the computer treats the drive like an alien artifact.
In real-world use, the biggest lesson is that attaching a USB drive is not just about plugging something in. It is about compatibility, power, and patience. The physical connection is only the first step. The operating system still has to recognize the hardware, mount the file system, and decide that everything is in good enough shape to let you read and write files.
One common experience is the “it works on my computer” problem. A drive may open perfectly on one laptop and refuse to show up on another. Usually, the drive is not haunted. The difference is often a weak USB port, a failing cable, an unsupported file system, or a hub that is spreading power too thin across too many devices. That is why testing the drive directly on another computer is such a useful shortcut. It instantly narrows the suspect list.
Another lesson people learn fast is that safe ejection is not optional theater. Many users get away with unplugging flash drives without ejecting them, which creates a false sense of invincibility. Then one day a file transfer is still finishing in the background, the drive gets pulled early, and a folder full of important documents turns into unreadable gibberish. Suddenly the “Eject” button feels less like a suggestion and more like wise old advice from a parent you should have listened to sooner.
There is also a practical lesson in choosing the right file system from the start. If the drive will travel between Windows and macOS, exFAT usually saves the most headaches. People often realize this only after they have already filled the drive with files and discovered that one system can read it while the other system acts offended by its existence. Picking the correct format early is like packing an umbrella before the rain starts. It feels slightly unnecessary right up until it becomes genius.
And finally, there is the adapter lesson. Modern laptops are thin, beautiful, and occasionally too ambitious about removing ports. If you rely on external storage, a good-quality adapter or dock is not an optional accessory. It is part of the workflow. Cheap adapters can introduce connection drops, slow speeds, or random non-detection, which is an impressive amount of inconvenience for such a tiny object.
The good news is that once you understand the basics, attaching and using a USB drive becomes easy again. Check the port, use the right cable, choose the right format, verify the drive in File Explorer or Finder, and always eject it properly. That simple routine solves the vast majority of USB drive problems before they turn into a support-ticket-worthy adventure.
Conclusion
Attaching a USB drive to your computer is simple when the port, cable, file system, and operating system all agree to cooperate. On Windows, the drive should appear in File Explorer, and if it does not, Disk Management is the next place to check. On macOS, Finder and Disk Utility do the heavy lifting. If you plan to use the same drive on both systems, exFAT is usually the most convenient format. And no matter which operating system you use, always eject the drive safely before unplugging it. That extra click takes only a second and can save your files from a very preventable meltdown.
In other words, the best way to attach a USB drive is not just to plug it in. It is to plug it in smartly.