The Electric Slide is the rare dance that can unite a wedding reception, a family reunion, a school gym, and a corporate holiday party faster than someone yelling, “Group photo!” It is simple enough for beginners, familiar enough for seasoned partygoers, and forgiving enough that even your uncle who claims he “doesn’t dance” can survive it with dignity mostly intact.
At its heart, the Electric Slide is a beginner-friendly line dance built on grapevines, backward steps, touches, and a quarter turn. Once you understand the pattern, the dance repeats in a new direction, which is why it is called a four-wall line dance. You do not need a partner, fancy shoes, or a dramatic entrance. You only need a little space, a steady beat, and the willingness to move before your brain has time to overthink.
This guide explains how to do the Electric Slide step by step, how to count it, how to avoid common beginner mistakes, and how to make the dance look smoother without turning it into an audition tape. Whether you are preparing for a wedding, a party, a dance class, or a living room practice session, here is everything you need to know.
What Is the Electric Slide?
The Electric Slide is a line dance most commonly associated with “Electric Boogie,” famously performed by Marcia Griffiths. Choreographer Ric Silver is widely credited with creating the dance, and dance archives often describe the original choreography as a 22-count routine. However, the version most people learn at parties today is the popular 18-count Electric Slide.
That difference matters only if you are studying the dance historically or teaching a formal class. If your goal is to jump in at a wedding reception without looking like you are solving a tax form with your feet, the 18-count version is the one you are most likely to use.
Before You Start: Learn the Basic Terms
Grapevine
A grapevine is a side-step pattern. You step to the side, cross one foot behind the other, step to the side again, and then touch or brush the free foot. In the Electric Slide, you grapevine to the right first, then to the left.
Touch
A touch means placing the toe or foot lightly beside the other foot without transferring your full weight. Think of it as a polite foot tap, not a commitment.
Scuff
A scuff is a light brush of the heel or foot forward against the floor. It helps create momentum for the next movement, especially the quarter turn at the end of the pattern.
Four-Wall Dance
A four-wall dance repeats while facing a new direction each time. In the Electric Slide, you turn one quarter to the left near the end of the sequence. After four rounds, you return to your original wall.
How to Do the Electric Slide: Step-by-Step
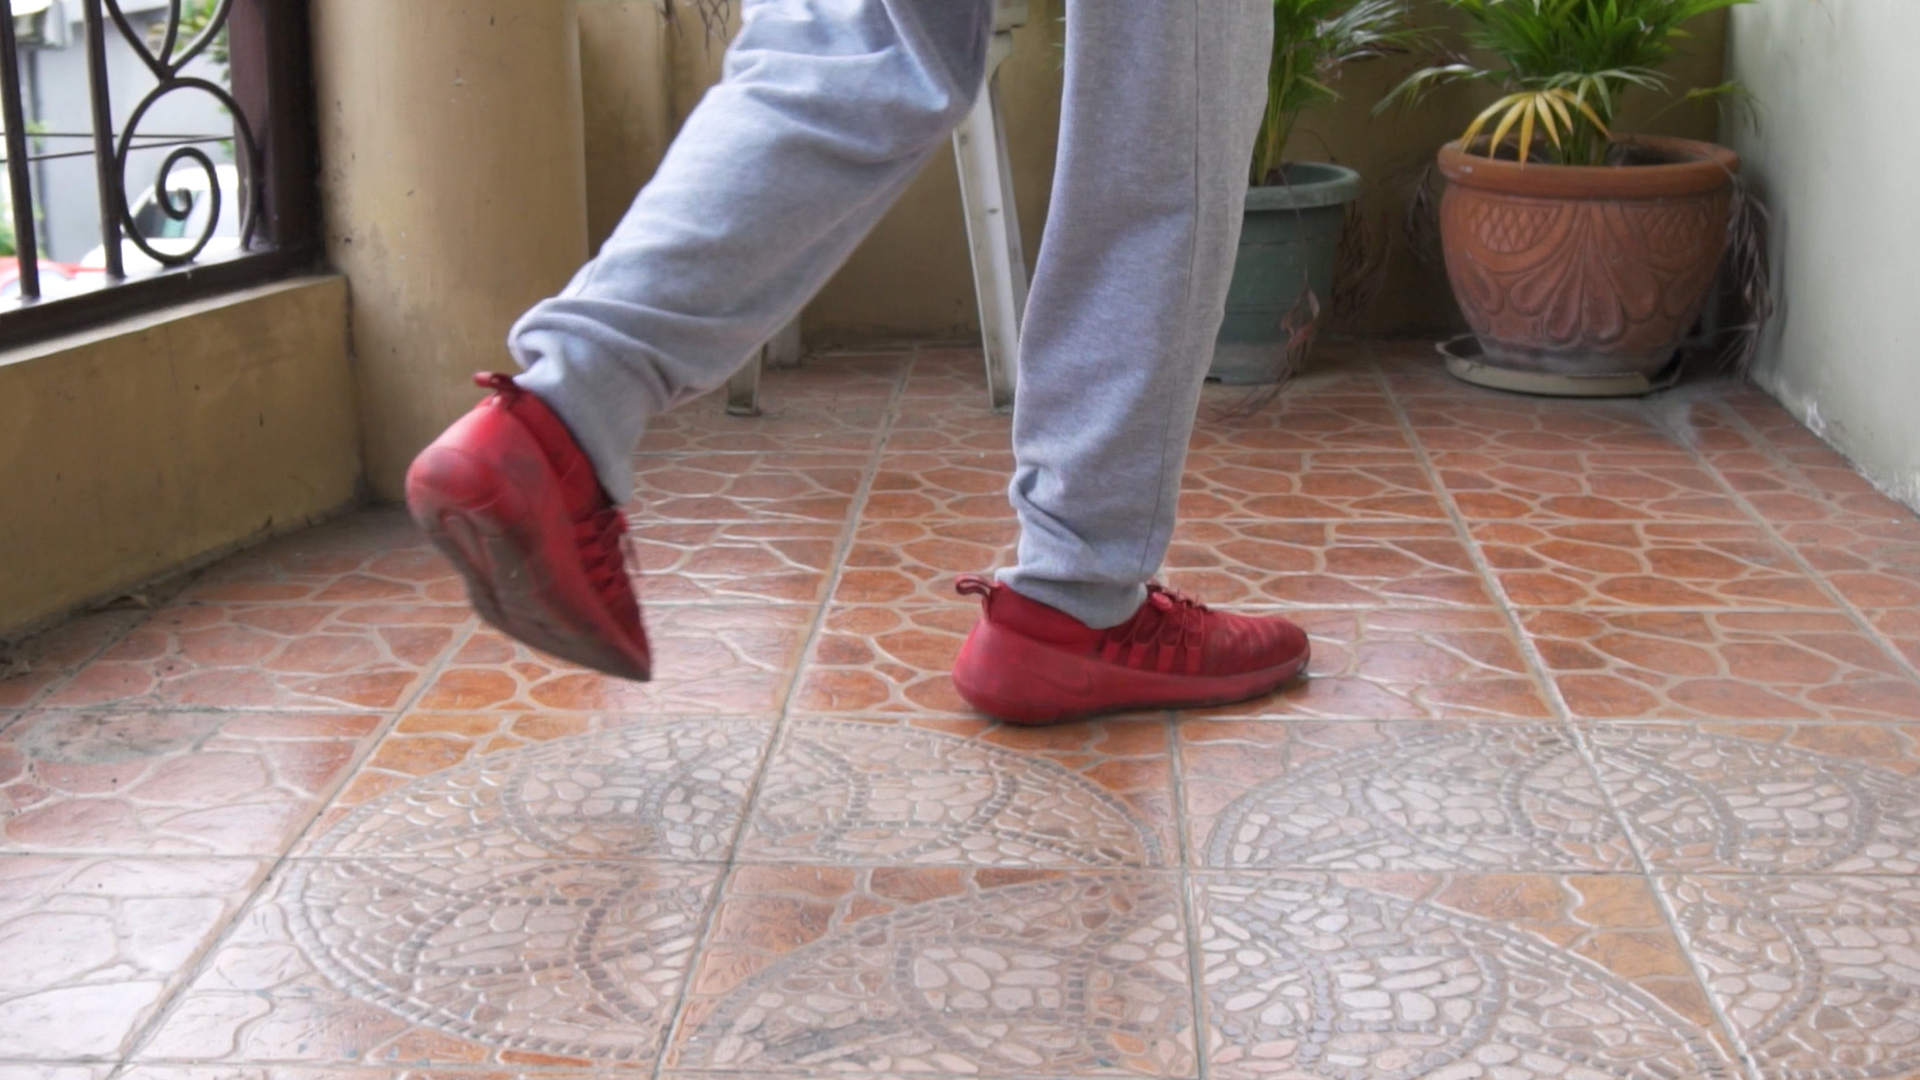
The most common Electric Slide uses 18 counts. Practice slowly first. Say the counts out loud if needed. Yes, you may feel like a gym teacher in a movie from 1993, but it works.
Counts 1–4: Grapevine to the Right
- Step your right foot to the right.
- Cross your left foot behind your right foot.
- Step your right foot to the right again.
- Scuff or touch your left foot beside your right foot.
This is your first travel move. Keep your steps small. Beginners often take giant side steps and accidentally invade someone else’s dance lane. The Electric Slide is social, but it is not bumper cars.
Counts 5–8: Grapevine to the Left
- Step your left foot to the left.
- Cross your right foot behind your left foot.
- Step your left foot to the left again.
- Scuff or touch your right foot beside your left foot.
This mirrors the first grapevine. If you can say “side, behind, side, touch,” you can remember both directions. The rhythm is the same; only the leading foot changes.
Counts 9–12: Walk Back Three Steps and Touch
- Step back on your right foot.
- Step back on your left foot.
- Step back on your right foot.
- Touch your left foot beside your right foot.
Move backward carefully and keep your steps controlled. The goal is smooth movement, not a surprise collision with the dessert table.
Counts 13–16: Forward Touch, Back Touch
- Step forward on your left foot.
- Touch your right foot beside your left foot.
- Step back on your right foot.
- Touch your left foot beside your right foot.
This part gives the dance its classic bounce. You can add a clap on the touches if the group is clapping. If nobody is clapping, you can still clap, but know that you have just volunteered to become the vibe captain.
Counts 17–18: Step, Scuff, and Turn Left
- Step forward on your left foot.
- Scuff your right foot forward while turning one quarter to the left.
After the turn, begin again from count 1, now facing a new wall. The quarter turn is the secret sauce. Without it, you are just politely traveling sideways forever.
The Full Electric Slide Count Pattern
Here is the entire pattern in a compact form:
- Right grapevine: right, behind, right, scuff.
- Left grapevine: left, behind, left, scuff.
- Back three: right, left, right, touch.
- Forward and back: left forward, touch, right back, touch.
- Turn: left forward, scuff right while turning one quarter left.
If you prefer words instead of numbers, repeat this phrase: “Right vine, left vine, back-back-back-touch, forward-touch, back-touch, step-turn.” It sounds like a spell from a dance-floor wizard, and honestly, it kind of is.
How to Practice the Electric Slide at Home
Start Without Music
Before adding music, walk through the pattern slowly. Count from 1 to 18. Focus on where your weight lands. The most important rule is this: when a step says “touch,” do not put your full weight on that foot. If you do, the next step will feel awkward.
Add Music at a Moderate Tempo
Once the steps make sense, add music with a steady beat. “Electric Boogie” is the traditional choice, but the Electric Slide can be danced to many songs with a compatible rhythm. Start with a slower track if you are learning. Speed can come later. Confidence first, disco lightning second.
Practice the Turn Separately
The quarter turn is where beginners often freeze. Practice counts 17 and 18 by themselves: step forward on the left, scuff the right foot, and pivot left. Do this several times until the new direction feels natural.
Use a Room With Clear “Walls”
Pick four visual markers: a window, a door, a couch, and a wall. Each time you turn, face the next marker. This helps your brain understand the four-wall structure instead of thinking, “Why am I suddenly dancing toward the laundry basket?”
Common Mistakes Beginners Make
Taking Steps That Are Too Big
The Electric Slide works best with compact steps. Big steps can throw off your timing and make it harder to stay aligned with the group. Keep your movements neat and close to your body.
Putting Weight on the Touch
A touch is not a step. If you transfer your weight during a touch, you may end up starting the next move on the wrong foot. Light toe, quick tap, move on.
Turning the Wrong Way
The standard 18-count Electric Slide turns one quarter to the left. If you turn right, you may find yourself face-to-face with confused dancers who were not emotionally prepared for that plot twist.
Watching Your Feet the Entire Time
It is normal to glance down while learning, but try not to stare at your feet forever. Look ahead, listen to the beat, and use your peripheral vision to stay with the group. Your feet know more than you think after a few repetitions.
How to Make the Electric Slide Look Better
Relax Your Upper Body
Beginners sometimes dance with stiff shoulders because they are concentrating. Let your arms move naturally. Add claps, snaps, or a small groove only after the footwork feels comfortable.
Stay on the Beat
The Electric Slide is more about timing than athletic ability. Listen for the steady pulse in the music. If you lose the count, rejoin on the next grapevine. Nobody will issue a dance citation.
Add Style in Small Doses
Once you know the basic pattern, you can add personality. Some dancers clap on touches, add hip movement during the grapevines, or make the scuff more playful. Keep it tasteful and avoid moves that require nearby dancers to sign a safety waiver.
18-Count vs. 22-Count Electric Slide
Many people know the Electric Slide as an 18-count dance, but some historical and instructional sources describe Ric Silver’s original choreography as 22 counts. The 22-count version includes an additional forward-and-back touch sequence before the final turn. In practical terms, the party version usually skips those four counts.
Which version should you learn? For most social events, learn the 18-count version first. It is the one most crowds recognize. If you are teaching a class, studying line-dance history, or dancing with a group that specifically uses the original choreography, learn the 22-count version too.
Why the Electric Slide Is Still Popular
The Electric Slide has survived because it solves one of society’s greatest problems: getting people onto the dance floor without making them pair up, freestyle, or pretend they know what to do with their hands. It is structured but not stiff, social but not intimidating, and repetitive in a way that helps beginners catch up.
Line dances also create instant community. Everyone faces the same direction, moves together, turns together, and laughs together when half the room rotates late. That shared rhythm is why the Electric Slide continues to appear at weddings, birthday parties, reunions, cruises, school events, and neighborhood celebrations.
Is the Electric Slide Good Exercise?
Yes, the Electric Slide can be a light-to-moderate form of physical activity, especially when repeated for several songs or included in a longer dance session. Dancing can support cardiovascular fitness, coordination, balance, mood, and social connection. Because the Electric Slide is relatively low impact, many people find it more approachable than high-intensity workouts.
Of course, comfort matters. Wear shoes that allow you to move safely. Choose a floor that is not too slippery. If you have balance concerns, joint pain, or a medical condition, adjust the steps and move at a pace that feels safe. The best version of the dance is the one you can enjoy without needing an ice pack and a motivational speech afterward.
Tips for Teaching the Electric Slide
Teach in Sections
Break the dance into four parts: right grapevine, left grapevine, back steps, and forward-back-turn. Let students repeat each part before connecting the full sequence.
Count Out Loud
Counting helps beginners hear the structure. Use “1, 2, 3, touch” for the grapevines and “back, back, back, touch” for the backward section.
Face the Same Direction as Learners
If you are teaching, stand in front but face the same direction as the group when possible. Mirroring can confuse beginners. They need to follow your right foot as their right foot, not perform dance algebra.
Keep the Mood Light
The Electric Slide should feel fun. Encourage mistakes, laugh kindly, and remind everyone that line dancing is not a final exam. The room will improve after a few rounds.
Electric Slide Practice Routine for Beginners
Use this simple 10-minute routine:
- Minute 1: Listen to the song and clap the beat.
- Minutes 2–3: Practice grapevines right and left.
- Minutes 4–5: Practice walking back and touching.
- Minutes 6–7: Practice forward-touch, back-touch, step-turn.
- Minutes 8–10: Put the full 18-count pattern together with music.
Repeat this routine for a few days and the dance will start to feel automatic. The goal is not perfection. The goal is to hear the opening beat and think, “I’ve got this,” instead of quietly looking for the nearest chair.
Real-Life Experiences: Learning the Electric Slide Without Panic
The first time many people learn the Electric Slide is not in a dance studio. It is usually in the wild: a wedding reception, a family reunion, a summer barbecue, or a school event where the DJ has decided that the shy people have hidden long enough. Suddenly, the opening groove begins, a few confident dancers rush to the floor, and everyone else has three seconds to decide whether they are joining history or guarding the punch bowl.
One of the best things about the Electric Slide is that it welcomes late learners. You can miss the first round, watch the person in front of you, and join when the grapevine starts again. This is why the dance works so well at mixed-age gatherings. Kids pick it up quickly because it repeats. Adults appreciate that it has structure. Grandparents often already know it and may perform it with the calm authority of people who have seen every version of party music come and go.
A common beginner experience is getting through the first grapevine successfully, surviving the second grapevine, then panicking during the backward steps. That is normal. The moment you move backward, you lose the visual comfort of traveling side to side. The trick is to keep the steps small and trust the count. Right, left, right, touch. That is it. No secret trapdoor. No hidden bonus move.
The turn is another memorable moment. Many beginners turn too much, too little, or in the wrong direction. The good news is that the Electric Slide repeats so often that mistakes correct themselves quickly. If you end up facing the wrong wall, smile, shuffle back into place, and continue. Most people are too busy counting their own feet to judge yours.
At weddings, the Electric Slide often becomes a bridge between strangers. A cousin from one side of the family may end up dancing beside a coworker from the other side, both concentrating like they are landing a plane. After two rounds, they are laughing. After four rounds, they are experts. After six rounds, someone adds claps, and suddenly the group has developed choreography opinions.
In fitness or community classes, the Electric Slide works as a confidence builder. It teaches rhythm, direction changes, weight transfer, and coordination without overwhelming beginners. Instructors often use it because students can feel progress quickly. The first attempt may be messy, the second attempt is better, and by the third attempt the room usually has that wonderful “we are actually doing it” energy.
Practicing at home can be surprisingly fun too. A living room session gives you permission to make mistakes privately, rewind the song, and repeat the turn until it stops feeling like a tiny ambush. The best approach is to practice for short bursts. Five focused minutes can be more useful than thirty frustrated minutes. When your feet get tangled, pause, reset, and start from the right grapevine.
The Electric Slide also has a charming way of making people less self-conscious. Because everyone is doing the same pattern, the attention is shared. You do not have to invent moves or perform alone. You simply join the line, follow the rhythm, and become part of the group. That is the real magic of the dance. It is not just about stepping right, crossing behind, walking back, and turning left. It is about participating.
And when you finally hear the song at a party and step onto the floor without hesitation, it feels like unlocking a small social superpower. You know where to go. You know when to turn. You know that if you mess up, the next round is already on its way to rescue you. That is why learning how to do the Electric Slide is worth it. It is simple, joyful, practical, and just flashy enough to make you feel like you came prepared.
Conclusion
Learning how to do the Electric Slide is easier than it looks. Start with the 18-count pattern: grapevine right, grapevine left, walk back, touch, step forward, touch, step back, touch, then step and turn left. Practice slowly, keep your steps small, and remember that the dance repeats, giving you plenty of chances to recover if you miss a count.
The Electric Slide remains popular because it is accessible, social, and fun. It gives beginners a clear structure and gives experienced dancers room to add style. Whether you are preparing for a wedding, teaching a class, or just trying not to panic when the DJ drops “Electric Boogie,” this classic line dance is a skill worth having in your back pocket.