Note: This guide is for everyday books with mild to moderate warping. If the book is rare, signed, moldy, soaked, printed on glossy coated paper, bound in leather or vellum, or emotionally irreplaceable, pause the home experiment and contact a professional conservator. Your favorite paperback can survive a little DIY care; your great-grandmother’s Bible deserves VIP treatment.
Why Books Warp in the First Place
A warped book usually has one enemy wearing several disguises: moisture. Sometimes it arrives dramatically, like a spilled coffee, a leaking backpack, or a flood. Other times it sneaks in quietly through high humidity, poor storage, or a shelf next to a steamy bathroom. Paper is hygroscopic, which means it absorbs and releases moisture from the air. When one part of a book absorbs more moisture than another, the pages, covers, and spine expand unevenly. The result is that familiar wavy, curled, or puffed-up look that makes a once-crisp book resemble a lasagna noodle with opinions.
The good news is that many warped books can be improved at home. The bad news is that “improved” does not always mean “factory fresh.” Once paper fibers have stretched, cockled, or dried unevenly, some waviness may remain. Still, with patience and the right method, you can flatten warped books enough to make them readable, shelf-friendly, and much less embarrassing when guests judge your bookcase.
Before You Start: Check the Book’s Condition
Before choosing a repair method, decide whether your book is damp or already dry. This matters because a damp book needs to dry slowly and evenly before it is pressed. A dry but warped book may need gentle humidification before pressing. Pressing a wet book too aggressively can trap moisture, encourage mold, stain pages, and distort the spine. In other words, do not put a soggy novel under a stack of encyclopedias and call it a spa day.
Use Method 1 if:
The book is still damp, slightly wet, wavy from humidity, or recently exposed to water. This method focuses on drying, blotting, interleaving, and pressing.
Use Method 2 if:
The book is completely dry but remains curled, warped, or wavy. This method uses a controlled humidity chamber to relax the paper before pressing.
Supplies You May Need
- Clean white paper towels or plain unprinted blotting paper
- Wax paper or parchment paper for separating covers from pages
- A flat board, cutting board, or smooth piece of cardboard
- Several heavy books or weights
- A fan or dehumidifier
- A plastic storage bin with a lid
- A small cup or bowl of warm water
- A rack, trivet, or upside-down container to keep the book above water
- Clean hands and patience, which is annoyingly important
Method 1: Dry and Press a Damp Warped Book
This is the safest method for books that are damp, slightly wet, or wavy because of humidity. The goal is to remove moisture gradually while keeping the pages as aligned as possible. Do not use high heat, a hair dryer on blast, an oven, or a microwave. Books are not leftovers.
Step 1: Move the Book to a Cool, Dry Area
Start by taking the book away from the moisture source. Choose a room with good air circulation, low humidity, and no direct sunlight. A fan can help, but aim it across the room rather than directly at the pages. Strong airflow can make pages flutter, crease, or dry unevenly. A dehumidifier is even better if your room feels sticky or humid.
Step 2: Blot, Don’t Rub
If there is visible moisture on the cover or page edges, gently blot it with clean white paper towels. Never rub wet paper. Wet paper tears easily, and rubbing can grind dirt or ink deeper into the fibers. Work slowly, especially near the spine, where the binding is vulnerable.
Step 3: Interleave the Pages Carefully
Place clean paper towels or blotting paper between sections of the book, about every 10 to 20 pages. Do not stuff paper towels between every single page unless the book is tiny and only slightly damp. Too much interleaving can swell the text block and push the spine into an awkward shape. Replace the towels when they become damp.
If the covers are wet, place wax paper or parchment paper between the cover and the first and last pages. This helps prevent color transfer, sticking, and staining. Keep checking the book every 30 to 60 minutes during the early drying stage.
Step 4: Stand the Book Upright if It Can Support Itself
For a damp but not soaked book, stand it upright on a clean towel and gently fan the pages open. Use bookends or boxes to keep it from collapsing. If the book is too wet to stand, lay it flat and continue blotting. Do not force open a saturated book. The pages may tear, and the spine may crack.
Step 5: Press the Book Once It Is Almost Dry
When the pages feel only slightly cool or barely damp, close the book gently. Place it between two clean boards or under a stack of large, heavy books. Make sure the spine is straight and the covers are aligned. Leave it pressed for at least 24 hours. For stubborn warping, replace any damp blotting paper and press again for another day or two.
Step 6: Check for Mold Before Reshelving
Before returning the book to your shelf, smell it and inspect the pages. A musty odor, fuzzy spots, or powdery growth may indicate mold. If you see mold, isolate the book in a sealed bag or container and avoid brushing it indoors. Mold can spread and may irritate allergies or asthma. When in doubt, ask a conservator or preservation professional for help.
Method 2: Humidify and Press a Dry Warped Book
If your book is already dry but still curled or wavy, pressing alone may not work. Dry paper fibers can “remember” their warped shape. Gentle humidification relaxes the fibers so they can be pressed flatter. The key word is gentle. You are not trying to wet the book. You are introducing water vapor, not giving the book a bubble bath.
Step 1: Build a Simple Humidity Chamber
Use a clean plastic storage bin with a lid. Place a small bowl or cup of warm water inside the bin. Then place a rack, trivet, or upside-down container beside it. The book should sit above the bottom of the bin and should never touch the water. If water touches the book, you have moved from “controlled humidification” to “oops.”
Step 2: Place the Book in the Chamber
Set the closed book on the rack or support. Close the lid and leave the book inside for 20 to 30 minutes. Check it often. The pages should become slightly more flexible, not damp. If the book feels wet, remove it immediately and let it air out.
Step 3: Press the Book Flat
Once the book feels relaxed, remove it from the chamber. Place clean blotting paper or white paper towels around the covers and, if needed, between a few sections of pages. Close the book carefully, align the edges, and place it between two smooth boards. Add weight on top. Keep the pressure even. A lopsided pile of books can create a lopsided repair, and nobody wants a book that looks like it lost a wrestling match.
Step 4: Leave It Alone
Let the book sit under weight for 24 to 48 hours. Resist the urge to peek every ten minutes. Opening and closing the book too often can undo the flattening process. After a day or two, check the results. If the warping is improved but not gone, repeat the process once more with shorter humidification time.
Step 5: Dry Completely Before Shelving
After pressing, let the book rest in a cool, dry room for several hours. It should feel completely dry before it returns to the shelf. Store it upright with support on both sides, or lay it flat if it is oversized. Avoid damp basements, hot attics, sunny windowsills, and crowded shelves where books lean like tired commuters.
What Not to Do When Fixing Warped Books
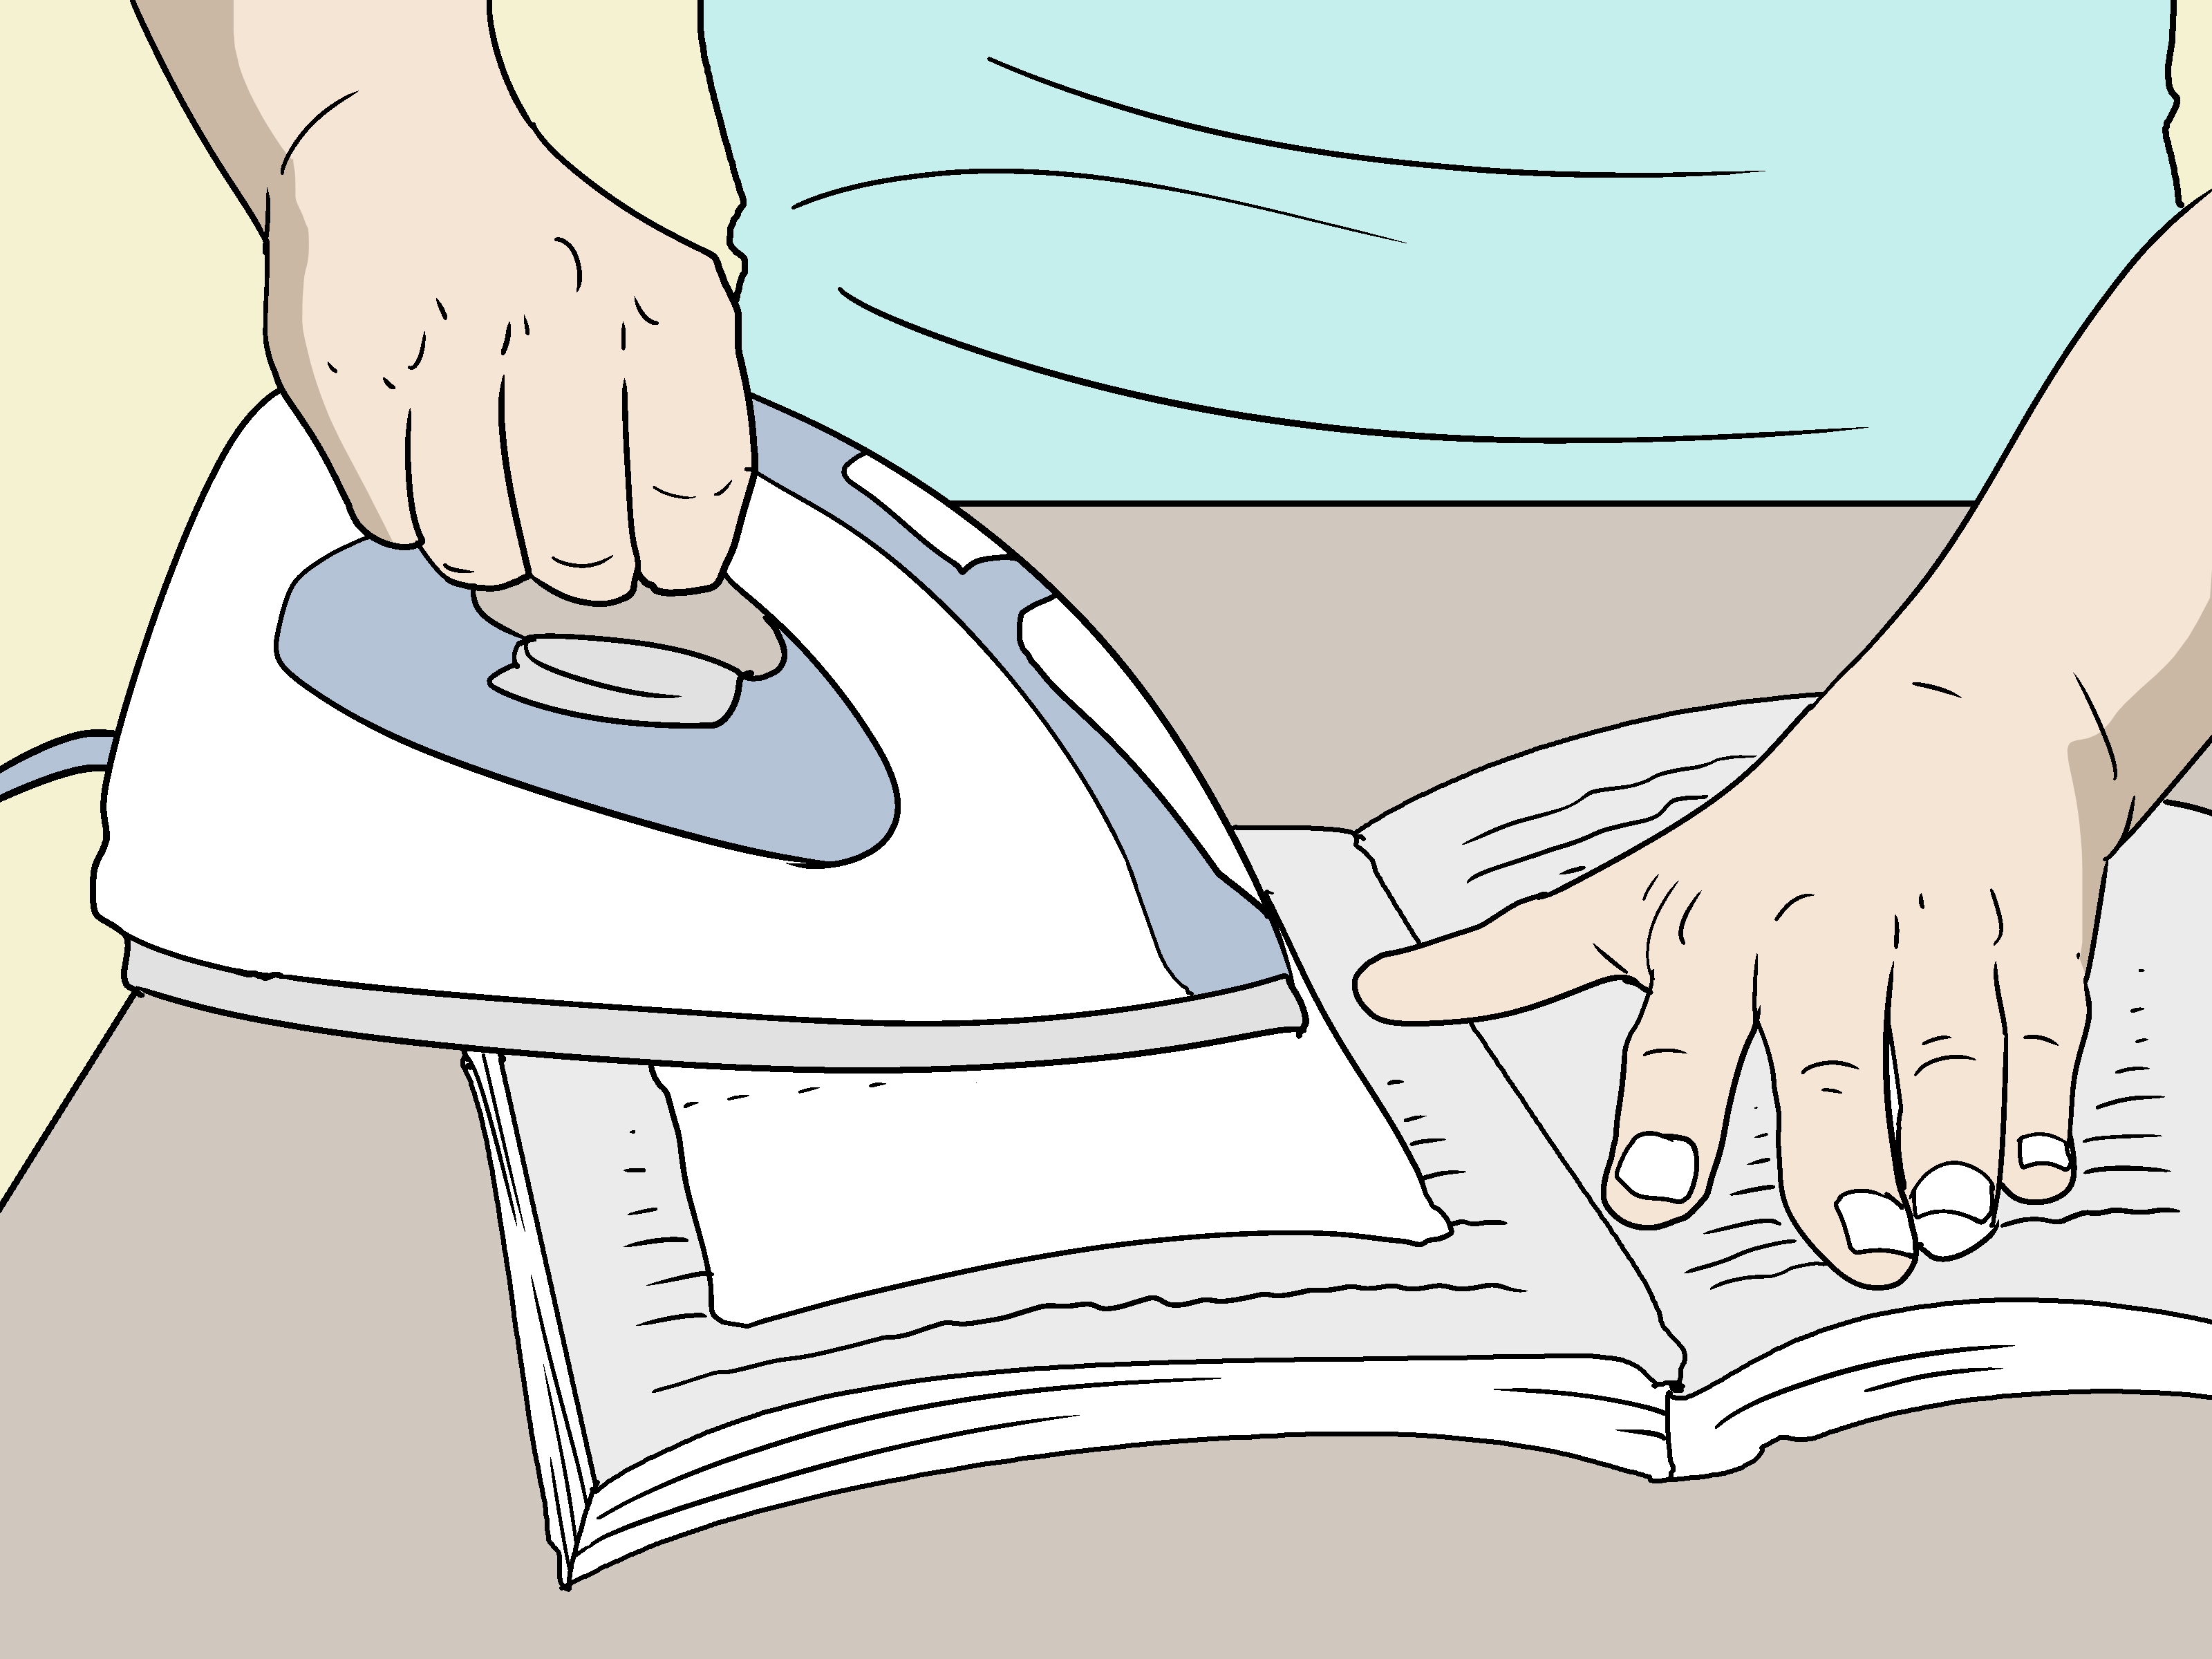
Do Not Iron Pages Directly
An iron can scorch paper, melt coatings, set stains, and damage ink. Even with a cloth barrier, heat can create new problems. For ordinary books, pressing is safer than ironing.
Do Not Use a Hair Dryer on High Heat
Hot air can make pages brittle and dry them unevenly. If you use a fan, use cool, gentle airflow from a distance.
Do Not Press a Wet Book Immediately
Pressing a wet book traps moisture inside. That can lead to mold, staining, and a warped spine. Dry first, press second.
Do Not Over-Humidify
Too much moisture can make pages swell, ink bleed, and coated paper stick together. Humidification should make paper flexible, not damp.
How to Prevent Books from Warping Again
The easiest warped book to fix is the one that never warps. Keep books in a stable indoor environment, ideally away from direct sunlight, heaters, vents, bathrooms, kitchens, and exterior walls with condensation problems. A small hygrometer can help you monitor humidity. If your room regularly feels humid, use a dehumidifier or improve airflow.
Books should stand upright and be supported by neighboring books or smooth bookends. Do not let them lean sharply. Oversized books are better stored flat in small stacks. Avoid packing shelves so tightly that removing one book requires a tug-of-war. Also, keep food and drinks away from books. Coffee belongs beside the book, not inside Chapter Four.
Real-Life Experience: What Actually Works When a Book Warps
In practice, fixing warped books is less about one dramatic trick and more about small, boring steps done correctly. The first lesson many book lovers learn is that panic makes everything worse. When a book gets damp, the instinct is to press it flat immediately. That feels logical: the book is bent, so flatten it. But wet paper is fragile, and pressure can lock in wrinkles or trap moisture. The better move is slower: blot, air-dry, interleave lightly, replace damp towels, then press once the book is close to dry.
One common experience is the “backpack rainstorm” problem. A paperback rides home in a bag, a water bottle leaks, and by the time the owner notices, the bottom edge has swollen. The best rescue usually starts with standing the book upright on a towel, fanning it gently, and using absorbent paper in sections. After several hours, when the pages are no longer wet but still slightly flexible, pressing the book between boards can reduce much of the wave. It may never look brand-new, but it often becomes readable and respectable again.
Another familiar case is the “humid apartment curl.” Nothing spills, but books near a window or bathroom slowly develop wavy page edges. These books are usually dry by the time anyone notices. Pressing them under weight may help a little, but the pages often spring back. That is where the humidity chamber method shines. A short exposure to water vapor can relax the paper just enough for pressing to work. The trick is restraint. Twenty minutes can help; two hours can create a new water-damage story you did not ask for.
Experience also teaches that heavy weight is not magic unless the book is aligned. Before pressing, square the covers and page edges as neatly as possible. Use a board larger than the book so pressure spreads evenly. A stack of cookbooks works well because cookbooks are heavy, flat, and finally useful for something besides making you feel guilty about ordering takeout.
The biggest surprise is how long the process takes. A warped book may need several days of drying, pressing, resting, and pressing again. Quick fixes often create permanent damage. Patient fixes usually create quiet improvement. Think of it as physical therapy for paper: gentle, repeated correction beats brute force.
Finally, not every book should be treated at home. If a book smells strongly musty, has visible mold, contains glossy pages stuck together, or has sentimental or financial value, the smartest experience-based advice is to stop. Bag it, isolate it, and get expert help. A home repair is perfect for a beach read, a textbook, or a replaceable hardcover. For a family heirloom, humility is the best tool in the kit.
Conclusion
Warped books are frustrating, but they are not always doomed. If the book is damp, use the dry-and-press method: blot gently, interleave carefully, air-dry with good circulation, and press only when the book is nearly dry. If the book is already dry but still warped, use the humidify-and-press method: relax the pages with controlled vapor, then press the book evenly under weight. In both cases, patience is the secret ingredient.
The main rule is simple: avoid extremes. No high heat, no soaking, no aggressive rubbing, and no crushing a wet book under a mountain of weights. Treat paper like what it is: strong when dry, delicate when wet, and surprisingly dramatic when humidity enters the chat. With careful handling and better storage, your warped book can return to the shelf looking much calmer, flatter, and less like it spent the weekend in a swamp.