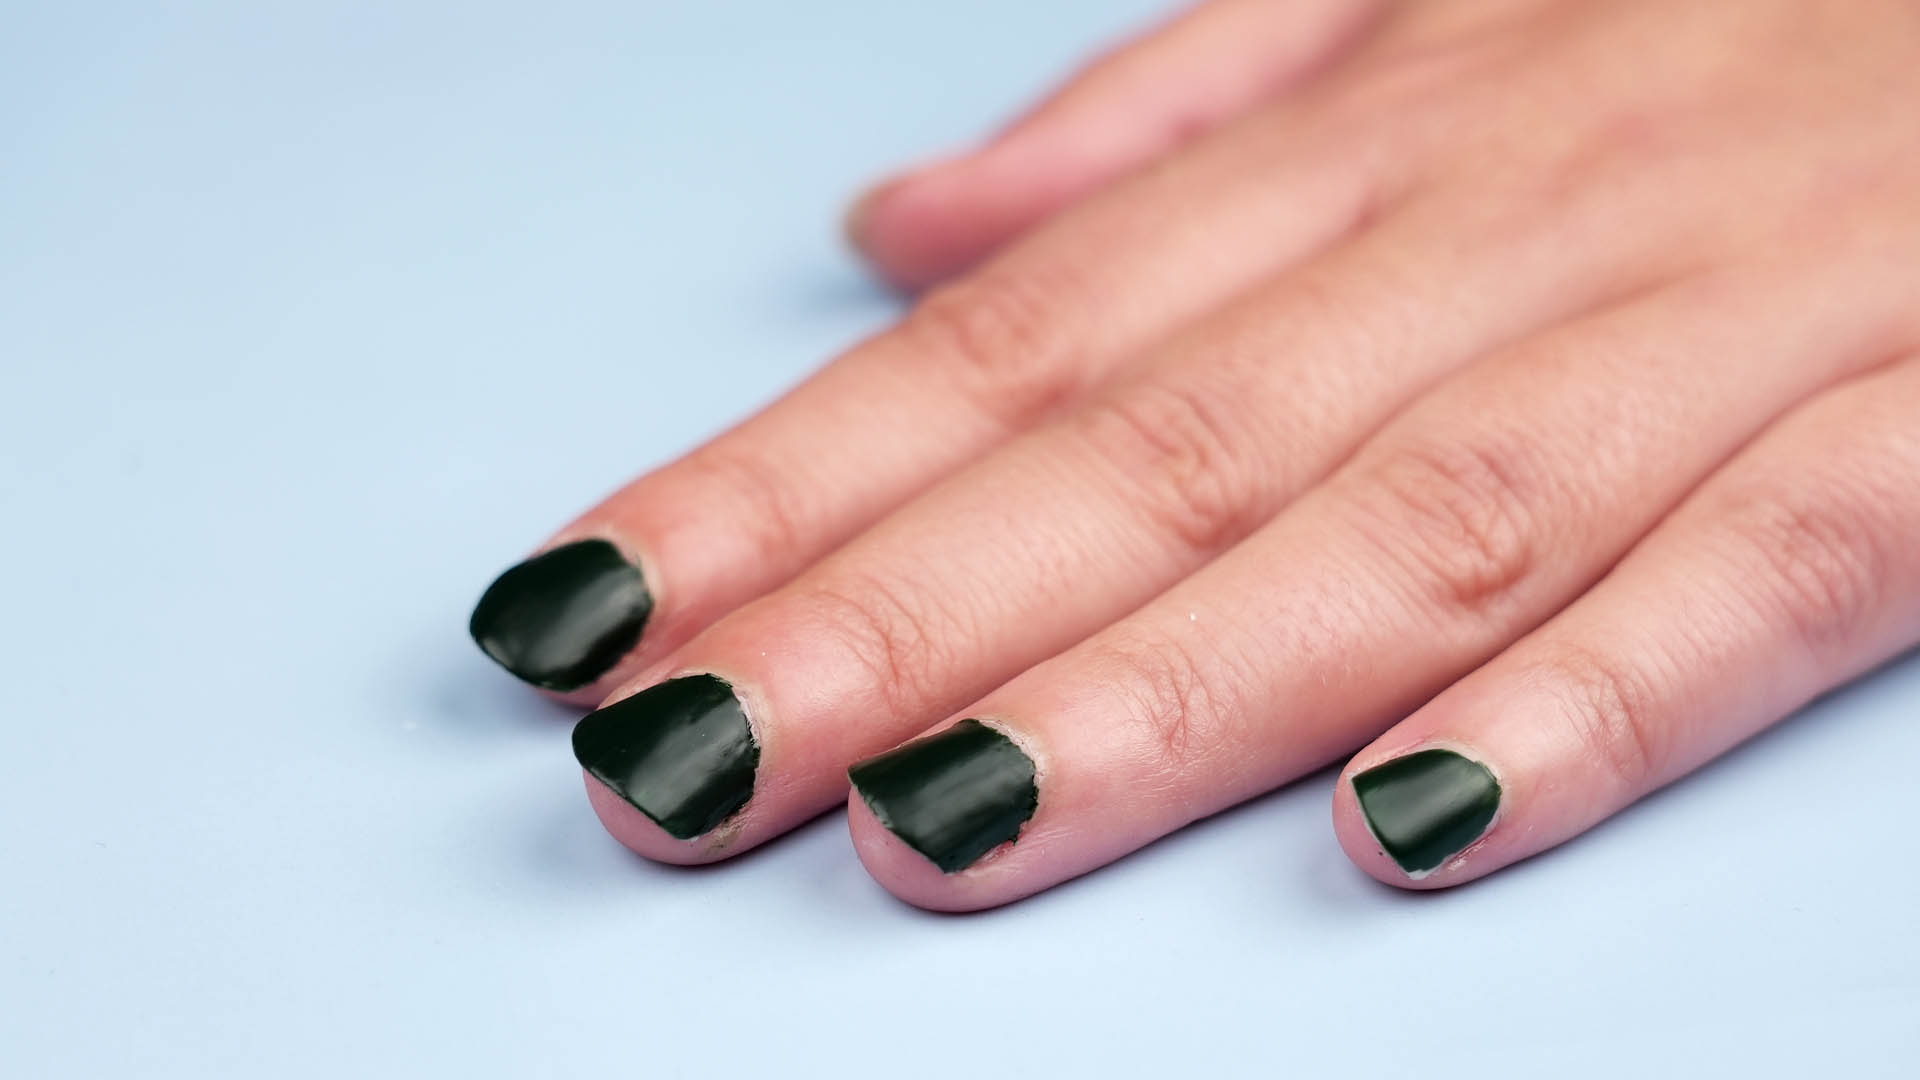
Matte nail polish has a way of making even the simplest manicure look intentional. A basic black polish suddenly becomes velvet. A red manicure turns modern and moody. A pastel shade looks softer, smoother, and a little more expensive than it has any right to look after being painted at the kitchen table next to a half-empty iced coffee.
The good news? You do not always need to buy a brand-new bottle of matte nail polish to get the look. With the right method, you can turn glossy polish into a soft, shine-free manicure at home. Some techniques are quick and beginner-friendly, while others are better for people who enjoy experimenting with DIY beauty projects. The key is knowing which method fits your polish, your patience level, and how much mess you are willing to clean up afterward.
This guide explains five practical ways to make matte nail polish, including matte top coat, powder mixing, steam, eyeshadow pigment, and gentle buffing. You will also learn how to make the finish last longer, what mistakes to avoid, and how to keep your nails looking healthy while chasing that smooth, suede-like effect.
What Makes Nail Polish Matte?
Glossy nail polish reflects light smoothly, which creates shine. Matte nail polish does the opposite. It scatters light across the surface, giving the manicure a flatter, softer appearance. That is why matte nails often look velvety, chalky, satin-like, or almost powdery depending on the product and technique.
Professional matte top coats are designed to create that effect evenly. DIY methods work by slightly changing the surface texture of the polish. For example, adding a tiny amount of cornstarch can reduce shine, while steam can dull the glossy surface before the polish fully sets. The goal is not to make the polish thick, lumpy, or dry like sidewalk chalk. The goal is a smooth finish with less reflection.
Before trying any method, start with clean nails, a base coat, thin polish layers, and enough drying time. Matte finishes are stylish, but they can be unforgiving. Every ridge, bubble, and smudge likes to introduce itself loudly when the shine disappears.
1. Use a Matte Top Coat
The easiest and most reliable way to make matte nail polish is to use a matte top coat. Think of it as the magic eraser for shine. You paint your nails with any regular polish, let the color dry, then apply a thin layer of matte top coat. Within minutes, the glossy finish transforms into a smooth, muted look.
How to Do It
Start with a base coat to help protect your natural nails and improve polish wear. Apply two thin coats of your chosen nail color, allowing each layer to dry. Once the color is mostly dry, brush on one thin, even layer of matte top coat. For the best result, cover the entire nail from cuticle area to tip, and lightly seal the free edge by brushing across the end of the nail.
Matte top coat works especially well over deep colors such as black, navy, burgundy, forest green, chocolate brown, and plum. It also looks beautiful over pale pinks and neutrals if you want a soft, modern manicure that whispers, “I have my life together,” even if your laundry pile says otherwise.
Why This Method Works Best
A matte top coat is made for this exact job, so it gives the most consistent finish. It is also less messy than powders or pigments. If you want a salon-style matte manicure at home, this is the method to choose first. It is ideal for beginners, quick manicures, and anyone who wants predictable results without turning the bathroom counter into a craft station.
2. Mix Clear Polish With Cornstarch
Cornstarch is one of the most popular DIY ingredients for making matte nail polish. It can soften shine and create a cloudy, satin-like effect when mixed carefully with clear polish or a small amount of colored polish. The important word here is “carefully.” Too much cornstarch can make polish thick, clumpy, and difficult to apply.
How to Do It
Place a few drops of clear nail polish or colored polish on a clean disposable surface, such as a small piece of foil or a nail-art palette. Add the tiniest pinch of cornstarch with a toothpick. Mix slowly until the polish looks smooth. Apply it to the nail in thin coats. If the mixture becomes pasty, add a drop more polish rather than forcing it onto your nails.
This method is best for small batches. Avoid pouring cornstarch directly into a full bottle of nail polish unless you are comfortable possibly ruining the bottle. Cornstarch can change the polish texture over time, and nobody wants to shake a bottle for ten minutes just to discover they have created beige cement.
Best Colors for Cornstarch Matte Polish
Cornstarch works nicely with pale shades, milky colors, nude polish, white polish, and soft pastels. It may slightly lighten darker colors, so test it first. If you want a dramatic black matte manicure, a matte top coat will usually give a cleaner result. If you want a soft powder-pink or cloudy lavender manicure, cornstarch can be surprisingly charming.
3. Try the Steam Method
The steam method is a classic DIY trick for making nail polish matte without mixing anything into the polish. It works by exposing freshly painted nails to steam while the polish is still setting. The steam dulls the shine and leaves behind a muted finish.
How to Do It Safely
Paint your nails as usual with thin coats of polish. While the final coat is still wet but not dripping, carefully hold your nails near warm steam for a few seconds. Keep your hand at a safe distance so the steam feels warm, not hot. Do not place your hand directly over boiling water, and do not let your skin get close enough to feel uncomfortable. Move your fingers slightly so the steam reaches the whole nail surface.
This technique can create a soft matte look quickly, but it requires patience and caution. If the polish is too wet, it may ripple. If the steam is too strong or too close, it can cause uneven texture. If you are clumsy before coffee, maybe save this one for later in the day.
When to Use the Steam Method
Steam works best when you want a quick matte effect and do not have a matte top coat nearby. It is especially useful for experimenting with colors before deciding whether to invest in matte products. However, it may not last as long as a manicure sealed with a professional matte top coat.
4. Use Matte Eyeshadow or Cosmetic Pigment
If you want to create a custom matte nail polish color, matte eyeshadow or cosmetic pigment can help. This method is fun because it lets you turn an old eyeshadow shade into nail color. It is also a clever way to create unusual tones, such as dusty mauve, clay orange, smoky blue, or muted olive.
How to Do It
Choose a matte powder eyeshadow that is safe for cosmetic use. Scrape a small amount onto a clean surface and crush it until it becomes a fine powder. Mix it with clear nail polish using a toothpick or small nail-art brush. Add the pigment slowly until you get the color and opacity you want. Apply thin coats and let each coat dry before adding another.
The smoother the powder, the smoother the manicure. Chunky glitter shadows, shimmer pigments, or old dried-out powders may create a gritty finish. For a true matte look, choose flat, non-shimmery eyeshadow. If the mixture looks grainy before it goes on your nails, it will probably look grainy afterward too. Nail polish is honest like that.
Why This Method Is Great for Custom Colors
Using eyeshadow gives you creative control. You can make a dusty rose polish from blush-toned shadow, a smoky gray polish from charcoal shadow, or a soft terracotta polish from warm brown pigment. This is one of the best ways to make matte nail polish if you enjoy custom beauty projects and do not mind a little trial and error.
5. Buff the Top Layer Gently
Buffing can reduce shine from a finished manicure, especially if you are working with gel polish or a fully dried regular polish. Instead of changing the formula, this method changes the surface. A very gentle buff can turn glossy polish into a softer satin or matte finish.
How to Do It
Let your manicure dry completely. This is not a “mostly dry” situation. Regular polish may need several hours before it is hard enough to buff without smearing. Once dry, use a very fine nail buffer and lightly pass it over the surface of the polish. Use gentle pressure and stop as soon as the shine disappears.
Do not aggressively file the polish. You are not sanding a wooden chair. Over-buffing can remove color, create patchiness, or weaken the overall manicure. If you are buffing gel polish, be careful not to overdo it, and avoid filing down into the natural nail.
Best Uses for Buffing
Buffing is helpful when a manicure is too shiny and you want a softer effect after it has dried. It is also good for nail-art contrast, such as making most of the nail matte while leaving a glossy French tip or shiny accent line. For beginners, practice on a nail swatch or one nail first before committing to the whole hand.
How to Make Matte Nail Polish Last Longer
Matte manicures can chip faster than glossy ones because many matte finishes do not have the same slick, protective surface as traditional shiny top coats. That does not mean your manicure is doomed. It just needs better prep.
Start by cleaning the nail plate before polishing. Oils, lotion, sunscreen, and leftover cuticle products can prevent polish from gripping well. Apply a base coat, use thin color layers, and let each layer dry properly. Thick coats may look satisfying at first, but they are more likely to dent, bubble, or peel.
Sealing the free edge is also important. After painting each nail, run the brush lightly across the tip. This helps protect the edge, which is usually where chips begin. If you use matte top coat, apply it in a thin layer and cover the tip as well.
After your manicure dries, avoid soaking your hands in hot water for long periods. Wear gloves when washing dishes or cleaning. Matte polish may also show oil marks more easily, so use hand cream around the nails rather than smearing heavy products over the nail surface.
Common Mistakes to Avoid
Adding Too Much Powder
Powder can make polish matte, but too much turns it thick and uneven. Always start with less than you think you need. You can add more, but you cannot easily rescue polish that has become pancake batter.
Skipping Base Coat
A base coat helps polish apply more smoothly and can reduce staining from dark colors. Matte polish may highlight uneven nail texture, so a good base makes a noticeable difference.
Using Heat Carelessly
The steam method should be done with caution. Warm steam can help dull shine, but hot steam can burn skin. Keep your hand far enough away to stay comfortable, and never rush this step.
Buffing the Natural Nail Too Much
Buffing the polish surface is different from thinning the natural nail. Be gentle. If your nails already feel weak, peeling, or sore, skip buffing and use a matte top coat instead.
Best Matte Nail Ideas to Try
Once you know how to make matte nail polish, the fun part begins. A full matte black manicure is a classic for a reason: it looks bold, clean, and stylish. Matte red feels dramatic without being too shiny. Matte nude is understated and works for everyday wear. Matte navy, emerald, and plum are excellent choices for fall and winter.
You can also mix finishes. Try glossy dots over a matte base, a shiny French tip on matte nails, or matte half-moons with a glossy center. Even a simple clear glossy stripe over a matte nail can look like professional nail art. The contrast between shine and softness makes the design interesting without requiring advanced skills.
For a softer look, try matte pastel nails in lavender, peach, mint, or baby blue. For a trendier style, try matte brown, clay, sage, or milky white. Matte finishes tend to make colors look calmer, so they are perfect when you want a manicure that feels fashionable but not too loud.
of Real-Life Experience: What Actually Happens When You Try These Matte Nail Polish Methods
Here is the honest truth: making matte nail polish at home can feel like a tiny science experiment wearing a beauty-blog disguise. Some methods are nearly foolproof, and others require a sense of humor. The matte top coat method is the clear winner for everyday life. It is fast, clean, and consistent. When you have ten minutes before leaving the house, matte top coat is your responsible friend. It does not ask you to boil water, crush eyeshadow, or explain why there is cornstarch next to your nail file.
The cornstarch method is fun, but it rewards patience. The first time many people try it, they add too much powder. The polish becomes streaky, pale, and slightly chunky. The better approach is to mix a very small amount on foil and test one nail first. When done lightly, it can create a soft-focus effect that looks especially pretty with pale pink, beige, or white polish. It is not always perfect, but it has a charming DIY quality.
The steam method feels almost too simple, which is probably why people love testing it. You paint your nails, hold them near steam, and watch the shine fade. When it works, it feels like a magic trick. When it does not, the finish may look uneven or slightly cloudy in patches. The biggest lesson is distance. Too close to steam, and you risk ruining the polish or irritating your skin. Farther away with gentle warmth works better. This method is best when you are experimenting, not when you need a flawless manicure for an important event.
The eyeshadow method is the most creative. It is perfect for anyone who owns a palette with one shade they love but never wears. Turning that color into nail polish feels oddly satisfying. The challenge is texture. Powder must be crushed very finely, or the polish can look gritty. Matte eyeshadow works better than shimmer because sparkle fights against the soft matte effect. This method is ideal for custom colors, especially dusty and muted tones that are hard to find in stores.
Buffing is the method that sounds easy but needs the most restraint. A few gentle passes can create a cool satin effect. Too much buffing can make the manicure patchy. It is best used when polish is completely dry, and it works especially well for creating contrast in nail art. For example, buff a dark manicure matte, then add a glossy clear stripe or dot pattern on top. The result looks far more complicated than it is, which is always a win.
After testing different approaches, the best routine is simple: use a matte top coat for polished results, try cornstarch or eyeshadow when you want a DIY project, use steam when you are curious, and save buffing for special effects. Matte nails do not have to be complicated. They just need thin layers, clean prep, and a little patience. And maybe a backup cotton pad, because even the best manicure artists have one nail that chooses drama.
Conclusion
Learning how to make matte nail polish gives you more ways to enjoy the colors you already own. A matte top coat is the easiest and most dependable option, while cornstarch, steam, eyeshadow pigment, and gentle buffing offer creative alternatives for DIY beauty lovers. Each method has its strengths. Some are quick, some are customizable, and some are best saved for a quiet afternoon when you do not mind experimenting.
For the smoothest matte manicure, prepare your nails well, apply thin coats, let each layer dry, and avoid overloading polish with powder. Matte nails look best when the surface is even, clean, and fully dry. Whether you prefer velvet black, soft nude, pastel lavender, or custom smoky blue, a matte finish can turn an ordinary manicure into something stylish, modern, and surprisingly easy to create at home.
Note: This article is written for web publication and general beauty education. For best results, use nail products as directed, avoid mixing unknown chemicals, and stop using any product that causes irritation.