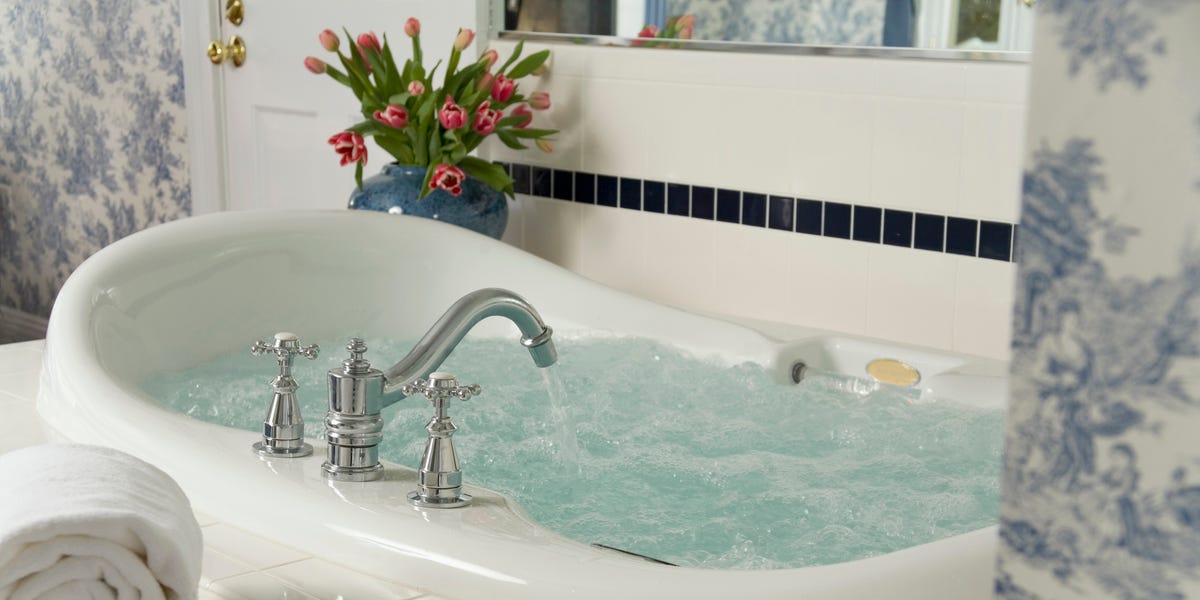
A jetted tub is one of those home luxuries that sounds glamorous until the jets cough up mysterious flakes and your “spa night” suddenly feels like a crime scene for soap scum. The good news? Learning how to clean a jetted tub is not difficult. The better news? Once you know the right routine, you can keep the tub looking clean, the internal plumbing fresher, and the next soak a lot less suspicious.
The trick is understanding that a whirlpool or jetted bathtub has two cleaning zones: the visible shell you can wipe down in plain sight, and the hidden plumbing behind the jets where body oil, bath products, residue, mineral buildup, and plain old bathroom funk can collect over time. If you clean only the shiny part you can see, you are basically putting lipstick on a bubble machine.
This guide breaks down the smart, safe, and practical way to deep clean bathtub jets, remove residue, handle stains, and maintain your tub without damaging acrylic surfaces, seals, or internal components. We will also cover what not to do, because many tubs have been victimized by “helpful” cleaning hacks that were one bad idea away from becoming a plumbing support call.
Why Jetted Tubs Need a Different Cleaning Routine
A standard tub mostly deals with surface grime. A jetted tub deals with surface grime and leftover water moving through internal lines. That means soap scum, bath oils, bubble bath residue, hard-water minerals, and loosened debris can build up inside the system even when the tub itself looks clean.
That is why so many jetted-tub owners have the same moment of horror: the tub looks spotless, the jets turn on, and suddenly little specks, gray flakes, or odd-looking residue start swirling like the world’s least relaxing snow globe. That is usually buildup being flushed from the lines, not your tub staging a rebellion for fun.
The best jetted tub cleaning routine combines a flush cycle, a deep-clean cycle, a surface scrub, and a final rinse cycle. Do it regularly, and the tub stays fresher, easier to maintain, and a lot more pleasant to use.
Before You Start: Read the Owner’s Manual First
This is the least glamorous cleaning tip in the world, but it may be the most important. Different manufacturers give different care instructions. Some recommend a measured amount of bleach with low-foaming dishwasher detergent. Others caution that bleach, strong household cleaners, or abrasive products can damage acrylic finishes, gaskets, or seals. In other words, your tub’s manual outranks random internet bravado every time.
Also check whether your model wants the air-induction valves closed or open during cleaning. Many guides say closing them allows the cleaning solution to move through the internal plumbing more effectively, while the rinse cycle may be run with the valves open. But again, your tub gets the final vote.
Supplies for Cleaning a Jetted Tub
- Microfiber cloths or soft towels
- Non-abrasive sponge
- Old toothbrush or small bottle brush
- White vinegar
- Powdered or low-foaming dishwasher detergent
- Baking soda
- Mild dish detergent for surface cleaning only if allowed by the manufacturer
- Hydrogen peroxide for stain paste, if needed
- A bucket or bowl for mixing
Avoid steel wool, harsh scouring pads, abrasive powders, and any cleaner that is not appropriate for acrylic if your tub has an acrylic shell. Those products can dull, scratch, or damage the finish faster than you can say “but the internet said this was genius.”
How to Deep Clean a Jetted Tub Step by Step
Step 1: Wipe Away Visible Dirt First
Start with the easy stuff. Use a damp microfiber cloth or soft sponge to wipe away hair, dust, dried residue, and any surface grime around the shell, ledges, controls, and jet openings. This matters more than people think. If you skip it, all that debris can get circulated back through the tub during the jet cycle, which is a very dramatic way to make more work for yourself.
Step 2: Flush the System with Plain Water
Fill the tub with cool, lukewarm, or warm water until it is at least 2 inches above the highest jets. Run the jets for about 10 to 15 minutes with no cleaners added. This first flush helps loosen residue sitting inside the lines. Then drain the tub.
Think of this as the warm-up lap. It gets the internal plumbing moving before the real cleaning begins.
Step 3: Run the Deep-Clean Cycle
Refill the tub with hot water, again keeping the water level at least 2 inches above the highest jets. Then choose the cleaner that matches your manufacturer’s guidance.
Common deep-clean approaches include:
- Vinegar method: Often recommended for routine cleaning, especially where mineral buildup is an issue.
- Low-foaming dishwasher detergent plus bleach: Commonly recommended in some manufacturer and cleaning guides for a deeper purge.
If your manual allows a vinegar-based routine, add about 2 cups of white vinegar and run the jets for about 15 minutes. If your manual recommends a detergent-and-bleach purge, use only the measured amount recommended for the system and choose a low-foaming dishwasher product rather than regular dish soap. Regular dish soap can foam like it is auditioning for a bubble festival.
If your tub has air-induction valves and the manual says to close them during cleaning, do that before turning on the jets. This helps force the solution through the internal plumbing instead of mostly agitating air and water at the surface.
Important: Never mix vinegar with bleach. Not “just a splash.” Not “only this once.” Not “I’m sure it’ll be fine.” It will not be fine.
Step 4: Drain the Tub and Inspect the Results
After the cleaning cycle, drain the tub and take a look. If the water left behind flakes, film, dark particles, or residue, congratulations: the cleaning is working. It means buildup was hiding in the system and is finally being flushed out.
If the tub was heavily neglected, you may need to repeat the cycle. A badly ignored jetted tub rarely transforms after one polite cleaning session. Sometimes it needs a firm talk and a second round.
Step 5: Scrub the Tub Surface and Jet Openings
Now that the lines have been cleaned, tackle the shell. Make a gentle paste with baking soda and water. Use a non-abrasive sponge or microfiber cloth to scrub the tub interior, especially around the waterline, jet housings, corners, and controls. Use an old toothbrush or small bottle brush to clean around the jet openings.
If you are dealing with stubborn stains from soap scum, bath oils, or rusty water, a paste made with baking soda and a little hydrogen peroxide can help. Apply it to the stain, let it sit for several minutes, then wipe it away gently. Do not go wild with aggressive scrubbing. You are cleaning a bathtub, not sanding a deck.
Step 6: Run a Final Rinse Cycle
Fill the tub again with clean warm or cool water, keeping the water above the jets. Run the jets for another 10 to 15 minutes with no cleaner added. This final rinse helps flush away loosened debris and leftover cleaning solution from the plumbing.
Drain the tub completely and wipe it dry with a soft towel or microfiber cloth.
Step 7: Dry and Ventilate
Leave the bathroom well-ventilated after cleaning. Open a window, turn on the fan, or both. Moisture is basically an engraved invitation for mildew and odors, so drying the tub and the room is part of the job, not a bonus round.
How Often Should You Clean a Jetted Tub?
For most households, a good rule is to wipe the tub after each use, do light surface cleaning weekly, and deep clean the jets about once a month. If the tub gets used several times a week, you may need more frequent flushing. If it is used only occasionally, a monthly deep clean is still a smart habit because residual water and product buildup do not magically take vacations.
A simple maintenance schedule looks like this:
- After each bath: Rinse residue, wipe down the shell, and dry the surface.
- Weekly: Clean the visible tub surface and around the jet faces.
- Monthly: Run a full jetted tub deep-clean cycle.
- As needed: Repeat the cycle if you see black specks, gray flakes, odor, or sluggish jet performance.
What Not to Use on a Jetted Tub
Some cleaning mistakes are famous because they keep happening. Save yourself the regret and avoid these common offenders:
- Abrasive powders and scrub pads: They can scratch acrylic and dull the finish.
- Undiluted harsh chemicals: Strong cleaners can damage surfaces, seals, and components.
- Regular dish soap in the jet cycle: Too many suds, too much drama.
- Random chemical mixing: Especially bleach and vinegar. Absolutely not.
- Running the jets without enough water: That can damage the system.
Also be careful with trendy cleaning shortcuts. A hack is only a hack until it ruins the finish and turns into a repair estimate.
How to Handle Common Jetted Tub Problems
Black Specks or Gray Flakes
This usually points to buildup in the internal plumbing. Run the deep-clean cycle again, then rinse. A neglected tub may need multiple rounds before the system clears completely.
Mineral Deposits Around Jets
Hard-water homes often deal with crusty mineral residue. Vinegar-based cleaning can help dissolve deposits if your manufacturer allows it. A small brush is useful for detail cleaning around the jet openings.
Soap Scum and Oily Film
Bath oils, bubble bath, and rich body products are frequent offenders. Use less of them in a jetted tub or skip them entirely if your system tends to trap residue. A baking soda paste can help on the shell, while regular monthly flushing helps keep the pipes from getting gummy.
Lingering Odor
If the tub smells funky even after surface cleaning, the plumbing likely needs a deeper purge. Run the cleaning cycle, rinse thoroughly, and make sure the tub dries well afterward.
Best Maintenance Tips for Keeping Jets Cleaner Longer
- Wipe the shell dry after each use.
- Use bath oils and bubble bath sparingly, or avoid them if buildup is a recurring issue.
- Flush the system monthly even if the tub looks clean.
- Use only non-abrasive cleaners on acrylic surfaces.
- Clean around the jet faces during your regular bathroom cleaning routine.
- Ventilate the bathroom so moisture does not linger.
The less residue you leave behind after each soak, the easier every future deep clean becomes. That is the boring truth, which unfortunately is also the useful truth.
Final Thoughts on How to Clean Bathtub Jets the Smart Way
If you have been wondering how to clean bathtub jets without turning your bathroom into a chemistry lab, the winning formula is pretty simple: follow the manufacturer’s instructions, use low-foaming and non-abrasive products, flush first, deep clean the system, scrub the shell, and always finish with a rinse cycle.
A clean jetted tub is not just about appearance. It is about keeping the hidden plumbing from collecting grime, helping the jets perform the way they should, and making your next bath feel relaxing instead of mildly unsettling. Once you get into the habit, the job becomes much faster and far less gross. Which, in the world of bathroom cleaning, is basically the dream.
Real-World Experiences: What People Learn After Cleaning a Jetted Tub the Hard Way
One of the most common experiences jetted-tub owners describe is pure confidence before the first deep clean. The tub looks shiny. The bathroom smells fine. The fixtures sparkle. Then they run the jets and discover that a clean-looking tub and a clean system are two very different things. That first surprise flush often teaches the biggest lesson: hidden plumbing holds onto residue far longer than most people expect.
A frequent story goes like this: someone moves into a new home, sees a beautiful whirlpool tub, and assumes a quick wipe-down is enough. Maybe they polish the chrome, scrub the shell, and light a candle because they are feeling fancy. Then the jets kick on and little black or gray specks start floating around like the tub is sharing historical evidence from previous owners. It is gross, yes, but it is also useful. That moment usually convinces people to start a real maintenance routine.
Another common experience happens with bath products. Many people love oils, bubble bath, bath bombs, and richly scented soaks. And to be fair, those products are delightful in a regular tub. In a jetted tub, though, they can leave behind oily residue in the lines. Owners often realize this only after noticing a slick ring around the shell or recurring debris during jet cycles. The usual takeaway is not “never enjoy bath products again,” but rather “choose carefully, use less, and clean more regularly.” It is a less romantic slogan, but a much more effective one.
Hard-water households tell a different version of the same story. Their challenge is not always oily buildup but mineral deposits. Around the jets, on the waterline, and inside the small openings, scale starts to collect quietly until the tub looks dull or the jet faces feel crusty. Many people say they did not connect the problem to hard water at first. Once they adjusted their routine and focused on regular flushing, gentle brushing, and manufacturer-approved mineral-removal strategies, the tub became easier to maintain.
Then there is the “I used the wrong cleaner” crowd, and honestly, their stories are public service announcements. Some people assume that if a cleaner works on tile, porcelain, or shower grout, it must be great for a jetted tub. Not always. Acrylic shells can scratch, strong chemicals can be too harsh, and sudsy products can create a bubble disaster worthy of its own warning label. Most owners who learn this lesson become fierce advocates for reading the manual first. Nothing builds respect for manufacturer instructions quite like almost ruining your weekend with the wrong spray bottle.
The best long-term experience comes from people who stop treating jetted-tub cleaning as a once-a-year punishment. They do a quick wipe after each use, keep residue from building up, and deep clean the jets on a schedule instead of waiting for visible gunk to stage a comeback. Their biggest observation is simple: routine cleaning feels easy, while delayed cleaning feels like a revenge plot. And that may be the most honest jetted-tub wisdom of all.