Finish carpentry is the stage of construction that turns a functional building into a home that looks intentional. It includes the trim, doors, moldings, built-ins, and other visible details people notice long after the framing has disappeared behind drywall.
The work may look decorative, but it demands serious accuracy. A slightly crooked wall can be forgiven. A crooked chair rail at eye level will spend the next decade introducing itself to everyone who enters the room. Understanding the materials, tools, techniques, and costs involved can help homeowners plan better projects and recognize genuinely skilled craftsmanship.
What Is Finish Carpentry?
Finish carpentry, sometimes called trim carpentry, is the installation of visible woodwork and similar materials near the end of a building or remodeling project. It generally begins after the structural framing, mechanical systems, insulation, drywall, and other rough construction have been completed.
Rough carpentry creates the underlying structure. Finish carpentry refines the surfaces and transitions that remain visible. Both trades require skill, but they emphasize different tolerances. A framing carpenter works primarily for structural strength and correct dimensions. A finish carpenter must also consider symmetry, grain, shadow lines, reveals, proportions, and the way joints will look under paint or stain.
Common finish carpentry projects
The exact scope varies among builders and contractors, but finish carpenters commonly handle:
- Baseboards, shoe molding, and base caps
- Window and door casing
- Interior doors, jambs, and hardware
- Crown molding, cornices, and ceiling trim
- Chair rails, picture rails, and wall frames
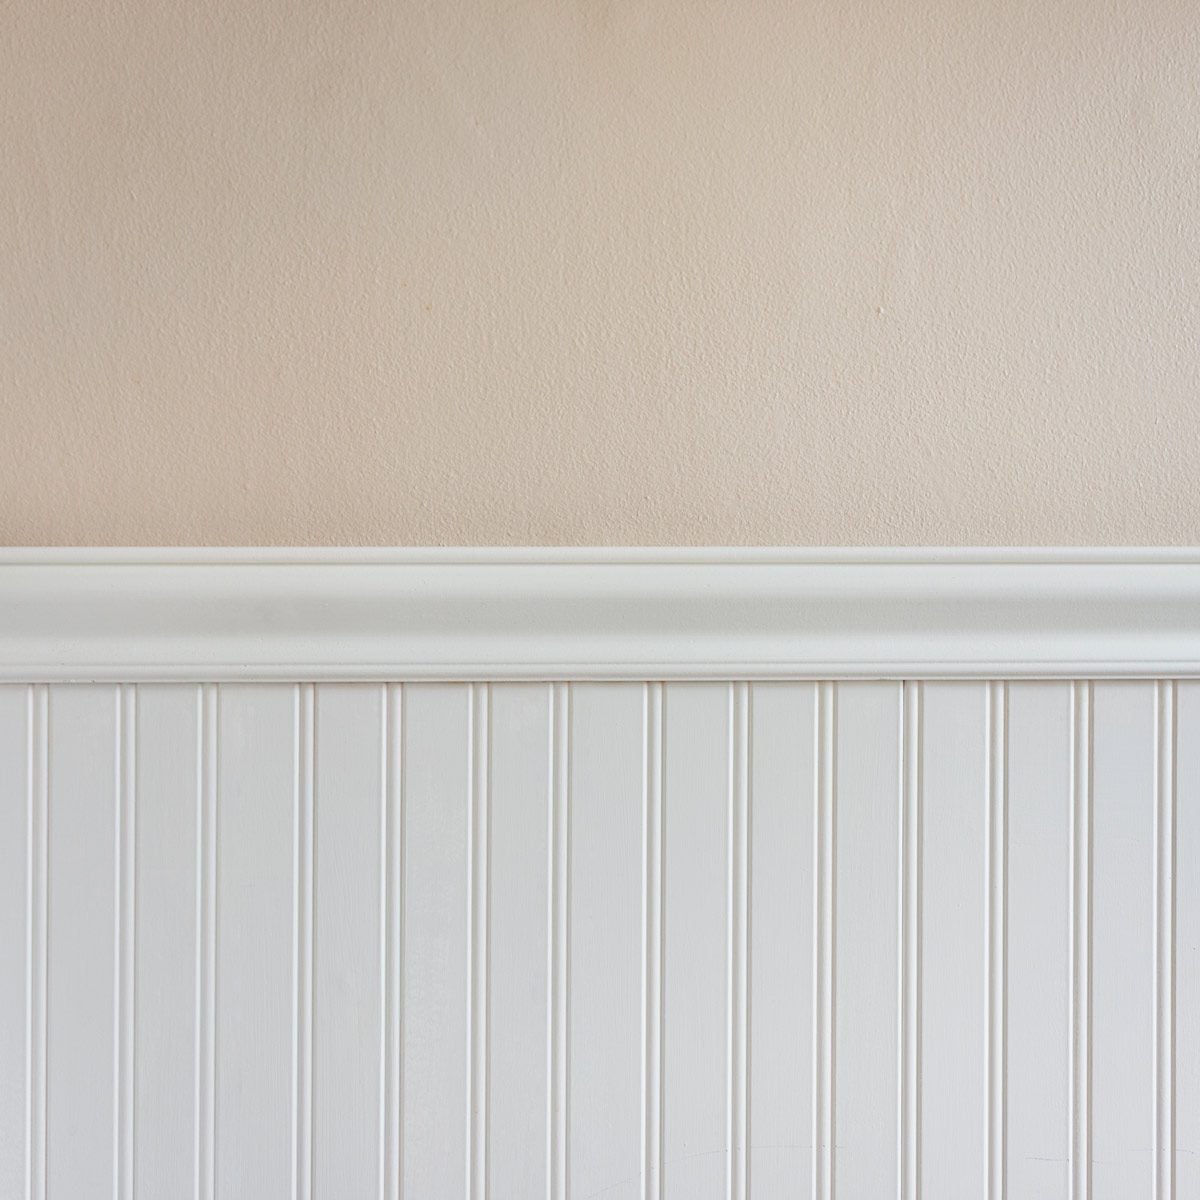
- Wainscoting and decorative wall paneling
- Stair treads, risers, skirts, handrails, and balusters
- Fireplace mantels and surrounds
- Cabinets, bookcases, benches, and other built-ins
- Closet shelving and custom storage
Some finish carpenters specialize in architectural millwork or elaborate stain-grade interiors. Others concentrate on production trim for new homes. Before hiring anyone, confirm which tasks are included rather than assuming that “finish work” covers every wooden object in the house.
Why Finish Carpentry Requires So Much Precision
Homes are rarely as straight as they appear. Walls bow, floors slope, corners wander away from 90 degrees, and ceilings occasionally behave as though they were installed during a minor earthquake. Finish carpentry must accommodate those conditions while creating an orderly visual result.
A professional does not simply cut every corner at 45 degrees and hope geometry takes the hint. The carpenter checks actual angles, scribes material to irregular surfaces, adjusts reveals, and decides where minor variations will be least noticeable.
Consistency often matters more than theoretical perfection
A reveal is the narrow exposed margin between two components, such as the edge of a door jamb visible beside its casing. Consistent reveals make an installation appear balanced even when the opening is not perfectly square. Parallel trim lines can also look better than a piece forced to follow an uneven wall or ceiling.
Good finish work therefore combines measurement with visual judgment. The goal is not to prove that a level works. It is to make the completed room look straight, balanced, and appropriate to the architecture.
Choosing Finish Carpentry Materials
Material selection affects appearance, durability, installation time, and finishing requirements. The first major decision is whether the woodwork will be painted or stained.
Paint-grade materials
Primed finger-jointed pine, poplar, and medium-density fiberboard are common paint-grade choices. MDF has a smooth, uniform surface and is available in many detailed profiles. It does not contain knots or prominent grain, making it convenient for painted baseboards, casing, crown molding, and wall panels.
However, standard MDF can swell when exposed to moisture, and its edges may be easier to damage than solid wood. It also creates very fine dust when cut. Use effective dust collection and respiratory protection, and purchase composite wood products labeled as compliant with EPA TSCA Title VI formaldehyde standards.
Stain-grade wood
Oak, maple, cherry, walnut, mahogany, clear pine, and other solid woods are used when the grain will remain visible. Stain-grade carpentry demands careful stock selection because filler, caulk, and heavy paint cannot disguise mismatched grain or an untidy joint.
Boards should be sorted for color and figure before cutting. Highly visible pieces can then be matched across door headers, cabinet faces, or long runs of molding. This planning may seem fussy until two dramatically different boards meet above the living-room doorway and begin arguing in public.
PVC and flexible molding
PVC trim is useful in damp areas and selected exterior applications because it does not rot like untreated wood. Flexible molding can follow arches, curved walls, and other unusual shapes. These products require compatible adhesives, fasteners, fillers, and finishes, so the manufacturer’s installation instructions matter.
Allow materials to adjust
Solid wood expands and contracts as indoor humidity changes. Store trim flat, keep it dry, and allow it to acclimate in accordance with the supplier’s instructions before installation. Inspect every piece for bows, twists, dents, damaged profiles, and inconsistent thickness while replacements are still easy to obtain.
Essential Finish Carpentry Techniques
Mark pieces in place
Whenever practical, experienced carpenters hold a piece in position and mark the actual cut rather than relying entirely on transferred measurements. This eliminates several opportunities to misread a tape, reverse a number, or trim the wrong end of a perfectly innocent board.
Cutting slightly long and gradually refining the fit is also safer than making an aggressive first cut. A board that is too long still has career prospects. A board cut too short has become expensive firewood.
Cope inside corners
Inside corners in baseboard and crown molding are often coped rather than joined with two simple miters. One piece ends square against the wall. The profile of the adjoining piece is cut away so that it fits over the face of the first.
A well-made coped joint can stay visually tight even if the corner is not square or seasonal movement occurs. Outside corners are usually mitered because both profiles remain visible.
Scribe irregular surfaces
Scribing transfers the shape of an uneven wall, floor, countertop, or cabinet edge onto the workpiece. The carpenter follows the scribed line with a saw, plane, sander, or chisel until the piece fits the surface closely. This technique is essential for built-ins, cabinet fillers, stair skirts, and trim installed in older homes.
Use glue strategically
Finish nails hold trim in place, but glue can strengthen joints and limit movement. Wood glue is commonly used where clean wood surfaces meet, including many miters and assembled casings. Construction adhesive may help secure some long runs or components where framing is difficult to reach.
Adhesive should complement proper fastening rather than compensate for poor preparation. Excess glue must be cleaned before it interferes with stain, paint, or the fit of adjoining pieces.
A Typical Finish Carpentry Workflow
- Confirm the design: Select profiles, dimensions, materials, finish colors, reveals, and transitions between rooms.
- Inspect the site: Check walls, openings, floors, and ceilings for moisture, damage, bows, or serious alignment problems.
- Organize the stock: Sort straight pieces, reserve long boards for uninterrupted runs, and match grain for visible areas.
- Establish reference lines: Use a level, laser, or story pole to create repeatable heights and spacing.
- Dry-fit components: Test important assemblies before applying glue or driving nails.
- Install and fasten: Attach trim to appropriate framing, blocking, jambs, or other sound substrates.
- Prepare the surface: Set protruding fasteners, fill nail holes, sand joints, and remove dust.
- Caulk and finish: Caulk suitable paint-grade gaps, prime exposed material, and apply the specified paint or clear finish.
The sequence may change according to the flooring, cabinetry, painting schedule, and project design. For example, baseboard is often installed after hard flooring but may be installed before carpet. Coordination prevents beautiful new trim from being damaged by the next trade carrying a ladder through the room.
Tools Used by Finish Carpenters
A professional setup may be extensive, but the core tools usually include a measuring tape, combination square, sliding bevel, level, laser, compass, utility knife, chisels, block plane, files, clamps, and nail sets.
A miter saw produces repeatable crosscuts, miters, and bevels. A table saw or track saw may be needed to rip boards and fabricate custom parts. Coping saws, jigsaws, oscillating tools, routers, and sanders handle profiles and special fitting.
Fastening tools commonly include an 18-gauge brad nailer for thin, lightweight trim and a 15- or 16-gauge finish nailer for thicker material requiring greater holding strength. Fastener length must be sufficient to reach a suitable substrate without striking hidden plumbing or wiring.
Safety is not decorative
Wear eye and hearing protection when using saws and nailers. Connect dust collection where possible and use appropriate respiratory protection, especially when cutting MDF or sanding finishes. Keep guards in place, support long stock, and position hands outside the blade path.
Treat every nail gun as a loaded tool. Disconnect its power or air supply before clearing jams or performing adjustments. Wood dust, solvents, adhesives, and some finishes can also present respiratory or fire hazards, so provide ventilation and follow product labels and OSHA guidance.
Common Finish Carpentry Mistakes
- Assuming corners are square: Test the actual angle before cutting matching miters.
- Following every wave in a wall: Establish a visually straight line and scribe or shim where needed.
- Using caulk as structural filler: Caulk can refine narrow paint-grade transitions, but it cannot rescue a poorly fitted joint.
- Nailing too close to an edge: Thin trim can split, particularly near the end of a board.
- Ignoring the final coating: Gloss and semigloss finishes can highlight scratches, torn grain, dents, and uneven joints.
- Mixing trim styles without a plan: Profiles should relate to the room’s proportions and architectural character.
- Failing to protect completed work: Fresh trim should be shielded from flooring tools, paint spills, and moving equipment.
DIY Finish Carpentry or Hire a Professional?
Simple shoe molding, basic baseboard, and square window casing can be manageable DIY projects for someone comfortable with a miter saw and nailer. Begin in a closet or low-visibility room where the learning curve will not become the main design feature.
Consider hiring a finish carpenter for stain-grade woodwork, complicated crown molding, custom built-ins, curved trim, stair parts, historic reproductions, or rooms with severely irregular surfaces. Stair and guard components can also involve safety and code requirements beyond appearance.
Questions to ask a finish carpenter
- Do you specialize in paint-grade, stain-grade, or custom millwork?
- Can you provide recent examples with a similar trim style?
- Does the estimate include materials, installation, filling, sanding, caulking, and painting?
- Who will handle site protection and final cleanup?
- How will change orders and concealed damage be priced?
- Will you create a sample corner or mockup before completing the room?
Finish carpentry prices vary according to regional labor rates, trim complexity, material, ceiling height, access, finishing requirements, and the condition of the building. Compare detailed scopes rather than choosing a bid based solely on the lowest total.
Finish Carpentry Experiences and Field-Tested Lessons
The most useful lessons often come from projects that appeared simple on paper. Consider a bedroom receiving new baseboard. The room measures easily, the profile is ordinary, and every corner looks reasonably square. Then the first two miters meet and reveal a gap large enough to accept mail. Testing each corner, cutting pieces slightly long, and refining the angle produces a cleaner result than automatically setting the saw to 45 degrees.
Older homes create a different challenge. A tall bookcase may be perfectly square while the wall behind it leans and the floor rises toward one corner. Forcing the cabinet against those surfaces can twist the case or leave irregular gaps. A better approach is to level the cabinet, anchor it safely, and scribe separate fillers to the wall and floor. The fillers absorb the building’s irregularities while the bookcase remains visually straight.
Crown molding teaches patience with unusual efficiency. A carpenter can measure carefully, cut both ends, climb the ladder, and discover that the piece is one-sixteenth of an inch short. That tiny gap can look surprisingly ambitious near a ceiling. Professionals frequently mark long pieces in place, make a conservative cut, and test the fit before shortening them further.
Material selection creates its own lessons. MDF crown can produce smooth painted profiles and consistent dimensions, but a long, detailed piece may be heavy and vulnerable at its edges. Solid hardwood is durable and beautiful, yet matching its grain and color requires more planning. The “best” material is therefore the one suited to the room, finish, exposure, budget, and installationnot simply the most expensive board in the rack.
Paint-grade work also demonstrates why preparation is part of carpentry. A joint that seems acceptable under flat primer may become obvious beneath semigloss paint. Sanding field joints flush, filling nail holes neatly, and removing dust may take almost as long as installing the trim. Rushing these steps saves time only until the light hits the wall.
Another recurring experience involves caulk. A narrow bead can create a crisp transition where painted trim meets a slightly uneven wall. A thick rope of caulk stuffed into an open miter looks like what it is: an apology. Tight joints should be produced with accurate cuts, coping, scribing, glue, and controlled fastening before filler or caulk enters the conversation.
Finally, mockups prevent expensive misunderstandings. Terms such as “simple craftsman trim” or “traditional crown” can produce very different pictures in different minds. Building one sample window corner or a short section of wall paneling lets the homeowner evaluate proportions, reveals, and finish colors before the entire house is trimmed. A small sample can save days of rework and several tense discussions conducted while staring at a doorway.
Frequently Asked Questions
Is finish carpentry structural?
Most finish carpentry is primarily decorative or functional rather than structural. However, stair rails, cabinets, heavy built-ins, and similar components must be anchored securely and may be subject to building codes.
What is the difference between a brad nailer and a finish nailer?
Brad nailers generally use smaller 18-gauge fasteners suited to thin trim. Finish nailers use stronger 15- or 16-gauge nails for heavier molding, casing, and other components requiring greater holding power.
Should trim be painted before installation?
Prepainting can reduce awkward brushwork, but cuts, joints, nail holes, and caulk usually need touch-ups after installation. Many projects use primed trim, followed by filling, sanding, caulking, and final coats in place.
Can crown molding hide an uneven ceiling?
It can disguise small transitions, but it does not automatically correct severe waves. A carpenter may adjust the layout, scribe components, use a built-up molding assembly, or recommend repairing the surface first.
Conclusion
Finish carpentry sits at the intersection of construction and visual design. Successful work depends on accurate fitting, appropriate materials, consistent details, careful surface preparation, and the ability to make imperfect rooms appear orderly.
For homeowners, the most important step is defining the expected result before installation begins. Confirm the profiles, materials, finish, responsibilities, and quality standard in writing. Whether the work is completed by a DIYer or a specialist, patience remains the most reliable tool in the boxand unlike a premium miter saw, it does not require another battery platform.