Installing a kitchen countertop sounds like one of those projects that should come with a hard hat, a dramatic soundtrack, and at least one person yelling, “Measure again!” But the truth is kinder than the reality-TV version. With the right countertop material, careful planning, and a patient weekend, many homeowners can handle a DIY kitchen countertop installation without turning the kitchen into a construction-themed escape room.
This guide focuses on practical, beginner-friendly countertop installation methods, especially laminate and butcher block, because they are among the most realistic options for do-it-yourselfers. Heavy stone slabs such as granite, quartz, marble, and soapstone usually require professional fabrication, lifting equipment, and precise templating. In other words, unless your hobbies include carrying refrigerators for fun, leave those to the pros.
Below, you will learn how to choose the right countertop, measure correctly, remove the old surface, make clean cuts, secure the new top, seal the edges, and avoid the most common DIY mistakes. Let’s make your kitchen look better without making your wallet cry into the sink.
Why DIY Kitchen Countertop Installation Is Worth Considering
A new countertop can change the entire personality of a kitchen. Old laminate with mystery stains from 2009? Gone. Scratched builder-grade surfaces? Goodbye. A fresh countertop can make cabinets look newer, brighten the room, and improve daily cooking comfort.
The biggest reason homeowners consider DIY countertop installation is cost. Professional countertop installation can add a serious amount to a remodeling budget, especially when removal, disposal, sink cutouts, plumbing reconnections, backsplash work, and delivery fees are included. By doing part or all of the work yourself, you can often save on labor and put more of the budget toward better materials, a nicer sink, or that fancy faucet you definitely do not need but absolutely want.
DIY installation also gives you control. You can work at your own pace, inspect every seam, and avoid the classic remodeling surprise: “We can come back in three weeks.” But DIY is not always the right answer. If your kitchen has complicated angles, uneven cabinets, stone slabs, undermount sinks, or major plumbing changes, hiring a professional may save time, stress, and possibly your marriage.
Best Countertop Materials for DIY Installation
Laminate Countertops
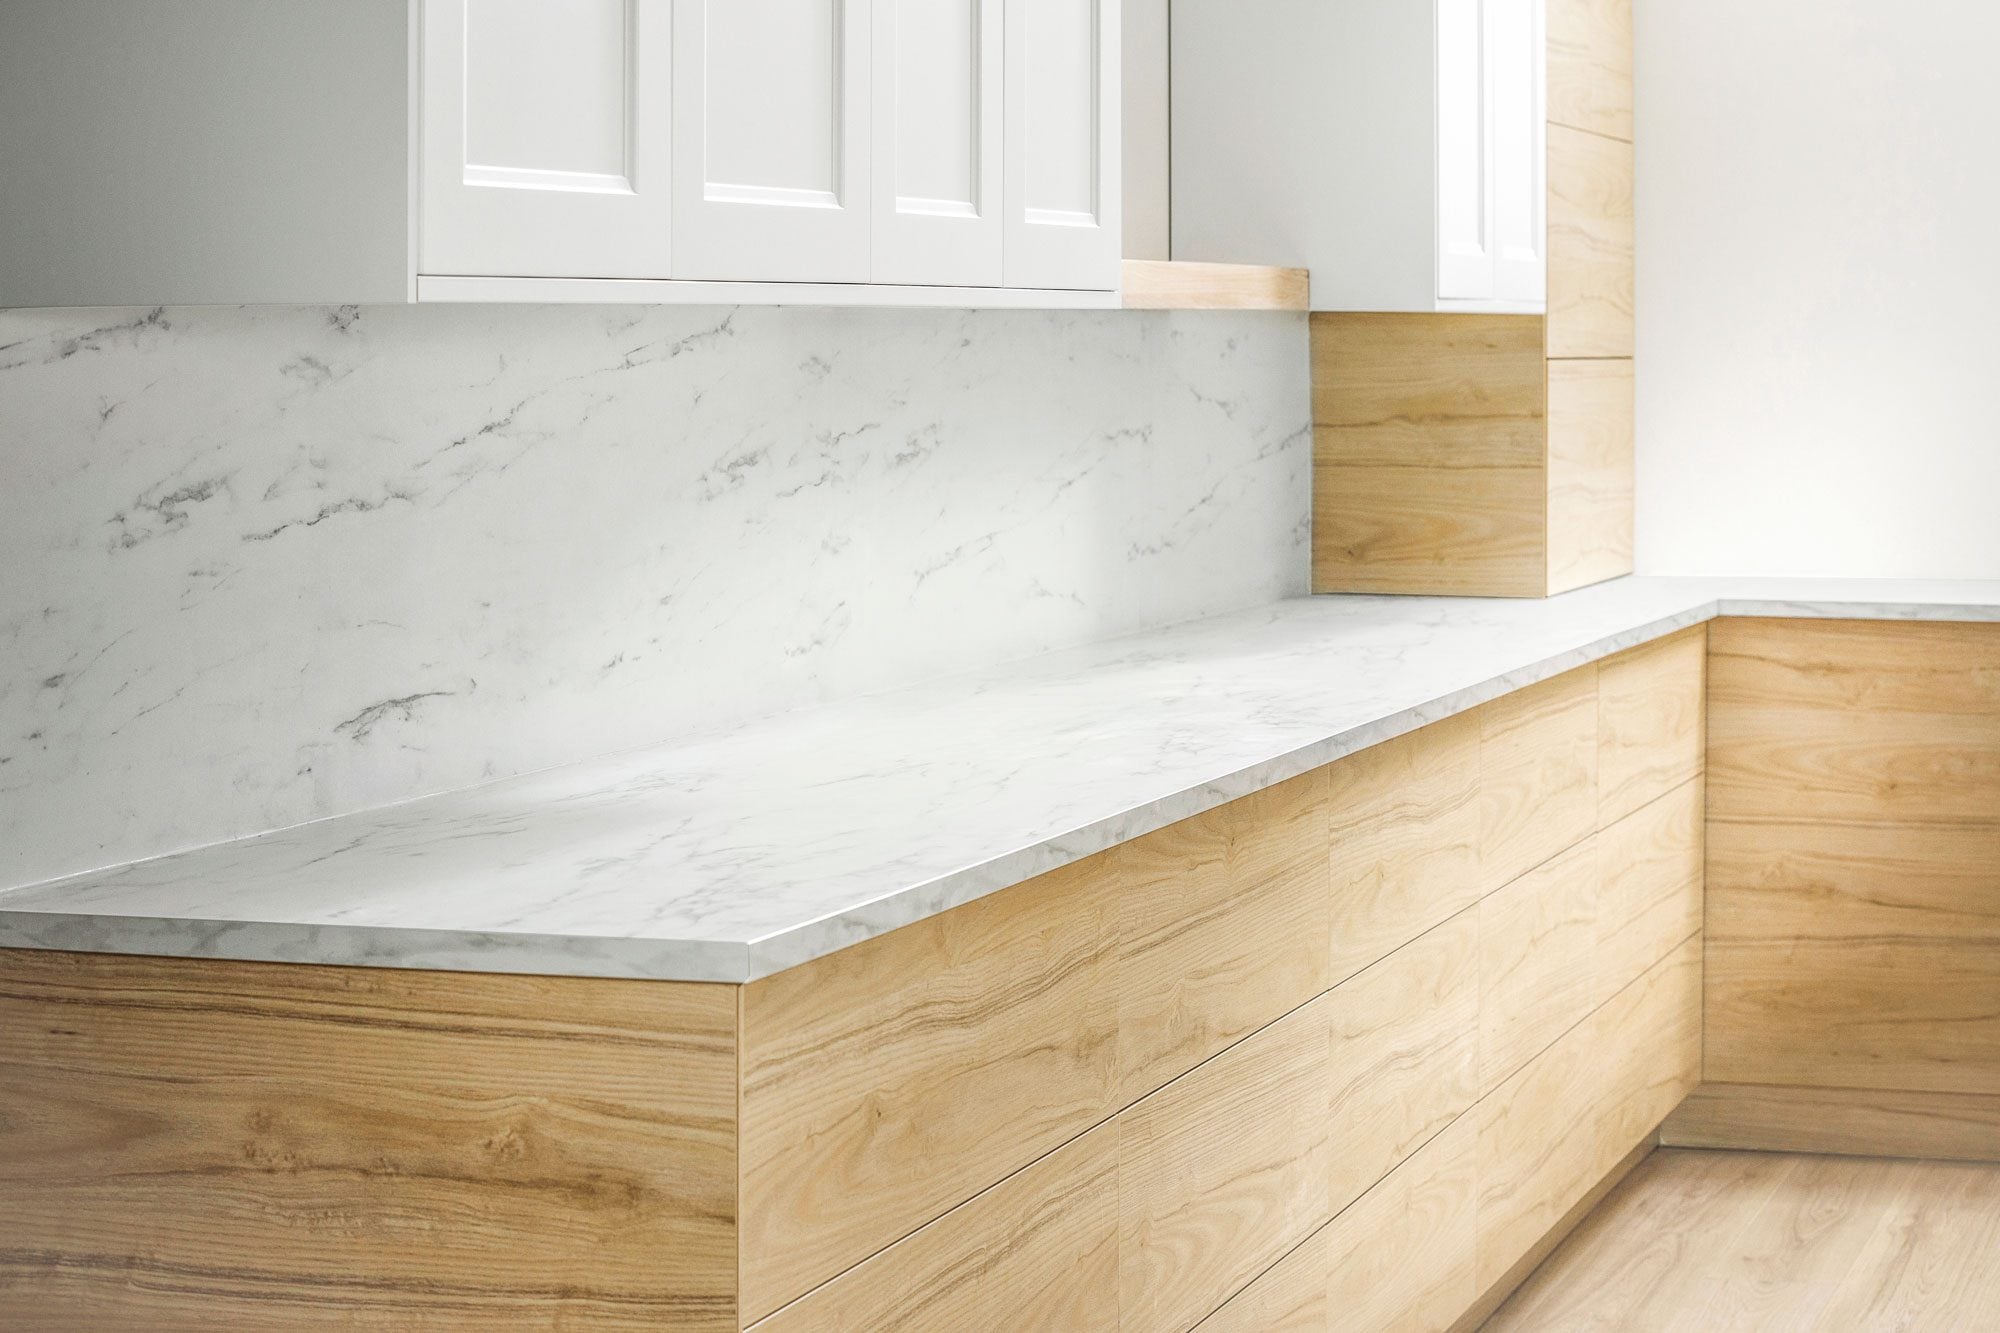
Laminate is the friendly golden retriever of countertop materials: affordable, flexible, widely available, and much better-looking than people remember. Modern laminate can mimic stone, wood, concrete, and marble patterns at a fraction of the price. Preformed laminate countertops often come with integrated backsplashes and finished front edges, making them one of the easiest choices for DIY kitchen countertop installation.
Laminate is lightweight compared with stone, easy to cut with common tools, and forgiving enough for careful beginners. Its weaknesses are heat, deep scratches, and water intrusion at seams. Use trivets, cutting boards, and good caulk, and laminate can serve a busy kitchen well.
Butcher Block Countertops
Butcher block brings warmth, texture, and a “yes, I make sourdough now” kind of charm. It is a strong DIY candidate because wood can be cut, sanded, stained, sealed, and joined with familiar woodworking tools. Butcher block works beautifully on islands, small kitchens, laundry rooms, and coffee bars.
The trade-off is maintenance. Wood countertops need sealing or oiling, protection from standing water, and a little common sense around hot pans. If you want a surface that develops character over time, butcher block is wonderful. If you want something you can ignore like a gym membership in February, choose laminate or quartz.
Tile Countertops
Tile is budget-friendly and customizable, but grout lines require cleaning and sealing. It is DIY-friendly for homeowners comfortable with thinset, spacers, cutting tile, and patient layout work. Tile can be a smart choice for rustic kitchens, retro designs, or secondary work zones.
Concrete Countertops
Concrete is customizable and dramatic, but it is heavier, messier, and more advanced. DIY concrete countertops require building forms, reinforcing the slab, mixing carefully, curing properly, polishing, and sealing. They can look amazing, but they are not the easiest first countertop project.
Quartz, Granite, Marble, and Solid Surface
These materials are usually best left to professionals. Quartz and granite are heavy and require precise fabrication. Marble needs careful handling and sealing. Solid surface can sometimes be installed by skilled DIYers, but seams and cutouts are less forgiving. For most homeowners, DIY stone slab installation is less “weekend project” and more “why is there a forklift in my driveway?”
Tools and Supplies You Will Need
The exact tools depend on your countertop material, but most laminate and butcher block installations require a similar starter kit.
- Tape measure
- Pencil or marker
- Level
- Straightedge or framing square
- Circular saw with a fine-tooth blade
- Jigsaw for sink and cooktop cutouts
- Drill and driver bits
- Clamps
- Painter’s tape or masking tape
- Caulk gun
- Silicone caulk or color-matched sealant
- Construction adhesive, if recommended
- Countertop fasteners, screws, or brackets
- Safety glasses, gloves, and hearing protection
- Sawhorses or a sturdy work surface
For laminate, you may also need end cap kits, contact adhesive, a file, and a laminate trimmer. For butcher block, add sandpaper, wood conditioner, mineral oil, tung oil, polyurethane, or another food-safe finish depending on how the surface will be used.
Step 1: Plan the Project Before You Buy
Before buying a countertop, study your kitchen like a detective with a cabinet obsession. Note the cabinet layout, sink location, stove position, wall angles, overhangs, backsplash needs, and appliance clearances.
Decide whether you are replacing the countertop only or also changing the sink, faucet, backsplash, or cabinet layout. Replacing a countertop is much easier when the sink stays in the same place. Moving plumbing turns a countertop project into a plumbing project wearing a countertop costume.
Also check whether your cabinets are level and structurally sound. A countertop is only as good as the base beneath it. If cabinets are loose, sagging, uneven, or damaged by water, repair them first. Installing a beautiful new countertop over bad cabinets is like putting a tuxedo on a raccoon: impressive for three seconds, then chaos.
Step 2: Measure Like Your Budget Depends on It
Accurate measuring is the heart of successful DIY countertop installation. Measure the length and depth of each countertop section. Standard base cabinets are commonly about 24 inches deep, and many countertops include a front overhang of about 1 to 1 1/2 inches. Still, never rely on “standard” when your actual kitchen is right there holding a tape measure.
Measure from the wall to the cabinet front in several places. Walls are rarely perfectly straight. If the countertop meets a side wall, leave extra material for scribing or trimming so the edge fits tightly. For L-shaped kitchens, measure each leg separately and pay attention to corner seams.
Create a simple sketch with dimensions. Mark sink cutouts, appliance openings, exposed ends, finished edges, and backsplash pieces. Bring this sketch when shopping. It will help you choose the correct lengths, avoid missing end caps, and prevent the ancient DIY curse known as “one more trip to the store.”
Step 3: Remove the Old Countertop Safely
Start by clearing everything from the countertop and cabinets below. Turn off water supply valves before disconnecting the sink. If your countertop includes a cooktop, garbage disposal, or electrical outlet work, turn off power at the breaker and call a licensed professional when needed.
Remove the sink, faucet, and any appliances attached to the countertop. Look underneath the old countertop for screws, brackets, clips, or adhesive. Cut caulk along the wall or backsplash with a utility knife. Then gently pry the countertop loose.
Work slowly. If the old top is stuck, do not attack it like it insulted your family. Pry in small sections and protect the cabinets. Once removed, clean the cabinet tops and check for level. Shim low spots if necessary.
Step 4: Dry-Fit the New Countertop
Dry-fitting means placing the countertop in position before glue, screws, caulk, or commitment. This step reveals problems while they are still fixable.
Set the countertop on the cabinets and check the fit against walls, corners, appliances, and adjacent sections. Confirm that overhangs look consistent and that drawers and doors still open. Use a level to check the surface from front to back and side to side.
If a wall is uneven, you may need to scribe the back edge. Scribing transfers the wall’s irregular shape onto the countertop so you can sand or cut the edge for a tighter fit. It sounds fancy, but it is mostly patience plus a pencil.
Step 5: Cut the Countertop to Length
For laminate countertops, apply painter’s tape over the cut line to reduce chipping. Use a fine-tooth blade and support the countertop fully so it does not vibrate or snap near the end of the cut. Depending on the saw and countertop orientation, you may cut from the finished side or underside to reduce tear-out. Always follow the countertop manufacturer’s instructions.
For butcher block, mark the cut line carefully and use a straightedge guide with a circular saw. Cut slightly outside the line if you want room to sand to final size. Support both sides of the cut so the offcut does not fall and tear the wood fibers.
After cutting, smooth the edge with sandpaper or a file. For exposed laminate ends, apply the manufacturer’s end cap kit. For butcher block, sand the edge and seal it thoroughly.
Step 6: Make the Sink Cutout
Sink cutouts make DIYers nervous, and honestly, that is healthy. A countertop without a sink hole is still a countertop. A countertop with a wrong sink hole is modern art.
Use the sink template if one is provided. If not, place the sink upside down on the countertop and trace the rim. Then mark a second cut line inside the outline according to the sink manufacturer’s directions, often about 1/4 to 3/8 inch inside the rim line for drop-in sinks.
Drill starter holes at the corners, then use a jigsaw to cut along the line. Support the cutout piece from below so it does not fall and damage the countertop near the end of the cut. For laminate, tape the surface first to reduce chipping. For butcher block, seal every raw cut edge before installing the sink. Water loves unsealed edges the way toddlers love permanent markers.
Step 7: Join Countertop Sections
If your kitchen has an L-shape or multiple countertop pieces, join sections before final fastening when possible. Laminate countertops often use miter bolts or draw bolts underneath to pull seams tight. Apply recommended adhesive or sealant at the seam to help block moisture.
Butcher block sections may be joined with countertop connectors, biscuits, pocket screws, or specialty fasteners depending on the layout. The goal is a tight, flat seam with enough flexibility for natural wood movement. Do not glue long wood countertops rigidly to every cabinet rail; wood expands and contracts with humidity.
Check that the top surfaces align. A tiny ridge at a seam becomes much more annoying when you are sliding a cutting board across it every morning.
Step 8: Secure the Countertop to Cabinets
Once everything fits, secure the countertop from underneath using screws, brackets, or fasteners recommended for your material. Choose screws short enough that they will not poke through the top. That mistake is memorable, but not in a good way.
For laminate, screws through cabinet corner braces or buildup strips are common. For butcher block, use slotted brackets or oversized holes where appropriate so the wood can move naturally. Fasten firmly, but do not overtighten.
Some installations use construction adhesive, but do not assume more adhesive equals better installation. Follow the manufacturer’s directions. Future-you may need to remove the countertop someday, and future-you deserves kindness.
Step 9: Seal Edges, Seams, and the Sink Area
Water is the villain in most countertop stories. After the countertop is fastened, apply silicone caulk where the countertop meets the wall, backsplash, sink, and any side splashes. Smooth the bead for a clean finish.
For laminate, pay special attention to seams, end caps, and sink cutouts. Water that reaches the particleboard substrate can cause swelling and delamination. For butcher block, seal all sides, including the underside and cut edges, before or during installation. Around sinks, be extra generous with protection.
If installing a separate backsplash, dry-fit it first, apply adhesive if required, then caulk the joint between backsplash and countertop. Clean excess caulk before it skins over.
Step 10: Reinstall the Sink, Faucet, and Appliances
Set the sink according to the manufacturer’s instructions. Drop-in sinks usually require a bead of sealant under the rim and clips underneath. Reinstall the faucet, reconnect supply lines, and reconnect the drain. Turn the water on slowly and check for leaks.
Do not skip the leak test. Place a dry paper towel under the plumbing and run water for several minutes. If the towel stays dry, celebrate modestly. If it gets wet, tighten fittings or reseal as needed.
Slide appliances back into place and confirm that they fit properly. Check that dishwashers are secured correctly and that stove clearances are safe.
Common DIY Countertop Installation Mistakes
Measuring Only Once
Measure twice is good. Measure three times if coffee is involved. Small mistakes can lead to expensive cuts, awkward gaps, or countertops that almost fit, which is another way of saying they do not fit.
Ignoring Uneven Walls
Walls often bow, curve, or wander slightly. Plan for scribing, caulk lines, or backsplash coverage instead of assuming a perfect rectangle.
Skipping Cabinet Leveling
A countertop installed over uneven cabinets may crack, shift, or create visible gaps. Fix the base before installing the top.
Leaving Raw Edges Unsealed
Unsealed sink cutouts, seams, and end cuts are open invitations for water damage. Seal them before daily kitchen use begins.
Using the Wrong Blade
A rough blade can chip laminate or tear wood. Use a fine-tooth blade and support the material properly.
Trying to DIY Every Material
Laminate and butcher block are realistic for many DIYers. Full stone slabs are not. Knowing the difference is not weakness; it is wisdom with fewer emergency bills.
How Long Does DIY Countertop Installation Take?
For a simple straight laminate countertop, installation may take one full day if the old countertop is already removed and the cabinets are level. An L-shaped laminate kitchen with seams, sink cutouts, and backsplash work may take a full weekend.
Butcher block often takes longer because of sanding, sealing, finishing, and cure time. Plan for several days if you are applying multiple coats of finish. Concrete countertops can take much longer because curing time is part of the process.
Do not rush. The countertop is one of the most visible and heavily used surfaces in the kitchen. A slow, careful installation beats a fast installation followed by five years of staring at the same crooked seam while making toast.
Maintenance Tips After Installation
Once your new countertop is installed, treat it well from day one. For laminate, use cutting boards, trivets, and mild cleaners. Avoid harsh abrasives and standing water at seams. Wipe spills quickly, especially near the sink.
For butcher block, follow the finish manufacturer’s maintenance schedule. Oil-finished butcher block may need regular re-oiling, while polyurethane-sealed wood may need less frequent attention but is not ideal as a direct cutting surface. Keep water from sitting around the sink and repair scratches before they become moisture traps.
For tile, clean grout lines and reseal grout when needed. For concrete, reseal as recommended to prevent staining. Every countertop material has its quirks. Learn them, and your kitchen will stay handsome longer.
When to Call a Professional
Call a professional if your project includes heavy stone slabs, complex seams, undermount sinks, major plumbing changes, electrical work, warped cabinets, or structural concerns. Also call a pro if the countertop is large enough that safely moving it requires more people than you can bribe with pizza.
A smart DIYer knows when to hand off part of the job. You might remove the old countertop, prepare the cabinets, paint the walls, or install the backsplash yourself, then hire a fabricator for the countertop. Hybrid DIY can still save money while protecting the most technical parts of the project.
Real-World Experience: What DIY Countertop Installation Teaches You
The first thing DIY kitchen countertop installation teaches you is that kitchens are not as square as they look. From a distance, the cabinets seem straight, the wall seems flat, and the sink area seems innocent. Then you put a level on the cabinet run and discover a tiny dip near the dishwasher. You slide the countertop against the wall and find a gap that appears, disappears, then appears again like a magic trick performed by drywall.
That is why patience matters more than brute strength. The best DIY countertop results usually come from slowing down during the boring parts: measuring, dry-fitting, checking level, taping cut lines, and sealing edges. None of those steps makes for an exciting photo, but they are what separate a clean installation from a countertop that looks like it was installed during a mild earthquake.
Another lesson is that the right tool can save both time and dignity. A fine-tooth blade, a straightedge guide, fresh jigsaw blades, and good clamps make cutting far less stressful. Trying to cut a countertop with a dull blade is like shaving with a butter knife: technically an action, but not a recommended one.
Dry-fitting is also where many DIYers gain confidence. Once the countertop is sitting on the cabinets, the project suddenly becomes real. You can see the overhang, check the sink position, and imagine the final kitchen. This is also when small adjustments become obvious. Maybe the backsplash needs a tighter fit. Maybe the end cap needs trimming. Maybe the stove opening is slightly snug. Fixing those details before fastening the top is much easier than fixing them afterward.
Sink cutouts are the emotional climax of the project. Most homeowners approach the cut with the energy of someone defusing a movie bomb. The best approach is simple: use the template, tape the surface, drill clean starter holes, support the waste piece, and cut slowly. When the sink drops into place correctly, it feels like winning a tiny home-improvement championship.
Sealing is the step people underestimate. It feels like the project is finished once the countertop is screwed down, but unsealed seams and raw edges can ruin good work. A careful bead of silicone around the sink and wall is not glamorous, but neither is a swollen laminate seam. With butcher block, sealing the underside and cut edges is especially important. Wood is beautiful, but it has strong opinions about moisture.
Finally, DIY countertop installation teaches you that perfection and pride are not the same thing. A professional installer may create tighter seams and faster results, but a careful homeowner can still produce a countertop that looks great, functions well, and comes with serious bragging rights. Every time you make coffee on that new surface, you get to think, “I did that.” And then, because you are now a responsible countertop owner, you put the hot pan on a trivet.
Conclusion
DIY kitchen countertop installation is not magic. It is planning, measuring, cutting, fitting, fastening, sealing, and resisting the urge to rush. For many homeowners, laminate and butcher block offer the best balance of affordability, style, and DIY-friendly installation. More advanced materials like concrete, solid surface, quartz, granite, and marble may require professional help, but that does not mean you cannot still manage parts of the project yourself.
The secret is choosing a countertop that matches your skill level, kitchen layout, budget, and tolerance for maintenance. Measure carefully, protect against water, follow manufacturer instructions, and call professionals when plumbing, electrical, or heavy fabrication goes beyond safe DIY territory.
A new countertop can make your kitchen feel cleaner, brighter, and more enjoyable every day. And when someone compliments it, you can smile casually and say, “Thanks, I installed it myself,” while pretending you did not panic even once during the sink cutout.
Note: This article is for general DIY education. Always follow the specific instructions from your countertop, sink, faucet, adhesive, finish, and appliance manufacturers. For electrical, plumbing, gas, stone fabrication, or structural issues, hire a qualified professional.