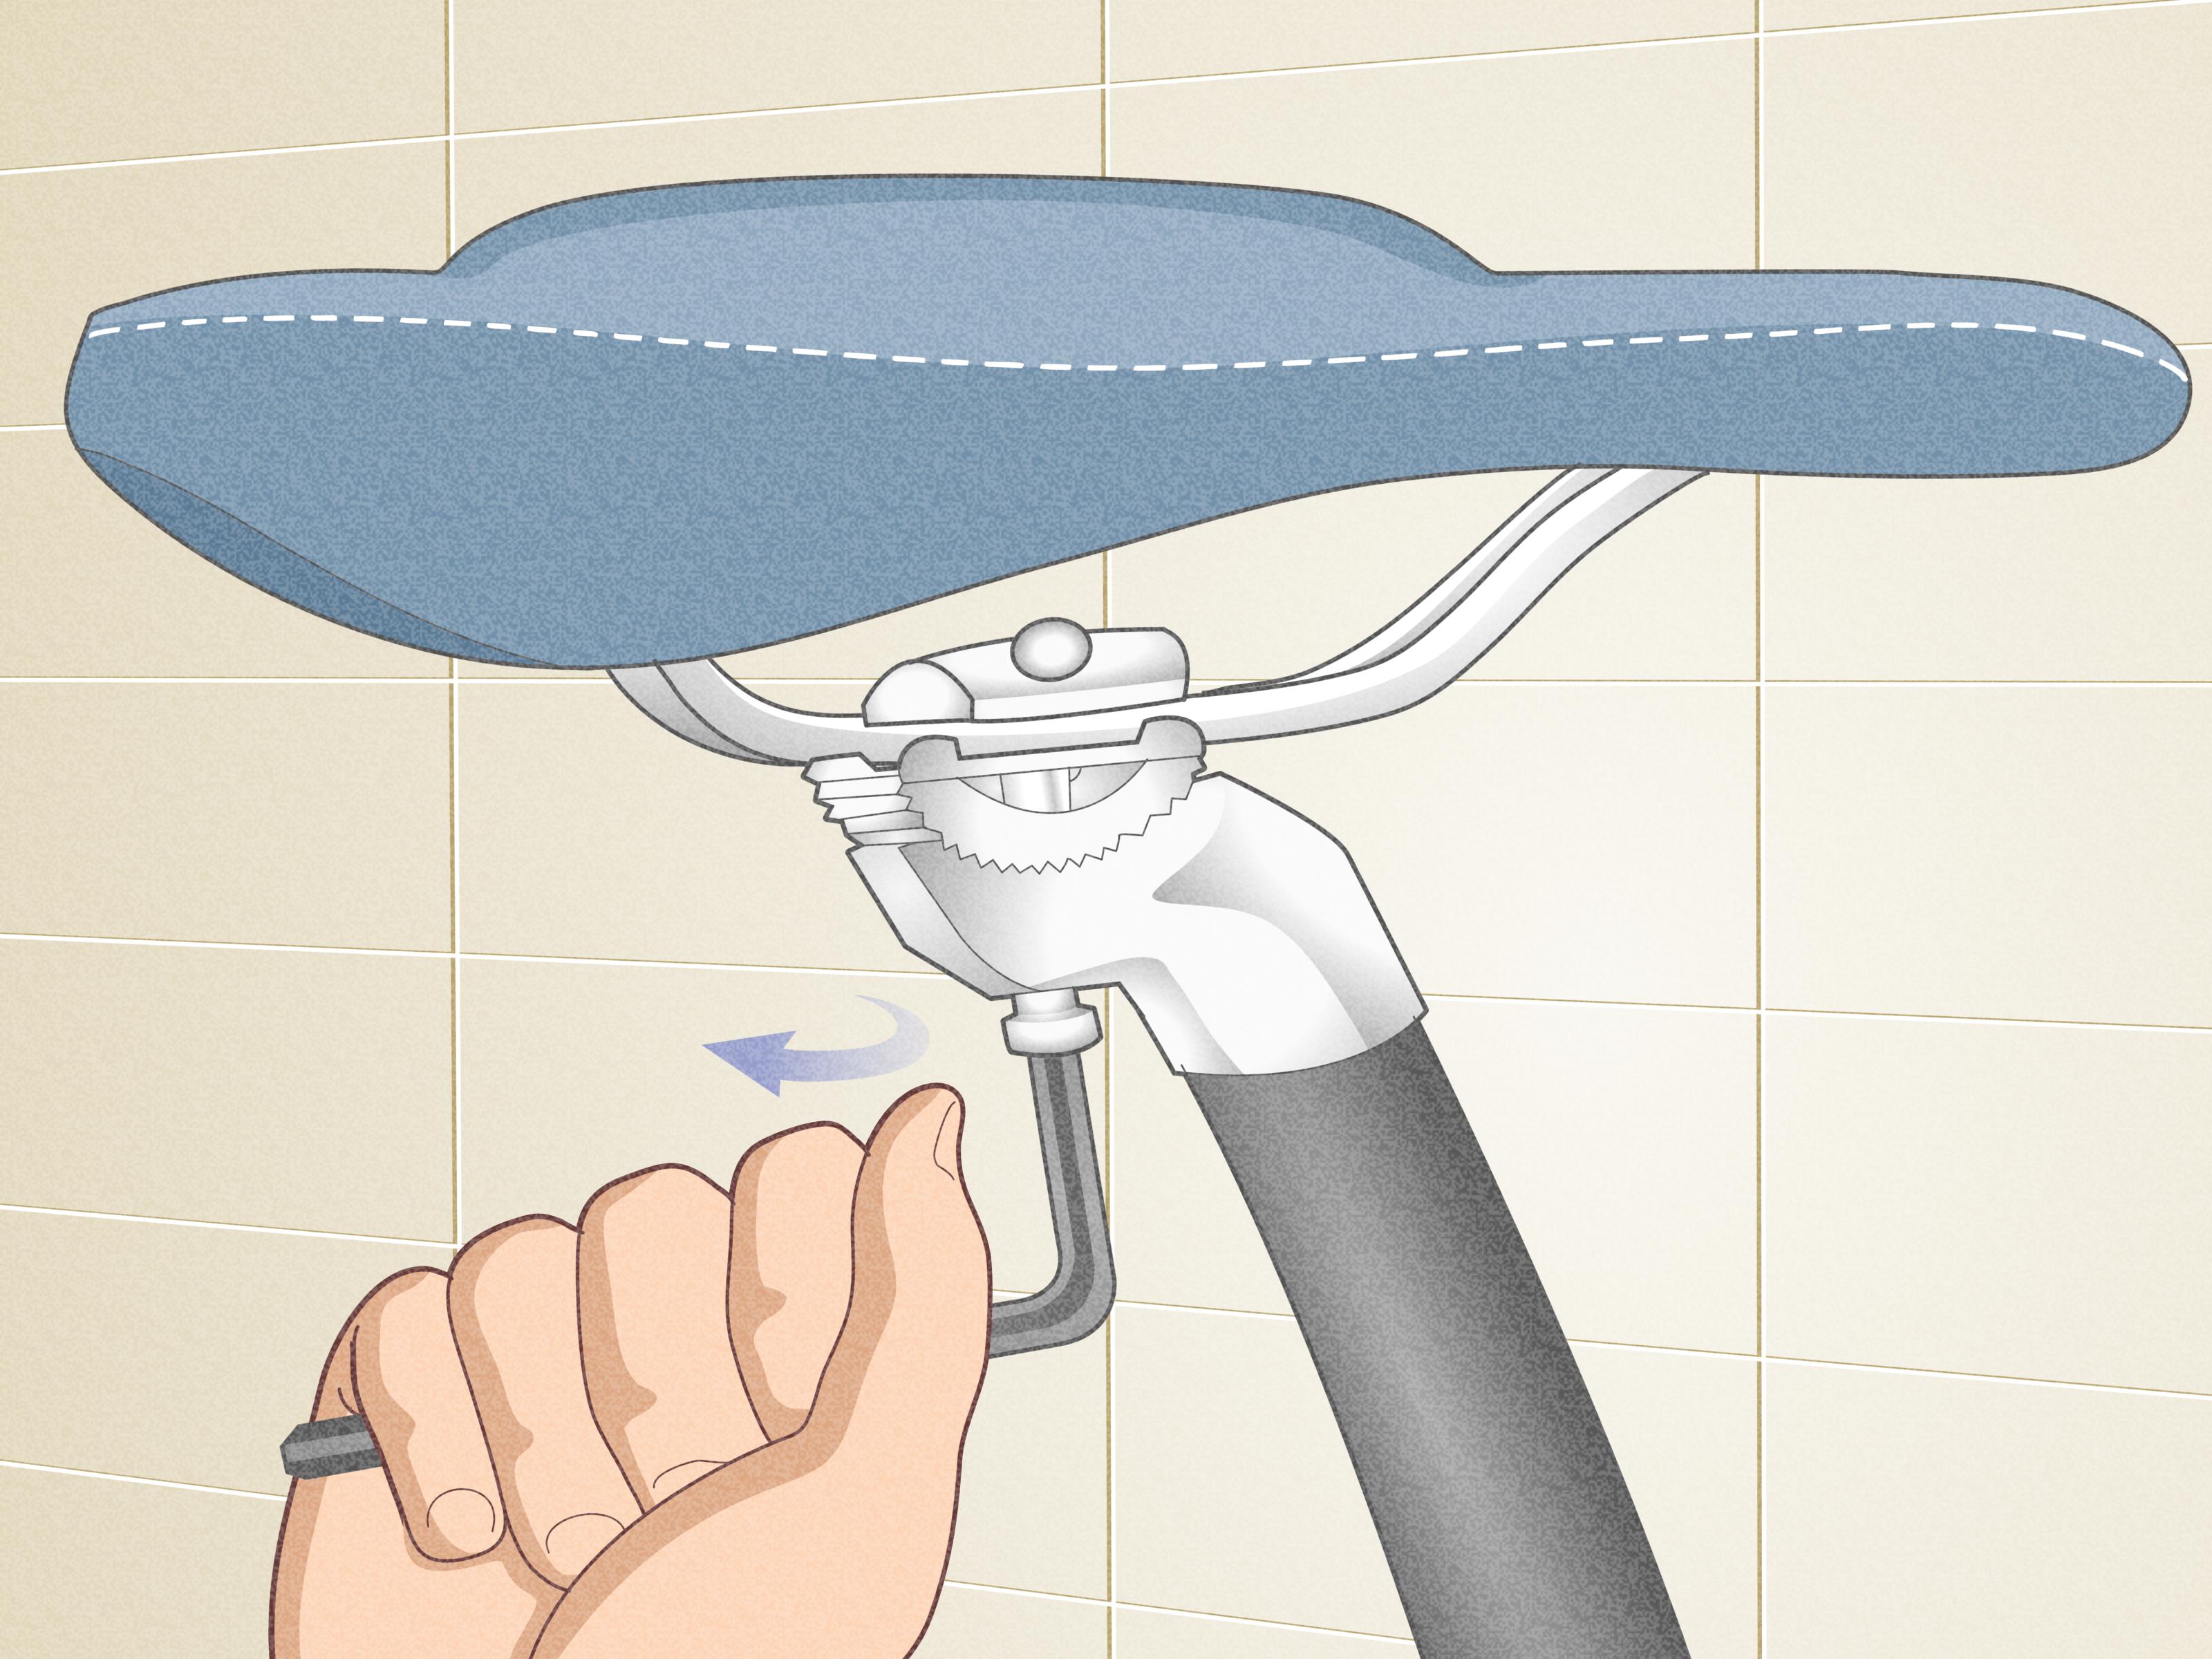
A bike saddle is one of those parts that looks innocent until it ruins your day. When it is installed correctly, you barely think about it. When it is crooked, too high, too low, or clamped like a medieval torture device, your knees, lower back, and patience all file complaints at the same time.
The good news is that installing a bike saddle is not rocket science. It is more like furniture assembly, except the furniture will later bounce over potholes and judge your torque choices. Whether you are replacing a worn-out seat, upgrading to a more comfortable model, or trying to end your long-running feud with numbness, this guide walks you through the process in 15 practical steps.
This article covers the full job: removing the old saddle, checking compatibility, installing the new saddle, setting a smart starting position, and making small adjustments after a test ride. Along the way, you will also learn how saddle rails, saddle angle, seatpost clamps, and fore-aft position affect bike fit and comfort.
Why Proper Bike Saddle Installation Matters
A bike saddle is one of your three main contact points with the bike, so small setup mistakes can feel huge on the road or trail. A badly installed saddle can lead to slipping rails, creaking hardware, knee irritation, lower-back discomfort, pressure in all the wrong places, and a general feeling that your bicycle has become emotionally unavailable.
Proper bike saddle installation gives you a reliable starting point. From there, you can fine-tune saddle height, saddle angle, and saddle setback without wondering whether the hardware itself is the problem. That matters for commuters, road cyclists, mountain bikers, gravel riders, and anyone who enjoys sitting without regret.
Tools and Supplies You May Need
Before you begin, gather the basics. The exact tools depend on your seatpost clamp design, but most bikes use one or two hex bolts. A few use Torx hardware.
- Bike repair stand, if available
- Hex keys or Torx wrench in the correct size
- Torque wrench
- Clean rag
- Small bubble level or level app
- Tape measure
- Marker or painter’s tape
- Carbon assembly paste or grease only if your seatpost manufacturer specifically requires it for related seatpost work
If you are only swapping the saddle and not removing the seatpost from the frame, you usually do not need grease or paste for the saddle rails themselves. Clean hardware and correct torque are the stars of the show.
How to Install a Bike Saddle: 15 Steps
Step 1: Put the Bike in a Stable Position
Set the bike in a repair stand if you have one. If not, lean it securely against a wall or ask a friend to hold it steady. You want the bike upright and calm, not wobbling like it just heard bad news from the drivetrain.
Step 2: Measure Your Current Saddle Setup
Before touching a bolt, measure your existing saddle height from the center of the bottom bracket to the top middle of the saddle. Also note the saddle angle and how far forward or backward the saddle sits on the rails. Even if your old setup was not perfect, these numbers give you a useful reference point if the new saddle feels wildly off.
Step 3: Identify Your Seatpost Clamp Type
Look under the saddle and study the clamp. Some seatposts use a single-bolt clamp, others use a two-bolt design, and a few integrated seat mast systems have brand-specific hardware. Knowing the clamp style helps you loosen it evenly and reinstall the saddle without twisting the rails or pinching one side harder than the other.
Step 4: Check Saddle Rail Compatibility
This is the part many riders skip until something expensive makes a cracking noise. Standard metal saddle rails are commonly round, while some carbon rails are oval. Not every seatpost clamp is compatible with every rail shape. If your new saddle has carbon rails or oversized oval rails, confirm that your clamp is approved for them before installation. If the clamp says it works with 7 x 10 mm rails, believe it. If it does not, do not improvise with hope.
Step 5: Loosen the Saddle Clamp Bolts Carefully
Use the correct tool and support the saddle with one hand while loosening the hardware. Do not remove bolts aggressively like you are trying to win a speed challenge on a cooking show. On two-bolt clamps, back each bolt off gradually so the pressure releases evenly.
Step 6: Remove the Old Saddle
Once the clamp is loose enough, lift the old saddle out of the cradle. Set the hardware aside somewhere clean. If any washers or clamp pieces come loose, keep them in order. Tiny parts have a remarkable talent for rolling away and joining the witness protection program under your workbench.
Step 7: Clean and Inspect the Clamp Hardware
Wipe dirt, old grit, and sweat residue from the clamp surfaces and bolts. Then inspect the pieces for wear, burrs, corrosion, or obvious damage. Check the rails on the old saddle too. If the clamp surfaces are chewed up or the hardware looks tired, replace damaged parts before installing the new saddle. A fresh saddle deserves a seatpost clamp that is not living on borrowed time.
Step 8: Position the New Saddle in the Lower Clamp Cradle
Set the new saddle rails into the lower clamp cradle. Make sure the rails sit squarely in the correct channels and that the clamp pieces match the rail shape. This is not a “close enough” moment. If the saddle is mis-seated now, every later adjustment becomes more annoying.
Step 9: Reinstall the Upper Clamp and Thread the Bolts by Hand
Place the upper clamp piece over the rails and start the bolts by hand before tightening anything. Hand-threading helps prevent cross-threading, which is a fancy way of saying “turning a five-minute job into a shopping trip.” On a two-bolt system, bring both bolts in gradually until the saddle is held in place but still easy to move.
Step 10: Set the Saddle Fore-Aft Position to a Neutral Starting Point
Slide the saddle so it sits near the middle of the rail adjustment range. That neutral position is a smart starting point for most riders. If you already had a fit that worked well, match your previous setback measurement. If not, start centered and fine-tune later. Moving the saddle forward or backward changes reach, weight distribution, and pedaling feel, so treat this setting with respect.
Step 11: Set a Level Saddle Angle
For most riders, a level saddle is the best baseline. Place a small level along the flattest part of the saddle and adjust the angle until it is approximately level. From there, tiny changes can help depending on anatomy, riding style, and saddle shape. The key word is tiny. A dramatic nose-up or nose-down angle usually creates new problems faster than it solves old ones.
Step 12: Adjust Saddle Height
If you removed the seatpost or changed saddle stack height, reset the saddle height now. A common starting method is the heel-on-pedal check: with the crank at the bottom of the pedal stroke, your heel should just reach the pedal while your leg is straight. When you clip in or pedal normally with the ball of your foot, that usually leaves a slight bend in the knee. It is a starting point, not divine law, but it works well for many riders.
Step 13: Tighten the Clamp to the Correct Torque
Now tighten the clamp bolts to the torque printed on the seatpost, clamp, or saddle instructions. Use a torque wrench if you have one, especially with carbon rails or lightweight components. This is not the time to trust your “calibrated wrist.” Too loose and the saddle can slip. Too tight and you can damage rails, bolts, or the clamp itself. None of those outcomes are exciting in a good way.
Step 14: Take a Short Test Ride
Ride for 10 to 20 minutes somewhere safe. Pay attention to knee tracking, hip movement, pressure points, sliding forward, and whether you feel too stretched or too cramped. A saddle that looks perfect in the garage can feel weird the moment you actually pedal. Real life is rude like that.
Step 15: Fine-Tune and Recheck After a Few Rides
Make small adjustments only, then test again. Move the saddle a few millimeters at a time for fore-aft changes and use very small angle changes if needed. Recheck bolt torque after your first few rides. New setups can settle slightly, and a quick inspection helps catch problems before your saddle decides to tilt unexpectedly in public.
How to Know If Your Saddle Position Is Close to Right
A good saddle setup usually feels boring in the best possible way. You pedal smoothly, stay balanced, and stop thinking about your seat every thirty seconds. Your hips should remain relatively stable instead of rocking side to side. Your knees should not feel jammed at the top of the stroke or overextended at the bottom. You should also feel supported on your sit bones rather than crushed into soft tissue.
If you keep sliding forward, the saddle may be tilted down too far, set too high, or placed too far back. If the front of your knees complain, the saddle may be too low or too far forward. If the back of your knees grumble, the saddle may be too high. If your hands feel overloaded, saddle angle and fore-aft position may be shifting too much body weight onto the bars.
Common Mistakes When Installing a Bike Saddle
- Ignoring rail compatibility: Carbon or oval rails need the correct clamp hardware.
- Skipping measurements: Without a baseline, every adjustment becomes guesswork.
- Setting a dramatic angle: Start level, then make tiny changes.
- Tightening by feel alone: Use the marked torque spec whenever possible.
- Changing everything at once: Adjust height, angle, and fore-aft one at a time.
- Confusing soft padding with comfort: The right width and shape matter more than turning the saddle into a couch cushion.
Should You Replace the Saddle or Get a Professional Fit?
If your saddle is worn out, bent, damaged, or clearly the wrong width or shape, replacing it makes sense. If you have already tried careful installation and still struggle with numbness, persistent discomfort, knee pain, or awkward reach, a professional bike fit can save you a lot of trial and error.
Sometimes the saddle is not the villain. Sometimes the real issue is saddle height, crank length, bar reach, or riding posture. That is why careful installation matters so much. It helps you separate a setup problem from a saddle-choice problem.
Conclusion
Installing a bike saddle is not complicated, but doing it well makes a huge difference. The process comes down to a few essentials: use the right tools, confirm compatibility, install the saddle squarely in the clamp, start with a level angle and neutral rail position, set the height carefully, and tighten everything to the correct torque.
From there, let test rides do the talking. Make small adjustments, write down what changes you make, and resist the temptation to reinvent your entire bike fit in one afternoon. A well-installed saddle should support your riding, not become the main character of every ride story.
Extra Riding Experience: What Riders Commonly Learn After Installing a New Bike Saddle
One of the most common experiences riders have after installing a new bike saddle is surprise. Not because the job is difficult, but because such a tiny component can completely change how the whole bike feels. Many riders expect a new saddle to solve everything instantly. Then they go out for a ride and realize comfort is not just about the saddle itself. It is about the exact height, angle, and fore-aft position working together.
For example, a rider may install a premium performance saddle and still feel discomfort in the first ride. That does not always mean the saddle is wrong. Often, it means the setup is only 3 millimeters off, which in bike-fit terms is basically the difference between “this is great” and “why do I feel like a folding chair with wheels?” The lesson most people learn quickly is that careful, small adjustments beat giant changes every time.
Another common experience is discovering that a firmer saddle can actually feel better than a softer one. Many people assume more padding automatically means more comfort. In practice, too much padding can create pressure and friction, especially on longer rides. Riders often end up preferring a saddle that feels supportive instead of squishy, especially once it is leveled correctly and paired with the right height.
Mountain bikers and gravel riders also notice that saddle position affects control more than expected. A saddle that is even slightly nose-up can make technical riding awkward, while one that is too far back can make climbing feel clumsy. Road cyclists often notice changes in pedaling efficiency first. Commuters usually notice whether they can ride to work without silently negotiating with their lower back.
Many experienced riders also develop the habit of checking saddle bolts after the first ride or two. It is a simple ritual that prevents headaches later. A saddle that seemed secure in the garage can settle a bit once real body weight and road vibration enter the conversation. A quick recheck takes less time than complaining to your friends about mysterious saddle tilt.
Perhaps the biggest experience-related lesson is that comfort is personal. Two riders on the same bike with the same saddle can want completely different angle and setback positions. That is normal. The smartest approach is to install the saddle correctly, begin with standard fit principles, and then fine-tune based on what your body says after actual miles. In cycling, the bike can offer suggestions, but your knees, hips, and sit bones always get the final vote.