A sea glass jar brings the soft colors of the shoreline indoors without requiring a beach vacation, a metal detector, or the patience to wait several decades for the ocean to frost an old bottle. With an ordinary glass jar and a translucent coating, you can create This beginner-friendly coastal craft works with Mason jars, pasta sauce jars, candle containers, small vases, and many other clear glass vessels. The finished jar can become a flower vase, bathroom organizer, wedding centeoject is inexpensive, customizable, and forgiving. A slightly uneven finish often makes the jar look more authentic, which is excellent news for anyone whose brushwork occasionally has “creative personality.”
What Is a Sea Glass Jar?
A sea glass jar is a clear glass container altered to resemble naturally weathered beach glass. Real sea glass begins as discarded or broken glass that is gradually tumbled by waves, sand, and stones. Over time, its sharp edges become smoother and its glossy surface develops a cloudy, frosted appearance.
A DIY sea glass jar recreates that look with translucent craft materials. Instead of turning the jar completely opaque, the coating allows light to pass through while softening reflections. Blue, aqua, seafoam green, pale turquoise, and smoky white are the most familiar coastal colors, although lavender, amber, and blush pink can produce beautiful results.
The goal is not a flawless factory finish. Natural sea glass varies in color and texture, so subtle streaks and cloudy patches can actually improve the illusion.
Choose the Best Method for Your Project
There are three practical ways to make a sea glass jar:
1. Tinted Decoupage Medium
This is the best all-around method for beginners. Clear or matte decoupage medium is tinted with food coloring or a small amount of transparent craft color, then applied to the jar. It is inexpensive, easy to mix, and available in almost every craft aisle.
2. Specialty Sea Glass or Frosted Glass Spray
A specialty spray coating produces an even, semi-transparent finish with very little brush texture. It is especially useful when making several jars for a wedding, party, or large display. Spraying must be done outdoors or in a properly ventilated work area, following the product label exactly.
3. Real or Craft Sea Glass Filler
For a no-paint option, fill a clear jar with cleaned craft sea glass, smooth glass pebbles, shells, sand, or a combination of coastal materials. This does not frost the jar itself, but it creates an attractive beach-themed display and avoids drying time.
Materials for the Brush-On Method
- One clean, undamaged glass jar
- Matte or gloss decoupage medium
- Gel or liquid food coloring
- A disposable cup or small mixing bowl
- A foam brush, soft synthetic brush, or cosmetic sponge
- Rubbing alcohol
- Lint-free cloth or paper towel
- Wax paper, parchment paper, or a washable work mat
- Disposable gloves, if desired
- Twine, ribbon, shells, charms, or labels for decoration
For a classic aqua finish, begin with blue coloring and add the smallest possible touch of green. For seafoam, use green with a hint of blue. Always mix less color than you think you need. It is easy to deepen a pale mixture, but removing too much blue from the cup is considerably harder unless you happen to own a tiny craft siphon.
How to Make Your Own Sea Glass Jar Step by Step
Step 1: Select a Suitable Jar
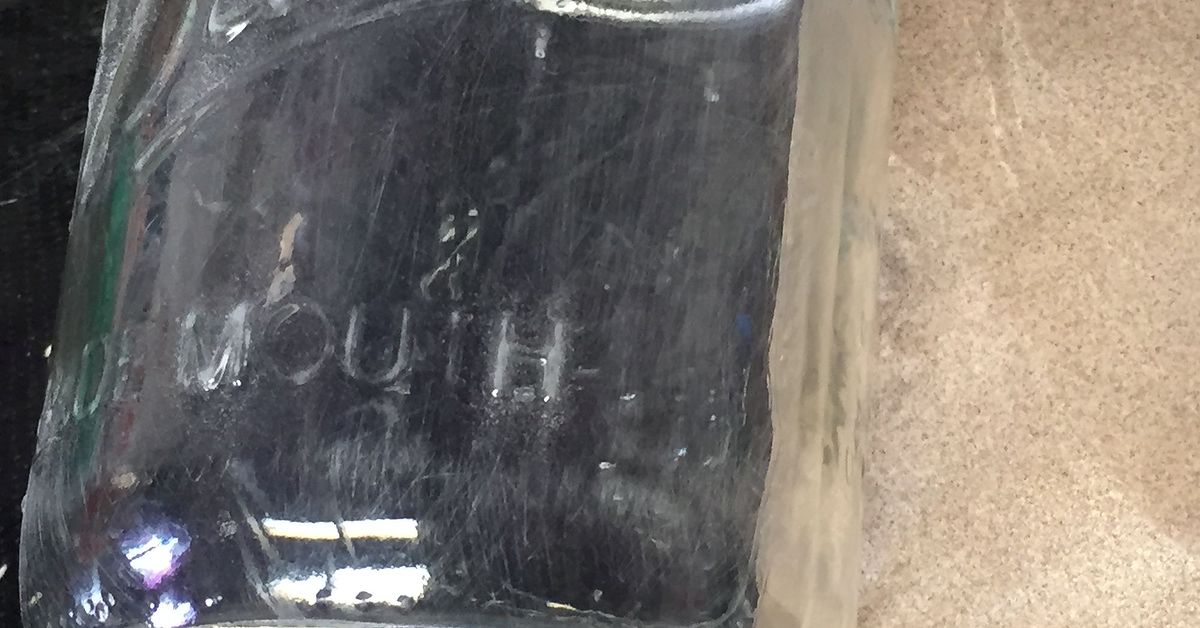
Choose a jar without cracks, chips, or rough edges. Smooth-sided jars are easiest to coat evenly, while embossed Mason jars create more texture and visual interest. Remove the lid, ring, and any plastic components before cleaning.
Reused food or candle jars work well once all residue, wax, adhesive, and odors have been removed. Do not use damaged glass, even if the crack appears small. Paint is decorative, not structural, and it cannot persuade a cracked jar to reconsider its life choices.
Step 2: Remove Labels and Adhesive
Soak the jar in warm, soapy water until the label softens. Peel away as much paper as possible, then remove remaining adhesive with rubbing alcohol or a label-removing product that is safe for glass. Wash the jar afterward to eliminate oily residue.
Stubborn adhesive must be completely removed. Even a thin greasy patch can prevent the coating from bonding properly and may leave a visible bald spot.
Step 3: Clean and Degrease the Glass
Wash the jar with dish soap, rinse it thoroughly, and let it dry. Wipe the outside with rubbing alcohol and a lint-free cloth immediately before painting. From this point forward, hold the jar by the rim or place a hand inside it so fingerprints do not return to the surface.
Clean glass is the secret to a durable finish. Dust, lotion, cooking grease, soap film, and fingerprints can all interfere with adhesion.
Step 4: Mix the Sea Glass Color
Place approximately 1/4 cup of decoupage medium in a disposable cup. Add about four drops of gel food coloring or six to eight drops of regular liquid coloring. Stir slowly until the color is completely blended.
Test a small amount on another glass container or an inconspicuous area. The wet mixture often appears darker and more opaque than it will after drying. For a frosty pastel effect, mix in a tiny amount of white multi-surface craft paint, but keep the quantity minimal or the finish may become opaque.
Step 5: Apply the First Thin Coat
Place the jar upside down on wax paper. Apply a thin coat to the outside using long vertical strokes. Work from the top toward the bottom and avoid repeatedly brushing areas that have already started to set.
A foam brush creates a relatively smooth surface. A sponge applied with gentle tapping motions produces a more irregular, naturally frosted texture. Either approach works, but do not combine enthusiastic brushing, dabbing, swirling, and interpretive dance in the same coat.
Step 6: Let the Jar Dry
Allow the first coat to dry completely in a dust-free area. Depending on humidity, temperature, and the product used, this may take several hours. Do not rush the process with a hair dryer unless the coating manufacturer specifically allows it. Excessive heat can create bubbles, tackiness, or uneven curing.
Step 7: Add a Second Coat
Examine the dry jar in natural light. Apply a second thin coat if the color appears too pale or streaky. Two light coats usually look more refined than one heavy coat because thick applications tend to drip and collect around raised lettering.
For extra depth, make the second mixture slightly lighter or darker than the first. The subtle variation can imitate the uneven coloration found in genuine beach glass.
Step 8: Cure the Finish
Set the jar aside for the full curing period listed on the product label. A surface may feel dry long before it has developed its best durability. Avoid filling the jar with water, wrapping decorations tightly around it, or placing objects against the coating during this stage.
Unless the product specifically says otherwise, do not bake the jar, place it in a dishwasher, or use it in a microwave. Different glass coatings have different curing requirements, so the labelnot an enthusiastic stranger on social mediagets the final vote.
Step 9: Add Coastal Decorations
Once the finish is cured, wrap twine, jute cord, or narrow ribbon around the neck. Secure it with a removable knot or a small amount of appropriate craft adhesive. Add a shell, wooden tag, anchor charm, bead, or miniature starfish if desired.
Use decorations sparingly. The translucent glass should remain the main attraction. One shell often says “relaxed coastal home,” while seventeen shells may suggest that the jar is preparing to open its own souvenir shop.
Optional Spray-Paint Method
Specialty sea glass and frosted glass sprays offer a quick alternative to the brush-on technique. Prepare the jar by removing labels, washing it, drying it, and wiping it with rubbing alcohol.
- Move outdoors or into a manufacturer-approved, well-ventilated work area.
- Protect the surrounding area with cardboard or a drop cloth.
- Shake the can for the amount of time stated on the label.
- Hold the can at the recommended distance from the glass.
- Apply several light passes instead of one heavy coat.
- Allow the coating to dry between coats.
- Let the finished jar cure completely before decorating or using it.
Spray coatings can create a beautifully uniform finish, but overspray and fumes require care. Wear the protective equipment recommended by the manufacturer, keep the product away from flames, and do not spray near children or pets.
Creative Ways to Use a DIY Sea Glass Jar
Coastal Flower Vase
Place fresh flowers in a separate narrow glass or waterproof insert positioned inside the decorated jar. This protects coatings that are not designed for prolonged water exposure. White hydrangeas, daisies, baby’s breath, eucalyptus, and ornamental grasses pair especially well with aqua glass.
LED Lantern
Add a battery-operated tea light or short strand of micro fairy lights. The frosted surface diffuses the light and produces a soft evening glow. LED lights are preferable to open flames because decorative coatings, twine, paper labels, and glued embellishments may not be heat-safe.
Bathroom or Desk Organizer
Use finished jars to hold cotton swabs, makeup brushes, pens, paintbrushes, scissors, or other dry items. Create a coordinated set in different shades and jar heights for a practical display.
Beach Wedding Centerpiece
Group three jars in pale blue, green, and clear frost. Arrange them on a wood slice or simple tray with battery candles, flowers, sand, or smooth decorative glass. Repeating the same colors throughout the room creates cohesion without making every centerpiece identical.
Vacation Memory Jar
Fill the jar with ticket stubs, written memories, photographs, or legally collected shells from a favorite trip. Label it with the destination and year. Before removing natural materials from any beach or park, check local regulations, because collecting may be restricted.
Common Problems and Easy Fixes
The Coating Peels Off
Peeling usually indicates oil, soap film, or adhesive residue on the glass. Remove the failed coating if possible, clean the jar thoroughly, wipe it with rubbing alcohol, and start again.
The Finish Has Heavy Brush Marks
Use less product, switch to a soft foam brush, and work quickly. Avoid brushing partially dried areas. A gentle sponge texture can also disguise existing lines.
The Color Looks Too Dark
Add more clear decoupage medium to the mixture. If the jar is already dry, apply a very thin layer of untinted matte medium to soften the color slightly, testing the technique first.
The Surface Remains Sticky
The coating may be too thick, the room may be humid, or the product may not have fully cured. Move the jar to a clean, dry location and allow additional time. Do not apply a new product over the tacky layer until the original coating is stable.
The Jar Has Drips
Allow the coating to dry, then carefully smooth the raised drip with very fine sandpaper if the product permits sanding. Clean away dust and apply another thin coat. Prevention is easier: use less mixture and inspect the jar from several angles while it is wet.
Care and Safety Tips
- Treat the finished jar as decorative unless every material is explicitly rated for food contact.
- Do not coat areas that will touch food, beverages, or a person’s mouth.
- Avoid soaking or dishwashing the jar unless the coating manufacturer approves it.
- Dust the outside gently with a soft, dry cloth.
- Keep painted jars away from high heat and direct flames.
- Use LED tea lights rather than real candles in decorated lanterns.
- Follow all ventilation, curing, and protective-equipment instructions on paint labels.
- Discard jars with cracks, chips, or sharp edges.
Experiences and Lessons From Making Sea Glass Jars
The most common surprise in this project is how little color is needed. A mixture that appears faint in the cup can look dramatically darker once it surrounds an entire jar. Beginning with only a few drops prevents the familiar crafting moment in which “gentle seafoam” becomes “tropical sports drink.” Testing the mixture on scrap glass is worth the extra minute.
Another lesson is that surface preparation matters more than artistic skill. A carefully painted jar can still peel if a patch of adhesive or cooking oil remains on the glass. Meanwhile, a beginner using a properly cleaned jar can produce an impressive result with a basic foam brush. Washing, drying, and wiping the surface with rubbing alcohol may feel like the boring portion of the project, but it is the foundation of everything that follows.
Thin coats also require patience. The temptation is to cover every clear spot immediately, especially when the wet first coat looks uneven. However, a heavy layer tends to sag, pool around embossed lettering, and dry slowly. After the first thin coat cures, many apparent flaws become less obvious. A second light application can then deepen the color without burying the character of the glass.
Lighting changes the appearance more than expected. On a dark shelf, an aqua jar may look muted and slightly gray. Near a bright window, the same jar becomes luminous and saturated. Before deciding that the color is wrong, move the finished piece to its intended location and view it during the day and evening. A jar designed for an LED lantern can be lighter than one intended to hold makeup brushes because the internal light strengthens the color.
Making several jars at once is usually more efficient than creating them one at a time. Cleaning can be done in batches, and a single color mixture can cover multiple containers. Different jar sizes prevent the group from looking overly matched. A tall sauce jar, a small Mason jar, and a wide candle container can feel coordinated when they share related shades and simple decorations.
It is also easy to overdecorate. Twine, shells, charms, netting, tags, beads, and miniature anchors all sound delightful while sitting in the craft drawer. On one jar, however, they can compete with the subtle glass finish. The most successful designs generally use one main embellishment and leave enough uncovered surface for light to pass through.
Small imperfections tend to improve the finished piece. Natural sea glass is cloudy and irregular, so a faint streak or slightly darker edge does not automatically need correction. Uniformity matters more when producing formal wedding centerpieces, but casual home décor often benefits from variation. Handmade objects should look thoughtfully crafted, not as though they recently escaped from a plastics factory.
The final practical lesson is to decide how the jar will be used before choosing materials. A dry desk organizer has different requirements from a vase, bathroom container, or outdoor lantern. Moisture, sunlight, heat, and frequent handling can affect decorative coatings. Planning the function first helps determine whether to paint the outside, use a removable inner vessel, select a specialty glass coating, or simply fill an untreated jar with craft sea glass.
Once these basics are understood, the project becomes highly adaptable. The same technique can produce smoky gray jars for modern décor, pale pink vessels for a bridal shower, amber jars for fall, or icy white lanterns for winter. The coastal version is simply the beginningand possibly an excuse to rescue another pasta sauce jar from the recycling bin.
Conclusion
Learning how to make your own sea glass jar is an easy way to transform ordinary glass into soft, coastal décor. The project depends on three essentials: a spotless jar, a translucent coating, and enough drying time between thin layers. Once the finish has cured, the jar can be personalized with simple accents and used as a vase, organizer, centerpiece, memory container, or LED lantern.
Start with a pale tint, resist the urge to apply a thick coat, and let the natural variations work in your favor. In an afternoon of active craftingand a little patient curingyou can create a decorative piece that looks as though it spent years beside the ocean instead of last Tuesday beside a jar of marinara.
Note: This project is intended primarily for decorative use. Always follow the instructions on the selected coating, use spray products only with appropriate ventilation, and keep painted or embellished jars away from food-contact surfaces and open flames.