You bought an iPad. You bought an OtterBox Defender. Now you’re staring at a rugged shell that looks less like a case and more like a tiny piece of tactical luggage. Fair enough. The good news is that putting your iPad in an OtterBox Defender is not difficult once you understand how the parts come apart, which direction the tablet sits, and which spots need a gentle snap instead of a Hulk-level shove.
This guide walks you through the whole process in plain English, with zero mystery and only a little dramatic tension. Whether you’re protecting a family iPad, a school device, a work tablet, or your very expensive Netflix machine, the goal is the same: get the iPad seated correctly, keep the case aligned, and make sure all the buttons, ports, cameras, and accessories still work when you’re done.
Before You Start: Two Minutes of Prep Saves Twenty Minutes of Annoyance
Before you pry, peel, or snap anything, take a quick pause. OtterBox Defender cases are model-specific. That matters a lot. An iPad case that looks “basically the same” can still be wrong if the camera cutout, button placement, speaker openings, or side charging area do not match your exact iPad.
1. Confirm your iPad model
On your iPad, go to Settings > General > About and check the model name or model number. This step is boring, yes, but it prevents the classic mistake of trying to force a 10th-generation iPad into a case made for an iPad Pro. That never ends well. Usually it ends with muttering.
2. Remove anything already attached
If your iPad already has a skin, a thick screen protector, a sleeve, a lanyard, or a mystery sticker collection from three school years ago, remove what might interfere with fit. Defender cases are designed to fit snugly. “Snugly” is a polite word for “this thing wants precision.”
3. Clean the iPad first
Wipe the screen, back, and edges with a soft lint-free cloth before you install the case. Dust trapped under a rugged case will not destroy civilization, but it can cause little cosmetic annoyances over time. A clean install just feels better, too.
4. Set up a flat workspace
Use a table or desk with good lighting. A bed is cozy, but it is a terrible place to line up a precision-fit tablet case. Soft surfaces hide parts, swallow dust, and turn simple installs into treasure hunts.
Know the Parts of an OtterBox Defender
Most OtterBox Defender and Defender Pro iPad cases use a layered design. Depending on the exact model, you will usually see:
- a rigid inner shell or frame,
- a softer outer slipcover,
- a front shield or screen-protection element,
- and a stand or cover piece that may double as a screen shield.
That layered build is why the case feels tough in the hand. It is also why first-time installation can feel like opening a Russian nesting doll designed by engineers who really trust clips.
Do not start by forcing the iPad into the fully assembled case. That is the wrong move. The case needs to come apart first, then go back together around the device in the correct order.
Step-by-Step: How to Put Your iPad in an OtterBox Defender
Step 1: Remove the shield stand or front cover
If your Defender case includes a stand or front shield, release it first. On many models, this outer piece snaps off from the back or front corners. Work slowly at the corners instead of yanking from the middle. If it feels stubborn, that is normal. Rugged cases are not famous for being emotionally available.
Step 2: Peel off the outer slipcover
Once the stand is off, remove the soft outer slipcover from the hard shell. Start from one corner and peel it back around the edges. Think of it like removing a tight rubber boot from a very grippy robot. Take your time and do not stretch one section more than necessary.
As you remove it, notice where the cutouts line up for the camera, ports, and buttons. That mental map will help when you put everything back together.
Step 3: Separate the hard inner shell
With the slipcover off, locate the points where the rigid shell separates. OtterBox installation guides typically show arrows or snap points along the edges. Use your fingers to release the clips one side at a time. Do not jam in sharp tools. No butter knives. No screwdrivers. No “I saw this on a forum once.”
Work around the perimeter until the shell splits into two halves. You should now have:
- the bottom half of the shell,
- the top frame or front half,
- the soft slipcover,
- and the stand or shield piece.
Step 4: Place the iPad into the bottom half of the shell
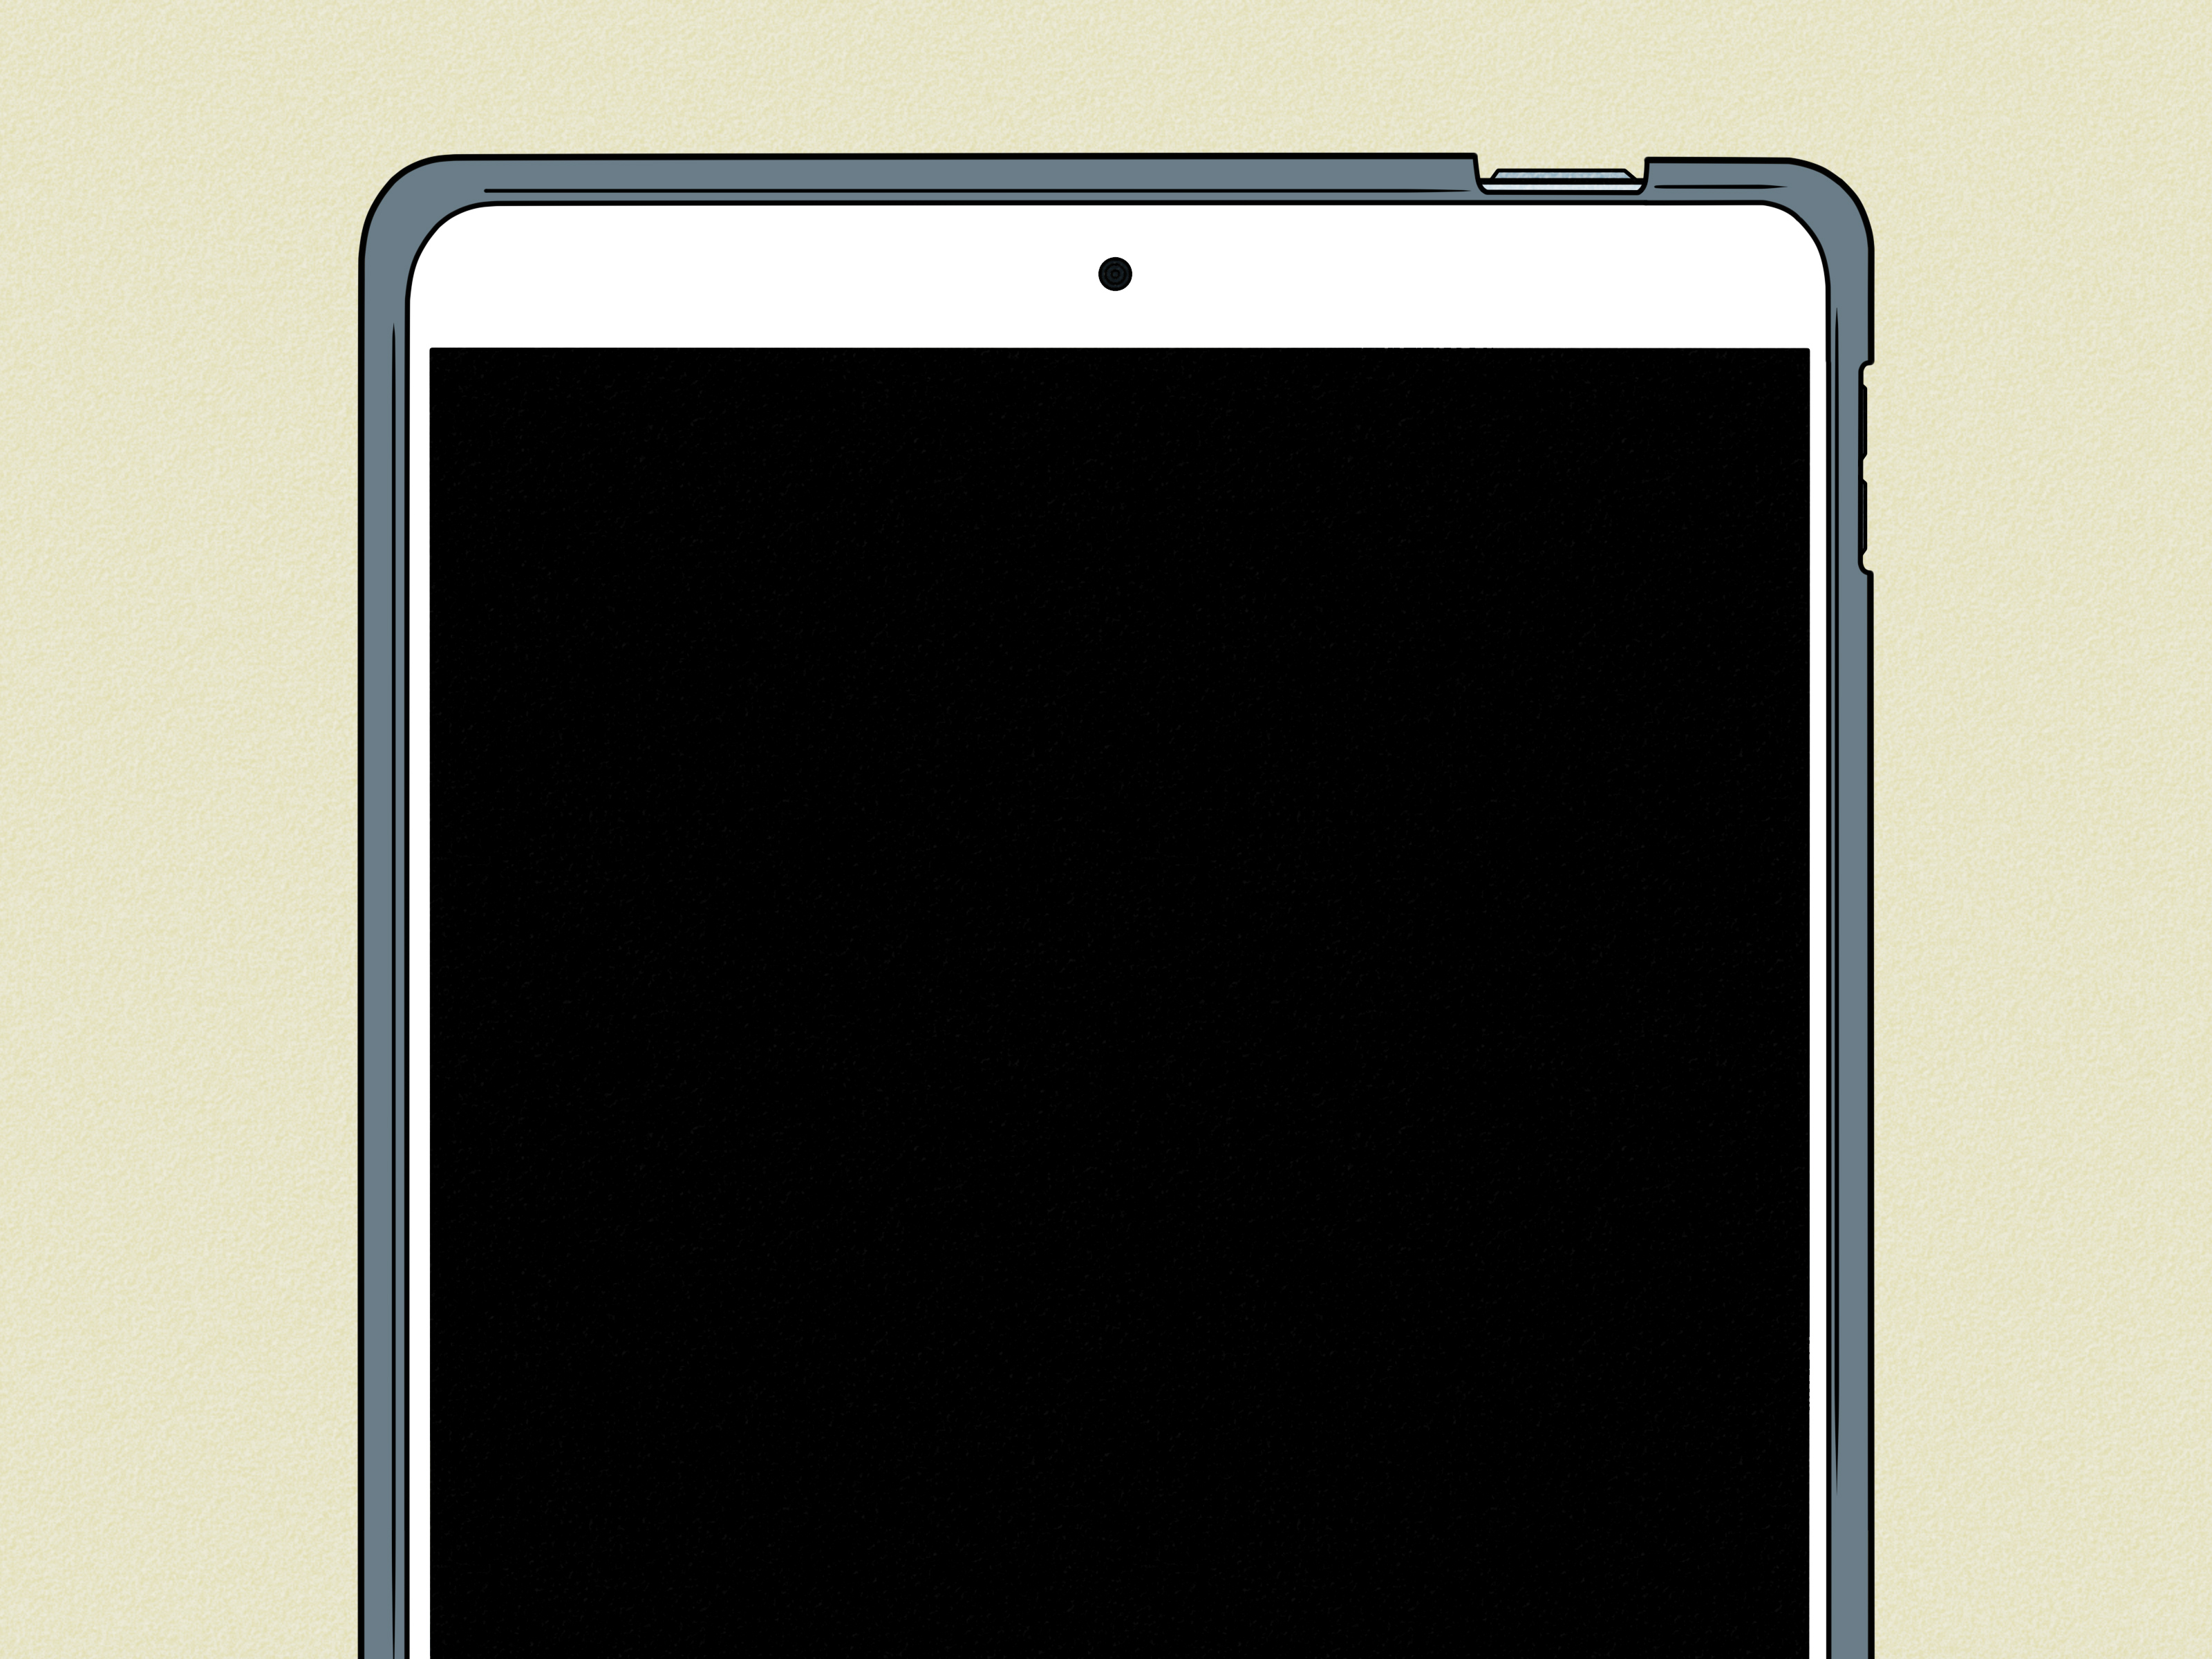
Set the iPad into the bottom half of the rigid shell. Make sure the camera lands in the correct camera cutout and the charging edge lines up with the port opening. The iPad should sit down naturally without rocking or bulging.
If it does not sit flat, stop and check alignment. Something is off. Maybe the device is upside down. Maybe the case is for a different iPad. Maybe a lingering accessory is blocking the fit. This is the moment to troubleshoot, not the moment to apply more force and hope for the best.
Step 5: Snap the top half of the shell into place
Take the top frame and place it over the iPad. Start by aligning one edge, then work your way around pressing along the perimeter until the clips snap into place. You should hear or feel several small clicks. That is the sound of progress.
Run your fingers along all four sides to confirm the shell is fully closed. If one corner sticks up or one edge looks uneven, open that section and reseat it. An almost-snapped rugged case is the gadget equivalent of one sock half on. Technically possible. Spiritually wrong.
Step 6: Reinstall the outer slipcover
Now wrap the soft outer slipcover back around the hard shell. Start with one long side, then stretch the material over the corners and remaining edges. Make sure the silicone or rubberized layer sits into the grooves and notches all the way around the case.
This part matters. If the slipcover is not nested correctly, you may see bunching, loose corners, or flaps that do not sit flush. A proper fit should look clean and feel tight, with button covers aligned and port covers resting where they belong.
Step 7: Reattach the stand or front shield
Snap the shield stand back onto the case if your model includes one. On many Defender iPad cases, this piece works as both a cover and a kickstand. It may also support multiple working positions for typing, watching video, portrait interaction, or landscape viewing.
Attach it carefully and test that it clicks in securely. If it feels crooked, remove it and try again rather than forcing the hinge or latch area.
Step 8: Test every function before you call it done
Before you celebrate, do a quick functionality check:
- Press the top button or power button.
- Press both volume buttons.
- Open and close the charging-port cover.
- Check the camera opening.
- Test the speakers and microphones.
- If your model supports Apple Pencil storage or charging, test that too.
If a button feels jammed or a port cover is folded under itself, the slipcover probably needs a small adjustment. That is normal and easy to fix.
How to Tell You Installed It Correctly
A correctly installed OtterBox Defender should feel secure, balanced, and very slightly overqualified for daily life. Here are the signs you got it right:
- The shell sits evenly on all sides.
- The outer layer is tucked neatly into every groove.
- Port covers open and close cleanly.
- The camera is centered in its cutout.
- The stand attaches properly and feels stable.
- Buttons respond without extra force.
- The iPad does not rattle or shift inside the case.
If everything looks aligned and feels firm, you are done. Congratulations. You have successfully armored a tablet.
Common Mistakes to Avoid
Forcing the iPad into the assembled case
This is the number-one error. Defender cases are built to be taken apart and reassembled around the device. Trying to push the iPad into the fully assembled case is a shortcut to frustration.
Ignoring model compatibility
Many iPads are similar in size, but cutouts and edge details differ. If the fit seems weirdly wrong, it probably is.
Leaving the slipcover misaligned
Even when the hard shell is installed correctly, the outer layer can still be slightly off. That small misalignment can affect buttons, port covers, and overall feel.
Using tools to pry open the case
Sharp tools may scratch the shell or damage the case clips. Your fingers are usually enough when you work slowly and release one snap at a time.
Skipping the final function check
A case can look installed but still pinch a button cover or fold a port flap. Test everything once. Future You will appreciate the effort.
Troubleshooting Tips
The stand will not attach properly
Check whether the slipcover is sitting too high around the back edge. If the outer layer is bunching, the stand may not latch cleanly.
The charging port is hard to reach
Open the port cover fully and make sure the opening is not twisted. Some rugged cases are intentionally snug around port areas to keep out dust and debris.
The screen feels different than before
That can happen if your Defender version includes built-in front protection or if the front bezel is raised more than a slim case. Give yourself a day or two. Your fingers are adaptable little overachievers.
The Apple Pencil does not sit right
Double-check whether your specific Defender model includes Pencil storage, side access, or charging compatibility. Not every iPad case handles stylus access the same way, even within the same product family.
Care Tips After Installation
Once your iPad is inside the Defender, keep the case clean. Wipe down the outside regularly with a soft, slightly damp lint-free cloth. If you need a deeper clean, remove the iPad first before cleaning the case itself.
Also, check the port covers once in a while. Dust, lint, and crumbs have a supernatural ability to migrate toward charging ports. If your iPad lives in a backpack, classroom cart, work truck, or family room full of snack energy, this matters even more.
And yes, you can absolutely use the stand. In fact, you should. Defender stands are one of the best reasons to choose the case in the first place. A case that protects your iPad and props it up for typing or video is doing double duty like an overachieving intern.
Real-World Experience: What It’s Actually Like Using an iPad in an OtterBox Defender
Here is the truth nobody tells you in the first five seconds after installation: once your iPad is in an OtterBox Defender, it feels like a different device. Not worse. Just more serious. It goes from “sleek glass rectangle” to “small digital tank with a schedule.”
In daily use, the biggest change is confidence. You stop babying the iPad quite so much. You set it down on a desk with less drama. You hand it to a kid with slightly less panic. You carry it from the kitchen to the couch to the car without imagining an expensive slow-motion accident every time your grip shifts. That alone makes the install worth it for a lot of people.
The grip usually improves right away. Naked iPads are beautiful, but they can also be slippery in that “why is this premium object trying to leave my hands” sort of way. A Defender adds texture and structure, which makes the device easier to hold for reading, streaming, note-taking, and general life. If you use your iPad in busy environments, the extra grip feels less like a feature and more like a personality upgrade.
There is, of course, a tradeoff. The iPad gets bulkier. No one puts a Defender on an iPad because they want it to feel thinner than a magazine. You buy it because you want better drop protection, edge coverage, and peace of mind. If you were previously using a slim folio, the first impression may be, “Wow, this thing means business.” After a few days, that feeling usually turns into, “Actually, I kind of love not worrying about every table corner.”
The stand becomes more useful than people expect. At first, it seems like a nice bonus. Then you start using it while following recipes, watching movies, joining video calls, typing notes, or keeping the screen upright on a cluttered desk. Suddenly the stand is not a bonus anymore. It is a lifestyle. A mildly bossy lifestyle, but a good one.
Families and shared-device households especially tend to appreciate the Defender experience. When multiple people use one iPad, durability matters more than elegance. The case turns the device into something that can survive a little chaos. Not unlimited chaos, because nothing can protect electronics from every possible act of human creativity, but enough chaos to feel practical.
For work and school use, the biggest benefit is consistency. Once installed correctly, the case feels dependable. It protects corners, shields exposed areas, and keeps the iPad ready for travel, classroom use, fieldwork, or everyday commuting. You spend less time worrying and more time actually using the device, which is the whole point.
So yes, installing an OtterBox Defender can feel a little intimidating at first. But once the iPad is in and everything is aligned, the case makes a strong argument for itself. It is rugged, practical, and surprisingly helpful in everyday situations. Also, it gives your iPad the energy of a device that files taxes early. In a good way.
Final Thoughts
Putting your iPad in an OtterBox Defender is really about following the right order: remove the shield, peel off the slipcover, separate the shell, seat the iPad, snap the shell closed, wrap the outer layer back on, and reattach the stand. That is it. No wizardry. No special tools. Just patience, alignment, and a willingness to let the case do its rugged little job.
If you install it carefully, your iPad will feel more protected, easier to grip, and better suited for real-world use. And if the case seems a little tough to open the first time, that is kind of the point. A case that resists everyday chaos is usually not going to behave like a paper envelope.