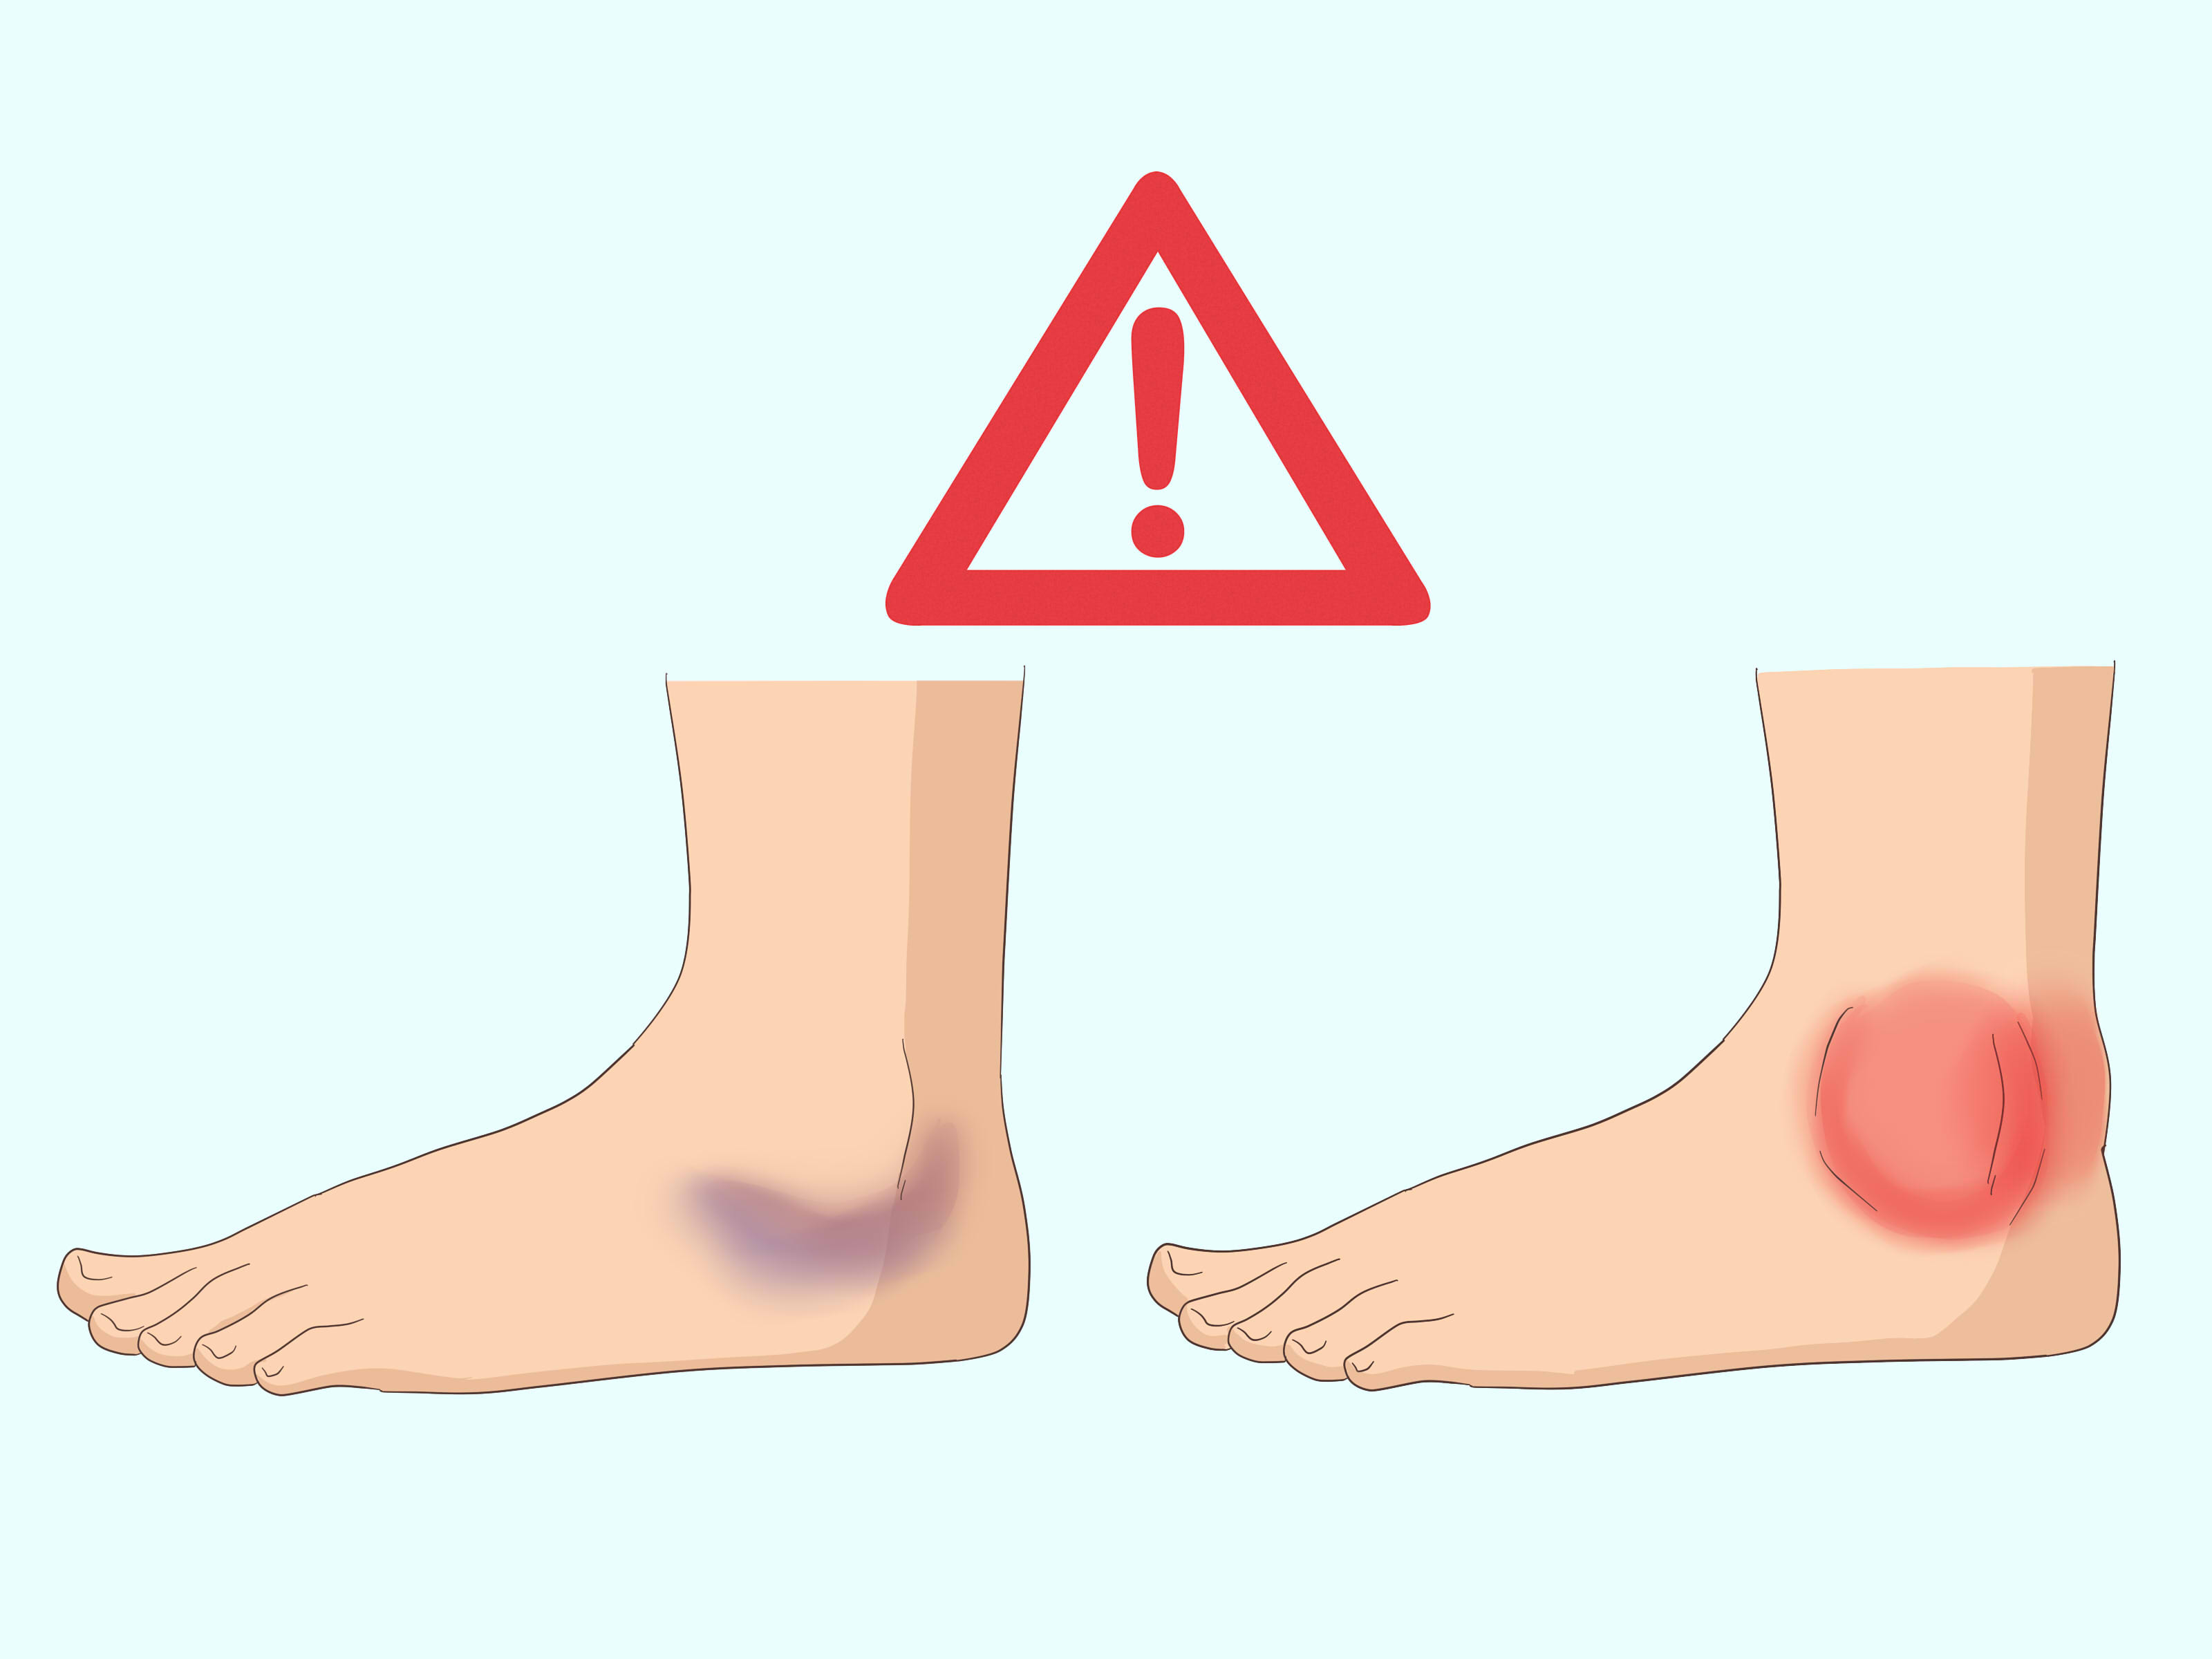
One awkward step off a curb, one ambitious jump shot, or one poorly negotiated laundry basket can leave your ankle swollen and grumpy. An elastic compression bandageoften called an ACE bandagemay help control swelling while you protect and rest a minor ankle injury.
Wrapping an ankle is not quite as simple as winding fabric around it until the roll disappears. The bandage must apply even, gentle pressure without interfering with circulation. It should also stay in place instead of gradually migrating toward your toes like a sock that has lost all motivation.
This guide explains three easy ankle-wrapping methods: a basic spiral wrap, a figure-eight wrap, and a figure-eight wrap with added heel coverage. You will also learn how tight the bandage should feel, when to remove it, and which symptoms require medical evaluation rather than another layer of elastic fabric.
Medical background synthesized from Mayo Clinic, MedlinePlus, AAOS, Cleveland Clinic, and Johns Hopkins Medicine.
Before You Wrap the Ankle, Check the Injury
Ankle pain after a twist or fall is commonly caused by a sprain, which means one or more ligaments have been stretched or torn. However, similar symptoms can result from a broken bone, tendon injury, cartilage damage, or high ankle sprain. Swelling alone cannot tell you which injury occurred.
A wrap may be reasonable for temporary compression when the ankle is mildly or moderately swollen, there is no obvious deformity, the skin is intact, and the foot has normal color, warmth, and sensation. When the injury looks severe, wrapping it at home should not delay professional care.
Seek prompt medical evaluation when:
- The ankle or foot looks bent, displaced, or unusually shaped.
- A bone is visible or there is a deep or heavily bleeding wound.
- You cannot take four steps because of the pain.
- There is sharp tenderness directly over an ankle or midfoot bone.
- The foot becomes pale, blue, unusually cold, numb, or weak.
- Pain or swelling is severe, rapidly worsening, or not beginning to improve.
- You heard a crack, felt a major pop, or cannot move the ankle normally.
The inability to bear weight for four steps and localized bone tenderness are among the findings clinicians use when deciding whether an X-ray may be needed. They are not a home diagnosis, but they are good reasons to stop pretending the injury is “probably fine” and arrange an examination.
Fracture-screening and evaluation guidance synthesized from AAFP, American College of Radiology, Mayo Clinic, HSS, and Stanford Health Care.
What an ACE Bandage Canand CannotDo
An elastic compression wrap may help limit swelling by applying gentle pressure around the injured tissues. It can also make the ankle feel more contained and remind you not to charge back onto the basketball court five minutes after rolling it.
However, an ACE bandage is not the same as a rigid brace, walking boot, cast, or professionally applied athletic tape. A basic elastic wrap offers limited structural support and should not be expected to stabilize a serious injury. If walking remains painful or the ankle feels as though it will give way, a clinician may recommend crutches, a brace, a splint, physical therapy, or additional testing.
Compression and support guidance synthesized from Cleveland Clinic, Stanford Health Care, HSS, Mayo Clinic, and NYU Langone.
What You Need
- A clean elastic compression bandage, usually 3 or 4 inches wide for an adult ankle
- The bandage’s hook-and-loop closure, clips, or medical tape
- A chair, bench, or bed where you can sit comfortably
- A pillow for elevating the leg afterward
A wider bandage is generally easier to control because it covers more area with fewer passes. Avoid wrapping over thick seams, bulky jewelry, wet skin, or folds in a sock. Wrinkles in the material can create uncomfortable pressure points.
If the skin is scraped or blistered, clean and cover the wound appropriately before applying compression around it. Do not place an elastic wrap directly over an open wound as though the bandage has suddenly earned a medical degree.
How Tight Should an Ankle Wrap Be?
The goal is firm, even compressionnot maximum tightness. You should feel gentle pressure throughout the foot and ankle, but you should not feel throbbing, pinching, burning, numbness, or tingling. The wrap should normally be a little firmer near the foot and gradually less firm as it travels toward the lower leg.
Leave the toes visible so you can check circulation. After wrapping, compare both feet. The toes on the injured side should remain similar in color and temperature to those on the uninjured side. You should be able to wiggle them, and normal sensation should remain intact.
Loosen or remove the bandage immediately if pain increases, the toes swell, the skin changes color, or the foot becomes cool, numb, or tingly. These are not signs that the wrap is “working extra hard.” They are signs that it may be too tight.
Compression-pressure and circulation-check guidance synthesized from the American Red Cross, Mayo Clinic, Stanford Health Care, Mass General, and Penn Medicine.
Method 1: The Basic Spiral Ankle Wrap
The spiral method is the simplest option. It works best when your main goal is light, even compression for mild swelling rather than extra support around the joint.
Step 1: Position the foot
Sit with the leg supported and hold the foot at approximately a 90-degree angle to the lower leg. In other words, point the toes forward rather than sharply downward. Wrapping the foot while it is pointed can make the bandage feel restrictive when you later stand.
Step 2: Anchor the bandage
Place the loose end across the top of the foot near the base of the toes, leaving the toes uncovered. Wrap around the ball of the foot twice to create an anchor. Keep the fabric flat and smooth.
Step 3: Spiral toward the ankle
Guide the roll diagonally across the top of the foot toward the ankle. Continue wrapping upward in overlapping circles. Each new layer should cover approximately half the width of the previous layer.
Step 4: Finish above the ankle
Continue until the wrap ends several inches above the ankle bones. Secure it on the outside of the leg with the built-in closure or medical tape. Avoid placing metal clips where they will press against the skin or rub inside a shoe.
Step 5: Check the result
The wrap should look smooth, with no gaps, cords, or bunched sections. Check the toes after a few minutes and again whenever the ankle position changes.
Best for: Mild swelling, short-term compression, and beginners who need a straightforward wrapping technique.
Spiral-wrapping principles synthesized from American Red Cross, Mayo Clinic, and Mass General guidance.
Method 2: The Figure-Eight Ankle Wrap
The figure-eight method crosses the bandage over the top of the foot and around the ankle. This pattern usually stays in place better than a simple spiral and distributes compression across both areas.
Step 1: Create the foot anchor
Hold the foot at a neutral 90-degree angle. Begin near the base of the toes and circle the ball of the foot twice. Leave the toes exposed.
Step 2: Cross toward the ankle
From the inside of the foot, bring the bandage diagonally across the top of the foot toward the outside of the ankle. Wrap behind the ankle and return diagonally across the top of the foot.
Step 3: Complete the figure eight
Pass the bandage underneath the arch and back across the top of the foot. The path should now resemble a figure eight: one loop around the foot and another around the ankle.
Step 4: Repeat with even overlap
Repeat the figure-eight pattern, moving slightly upward with each pass. Overlap the previous layer by about half the bandage width. Keep the roll close to the skin as you work; holding it far away makes it easier to stretch the material too aggressively.
Step 5: Secure above the ankle
Finish with one or two smooth circles around the lower leg, several inches above the ankle bones. Fasten the end and check circulation.
Best for: A typical mild ankle sprain when you want compression that covers both the foot and ankle without leaving large gaps.
Figure-eight technique and safety guidance synthesized from Healthwise clinical instructions, American Red Cross, Mayo Clinic, and Stanford Health Care.
Method 3: The Figure-Eight Wrap with Heel Coverage
This variation adds passes around the sides of the heel. Covering more of the rear foot may help prevent the wrap from sliding and provides a more secure feeling. It still does not replace a medical brace when substantial stability is needed.
Step 1: Begin with a standard figure eight
Anchor the bandage around the ball of the foot and complete one full figure-eight pass around the foot and ankle.
Step 2: Wrap one side of the heel
As the bandage comes behind the ankle, angle it downward so it passes across one side of the heel. Bring it underneath the heel and diagonally across the top of the foot.
Step 3: Cover the opposite side
On the next pass, reverse the angle so the fabric crosses the opposite side of the heel. The two passes should partially surround the heel without creating a thick lump beneath it.
Step 4: Continue upward
Resume the figure-eight pattern, overlapping each layer evenly. Finish several inches above the ankle and secure the bandage on the lower leg.
Step 5: Test comfort without stressing the injury
Gently move the toes and flex the foot only within a comfortable range. Do not repeatedly stand, hop, or jog to “test” the wrap. The ankle does not need an audition.
Best for: Wraps that tend to slip, swelling extending toward the heel, or situations where broader coverage feels more comfortable.
Which Wrapping Method Should You Choose?
| Method | Main Advantage | Best Use |
|---|---|---|
| Basic spiral | Fast and easy to learn | Light compression for mild swelling |
| Figure eight | Covers the foot and ankle evenly | General compression after a mild sprain |
| Figure eight with heel coverage | Less likely to slide | Broader compression around the rear foot |
For most people, the regular figure-eight wrap offers the best balance of simplicity, coverage, and staying power. The spiral method is easier, while heel coverage requires more attention to avoid bunching.
What to Do After Wrapping the Ankle
Compression is only one part of early ankle care. Reduce activities that increase pain, protect the joint from another twist, and elevate the foot above heart level when practical. A cold pack wrapped in a thin towel may be used for short sessions to help manage acute pain and swelling. Do not place ice directly on the skin.
Recheck the wrap frequently because swelling can change. A bandage that felt comfortable when applied may become too tight later. If it loosens, slides, wrinkles, gets wet, or develops painful pressure spots, remove it and start again rather than adding increasingly creative layers on top.
Follow instructions from your healthcare professional regarding how long to wear compression. Recommendations vary with the injury and the amount of swelling. Unless a clinician has specifically told you otherwise, avoid leaving a wrap unattended for long periods when you cannot monitor circulation.
Aftercare guidance synthesized from Mayo Clinic, AAOS, Johns Hopkins Medicine, HSS, and Cleveland Clinic.
Seven Common Ankle-Wrapping Mistakes
1. Starting above the ankle
Compression should generally begin at the area farther from the heart and travel upward. Starting only around the ankle may allow swelling to collect in the foot.
2. Pulling the bandage as tight as possible
More tension does not equal more healing. Excessive compression can increase pain and interfere with circulation.
3. Covering the toes
Visible toes make it easier to monitor color, temperature, movement, and swelling.
4. Leaving gaps between passes
Gaps create uneven pressure and may allow sections of swollen tissue to bulge between layers.
5. Creating thick wrinkles
Bunched material can press painfully against the skin, especially inside a shoe.
6. Using the wrap as permission to exercise
An ACE bandage may make the ankle feel more secure, but it does not prove that the ligaments are ready for running, jumping, or sports.
7. Ignoring worsening symptoms
A wrap should not cause escalating pain, numbness, coolness, or discoloration. Remove it immediately if those symptoms occur.
Frequently Asked Questions
Should the heel be covered?
It depends on the technique. The heel may remain partly exposed with a basic figure-eight wrap. Added heel passes can help the wrap stay in place, provided the fabric remains smooth and comfortable.
Can you wear shoes over an ACE bandage?
A roomy, supportive shoe may fit over a thin wrap, but footwear must not compress the ankle further. If the shoe causes pressure, numbness, or increased pain, remove it. Do not force a newly swollen foot into a tight shoe simply because the laces are feeling optimistic.
Can you walk on a wrapped ankle?
A bandage does not determine whether weight-bearing is safe. Walking should depend on the severity of the injury and medical guidance. If you cannot walk four steps, have significant bone tenderness, or experience severe pain, seek an evaluation.
How often should the ankle be rewrapped?
Rewrap it whenever the bandage becomes loose, wet, wrinkled, dirty, or uncomfortable. Check the foot regularly because swelling and pressure can change throughout the day.
Does an ACE wrap prevent future ankle sprains?
Not by itself. Long-term prevention may involve balance training, strengthening exercises, proper footwear, gradual return to activity, andin some casesa suitable brace or professionally applied tape.
FAQ guidance synthesized from Stanford Health Care, Cleveland Clinic, Mayo Clinic, HSS, and the American Red Cross.
Real-World Experiences and Practical Lessons
The following composite scenarios reflect common experiences people have when learning to wrap an ankle. They are not individual medical cases, but they illustrate why small technique changes can make a large difference.
The “tighter must be better” experience
A recreational runner twists an ankle on an uneven sidewalk and immediately applies an elastic bandage. Worried that swelling will get out of control, the runner pulls firmly on every pass. At first, the pressure feels reassuring. Ten minutes later, the toes begin tingling and the foot feels colder than the other one.
The lesson is simple: compression should never become constriction. Elastic material continues to press against tissues after application, and an injured ankle may keep swelling. A wrap that feels merely “firm” at first can become uncomfortably tight. Removing the bandage, allowing the foot to return to normal, and reapplying it with gentler, graduated pressure is safer than trying to tolerate the sensation.
The wrap that slowly travels south
Another common experience begins with a perfectly respectable spiral wrap. The person walks from the couch to the kitchen, and the bandage promptly slides downward, bunches near the heel, and begins resembling a fabric bracelet for the arch.
This usually happens because the wrap lacks a secure anchor, contains gaps, or circles the ankle without crossing the foot. Switching to a figure-eight pattern often solves the problem. The crossing passes help connect the foot portion of the wrap to the ankle portion. Keeping each layer flat and overlapping approximately half of the previous pass also reduces slipping.
The fix is not to attach half a roll of household tape to the skin. Remove the bandage and start again. A clean restart is usually fasterand considerably less itchythan rescuing a wrap that has already collapsed.
The “it feels supported, so I must be healed” experience
A weekend basketball player wraps a mildly sprained ankle and notices that it immediately feels more stable. Encouraged, the player considers returning to the game. This is where an elastic wrap can create false confidence. Compression may reduce the sensation of swelling and provide a comforting reminder around the joint, but it does not restore damaged ligament fibers on contact.
A safer approach is to treat the wrap as one part of recovery rather than protective armor. Pain-free walking, improving motion, restored strength, balance, and sport-specific movement all matter before returning to demanding activity. More significant sprains may require a brace or rehabilitation plan.
The overnight surprise
Some people apply a wrap in the evening when the ankle is swollen and forget about it until morning. During sleep, they cannot easily notice increasing pressure, skin irritation, or numbness. The ankle’s position may also change under blankets and pillows.
The practical lesson is to follow the wearing schedule recommended by a healthcare professional and monitor the foot whenever compression is in place. Elevating the ankle while resting may help manage swelling without relying on tighter and tighter wrapping. When no individualized instructions have been provided, caution is better than assuming a bandage can remain in place indefinitely.
The best experience: boring, even, and comfortable
A correctly applied ankle compression wrap is rarely dramatic. It lies flat, feels snug but comfortable, stays in place, and leaves the toes warm and normally colored. The person checks it regularly, rewraps it when needed, and does not confuse reduced swelling with a complete recovery.
In other words, good wrapping is pleasantly uneventful. No heroic tightening, no blue toes, and no attempt to turn a drugstore bandage into a professional orthopedic device.
Conclusion
The easiest way to wrap an ankle with an ACE bandage is to begin near the base of the toes, overlap each layer evenly, and work upward with gentle pressure. A basic spiral is useful for light compression, a figure-eight pattern offers better coverage, and added heel passes may help prevent slipping.
Whichever technique you choose, the circulation check matters more than how polished the finished wrap looks. Keep the toes visible, monitor their warmth and color, and remove the bandage immediately if it causes numbness, tingling, coolness, swelling below the wrap, or worsening pain. Most importantly, remember that an elastic bandage can help manage swelling but cannot diagnose the injury hiding underneath it.